Torment – Forbidden Traverse – 7/31/17 – 8/2/17

Grade IV 5.6
Gear: small rack nuts, cams .5-3, 30m rope with tag line
Flew out of San Diego sunday at 6:30 AM to Seattle.  Took the tram downtown, checked in and spent the day admiring the scenery and did a little browsing at the map shop in Pikes place, ejoyed a beer and sandwich and watched the menagerie of folks passing by, had a nice dinner and a couple of glasses of wine before hitting it early.
My guide, Chris Simmons picked me up at the hotel at 6:30, we had a long drive, north to Everett and then east past Darrington into North Cascades NP. We chatted about the typical 40-something topics of life, real estate, and marriage.
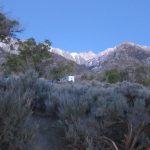
Got permits and drove to the trailhead for Boston Basin, sorted gear and headed up the trail. Conditions were absolutely perfect, if a bit warm, we left raingear, shelter and down layers at the car, taking just a light tarp as a groundsheet.
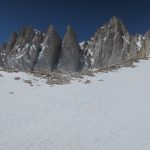
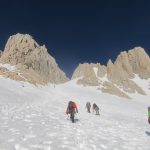
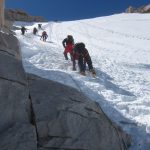
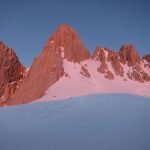
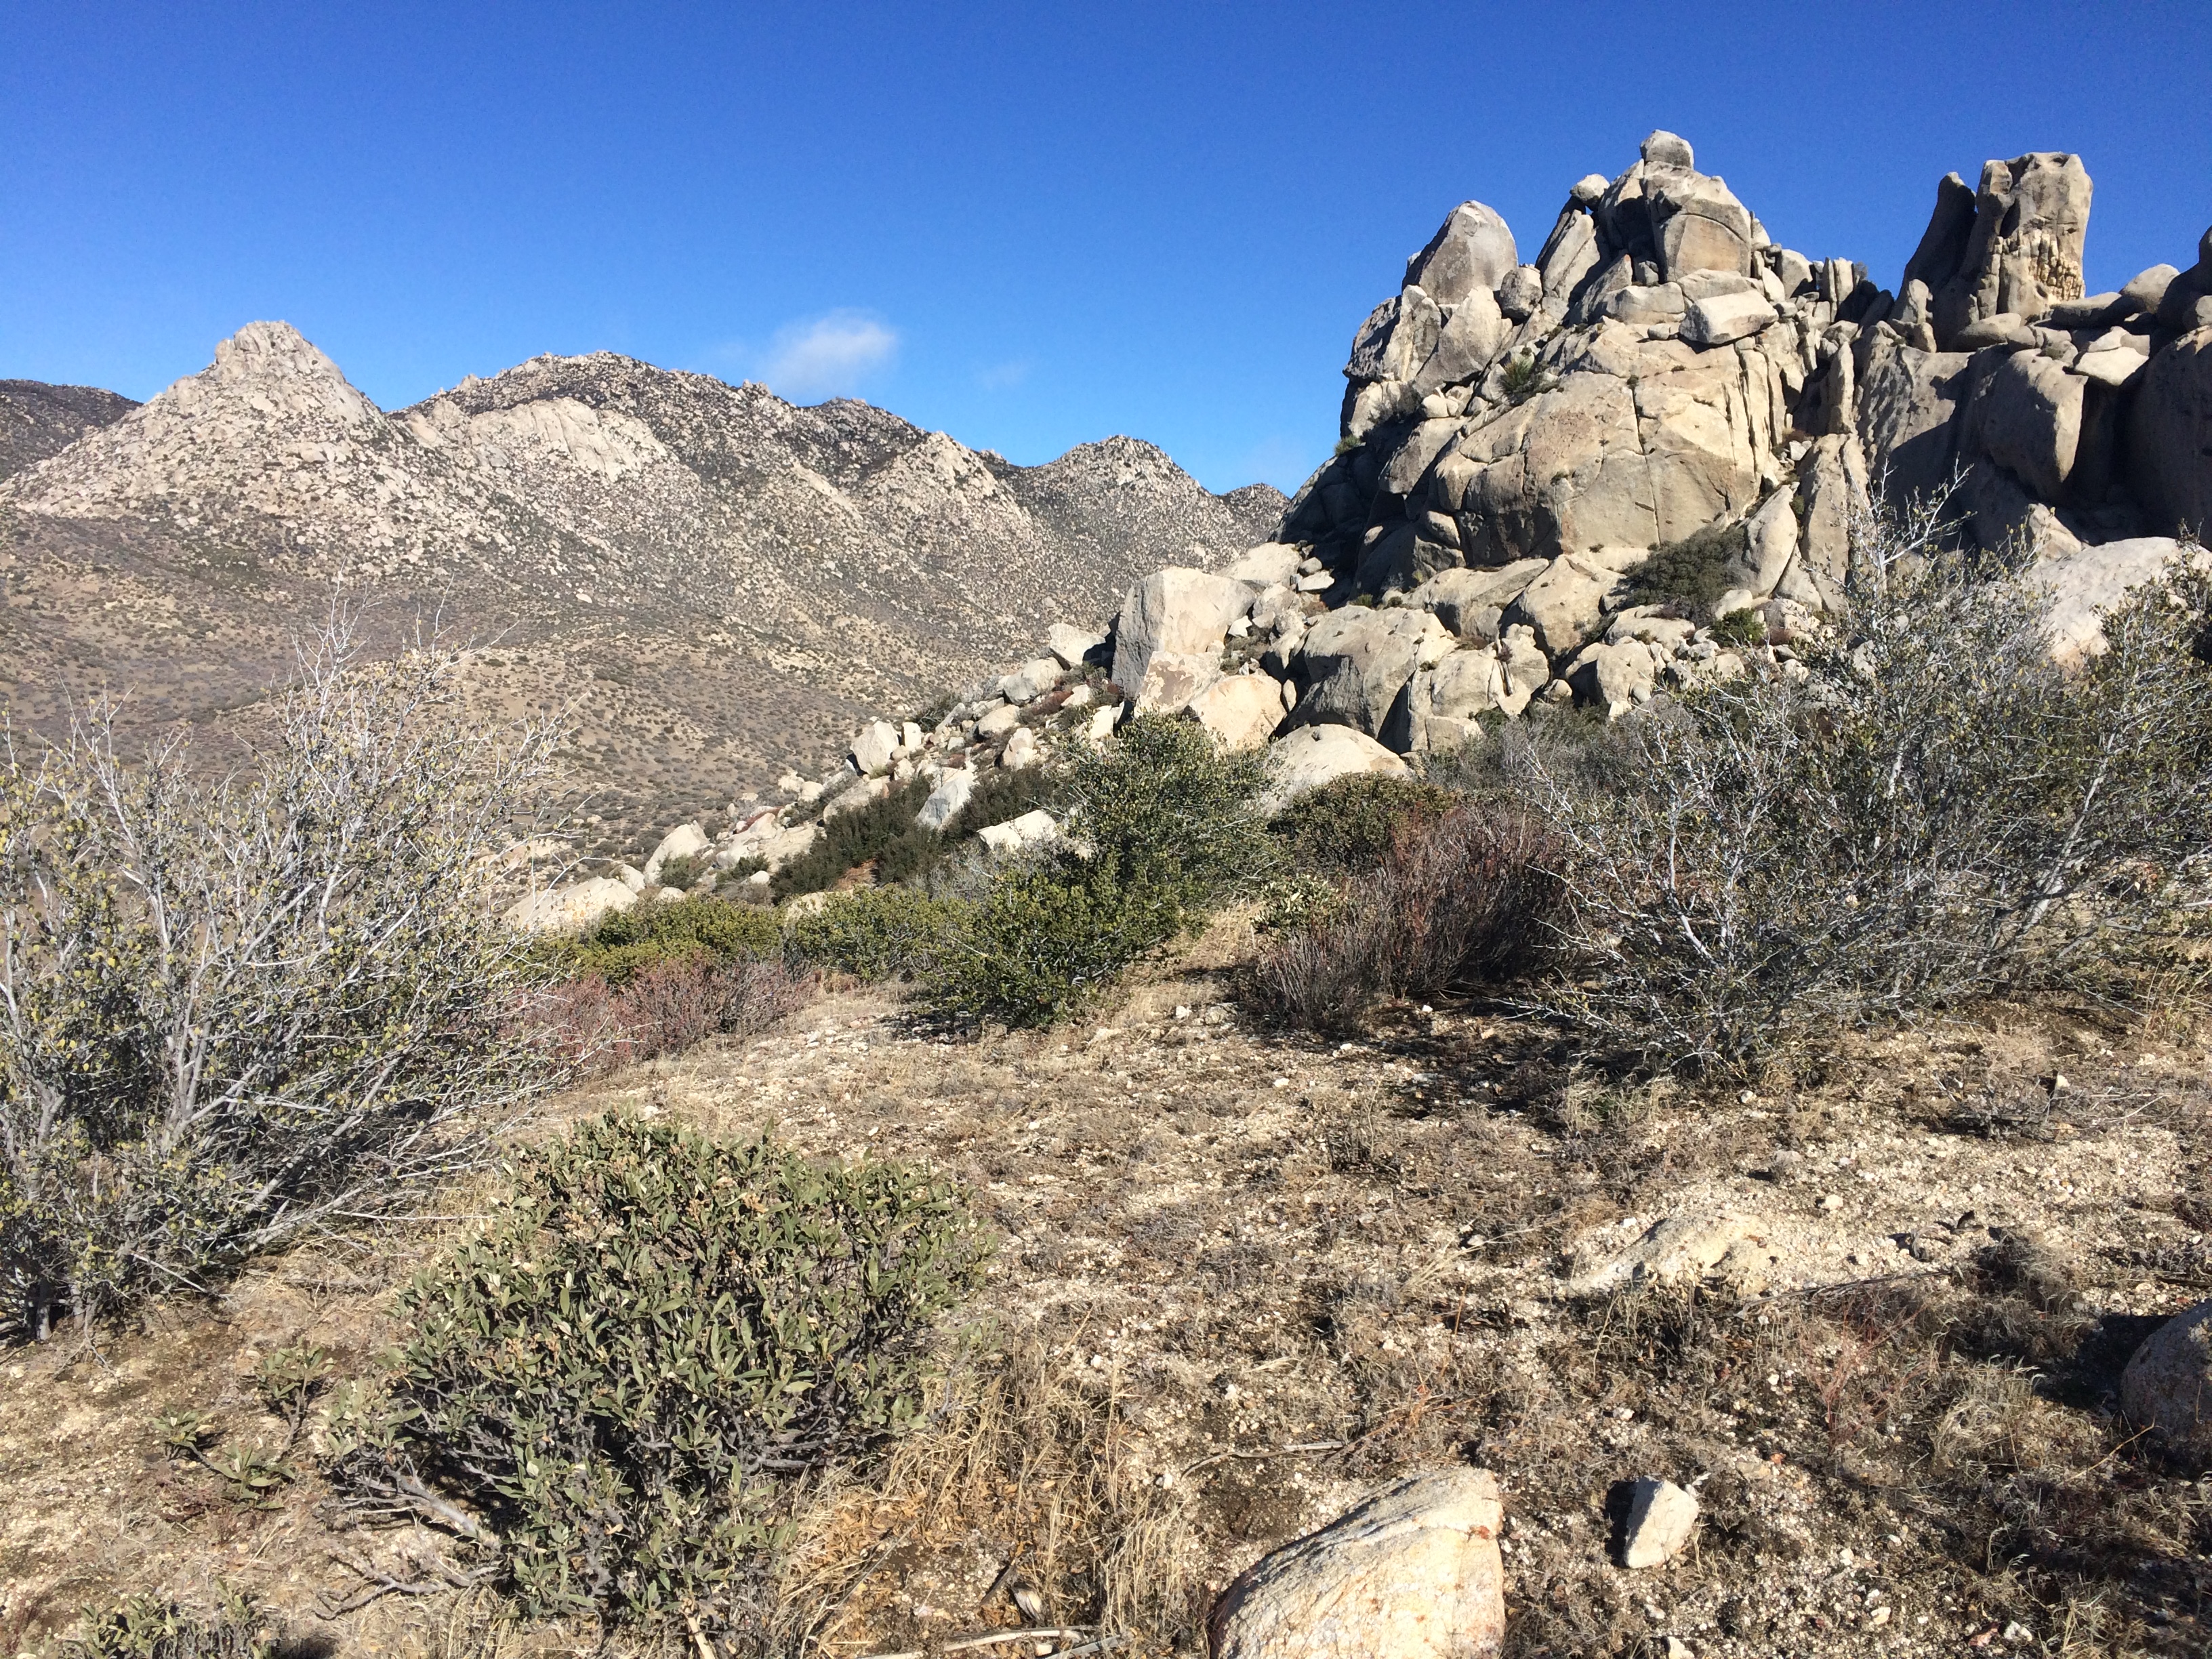
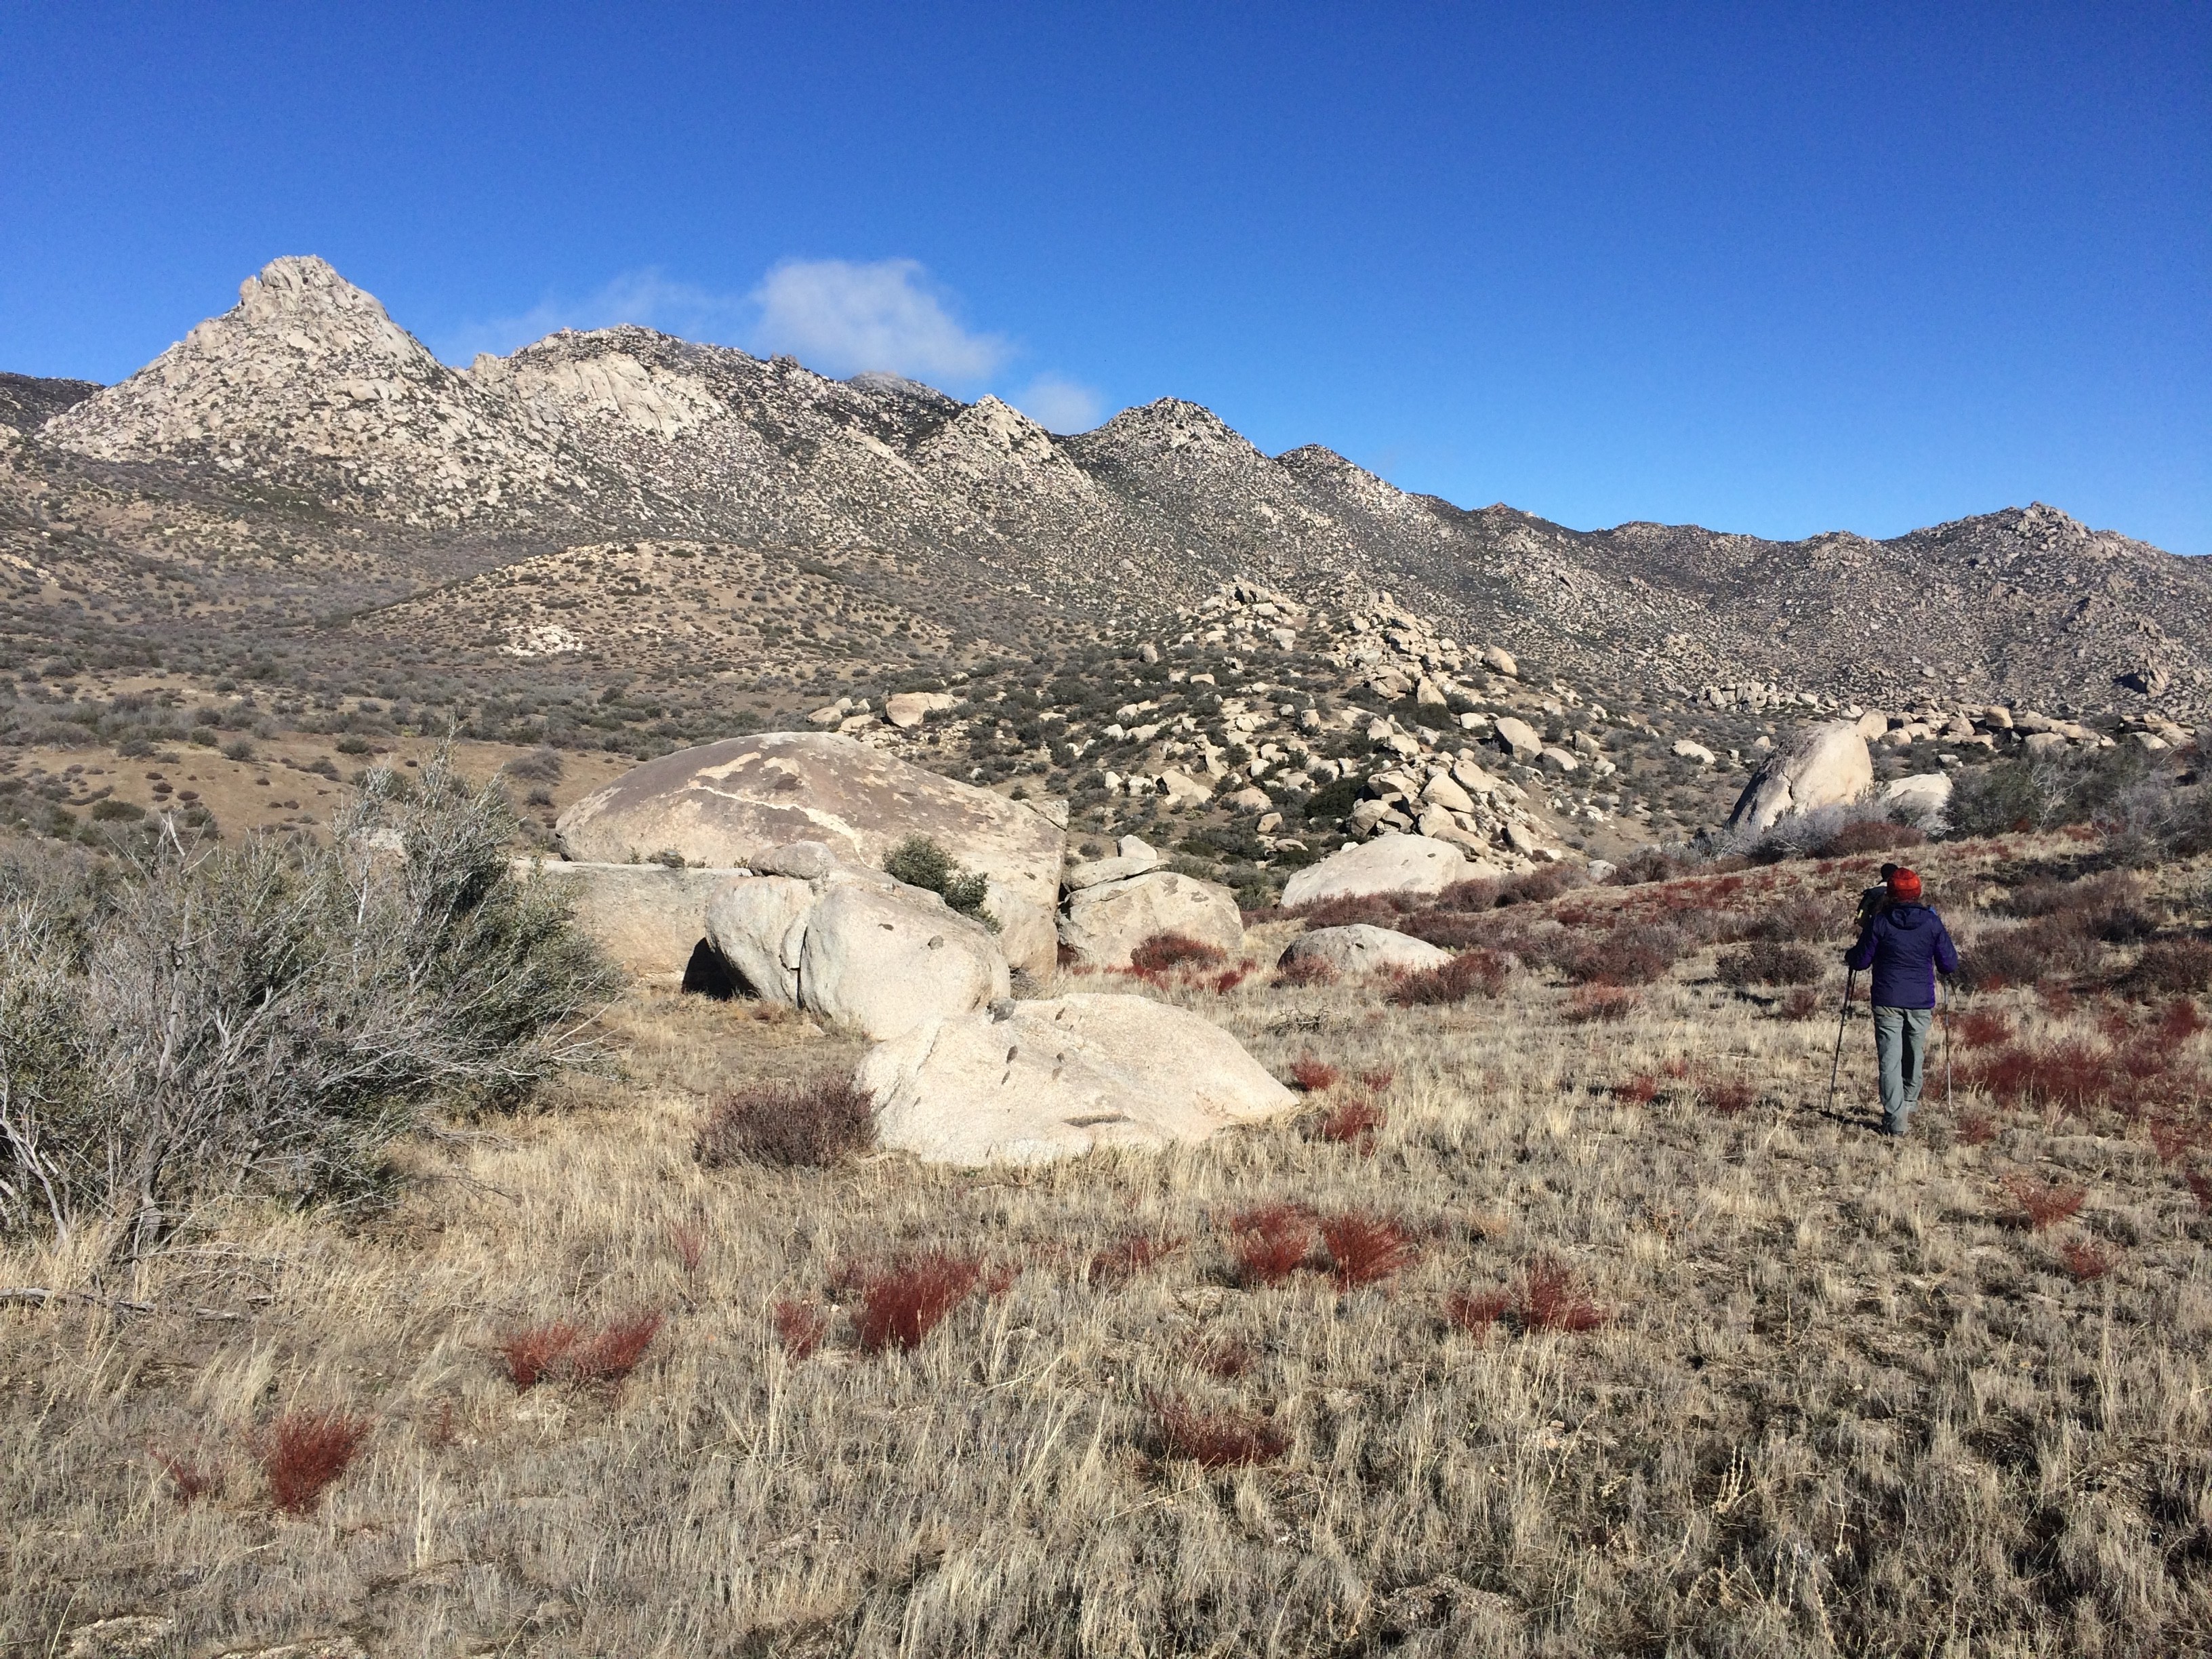
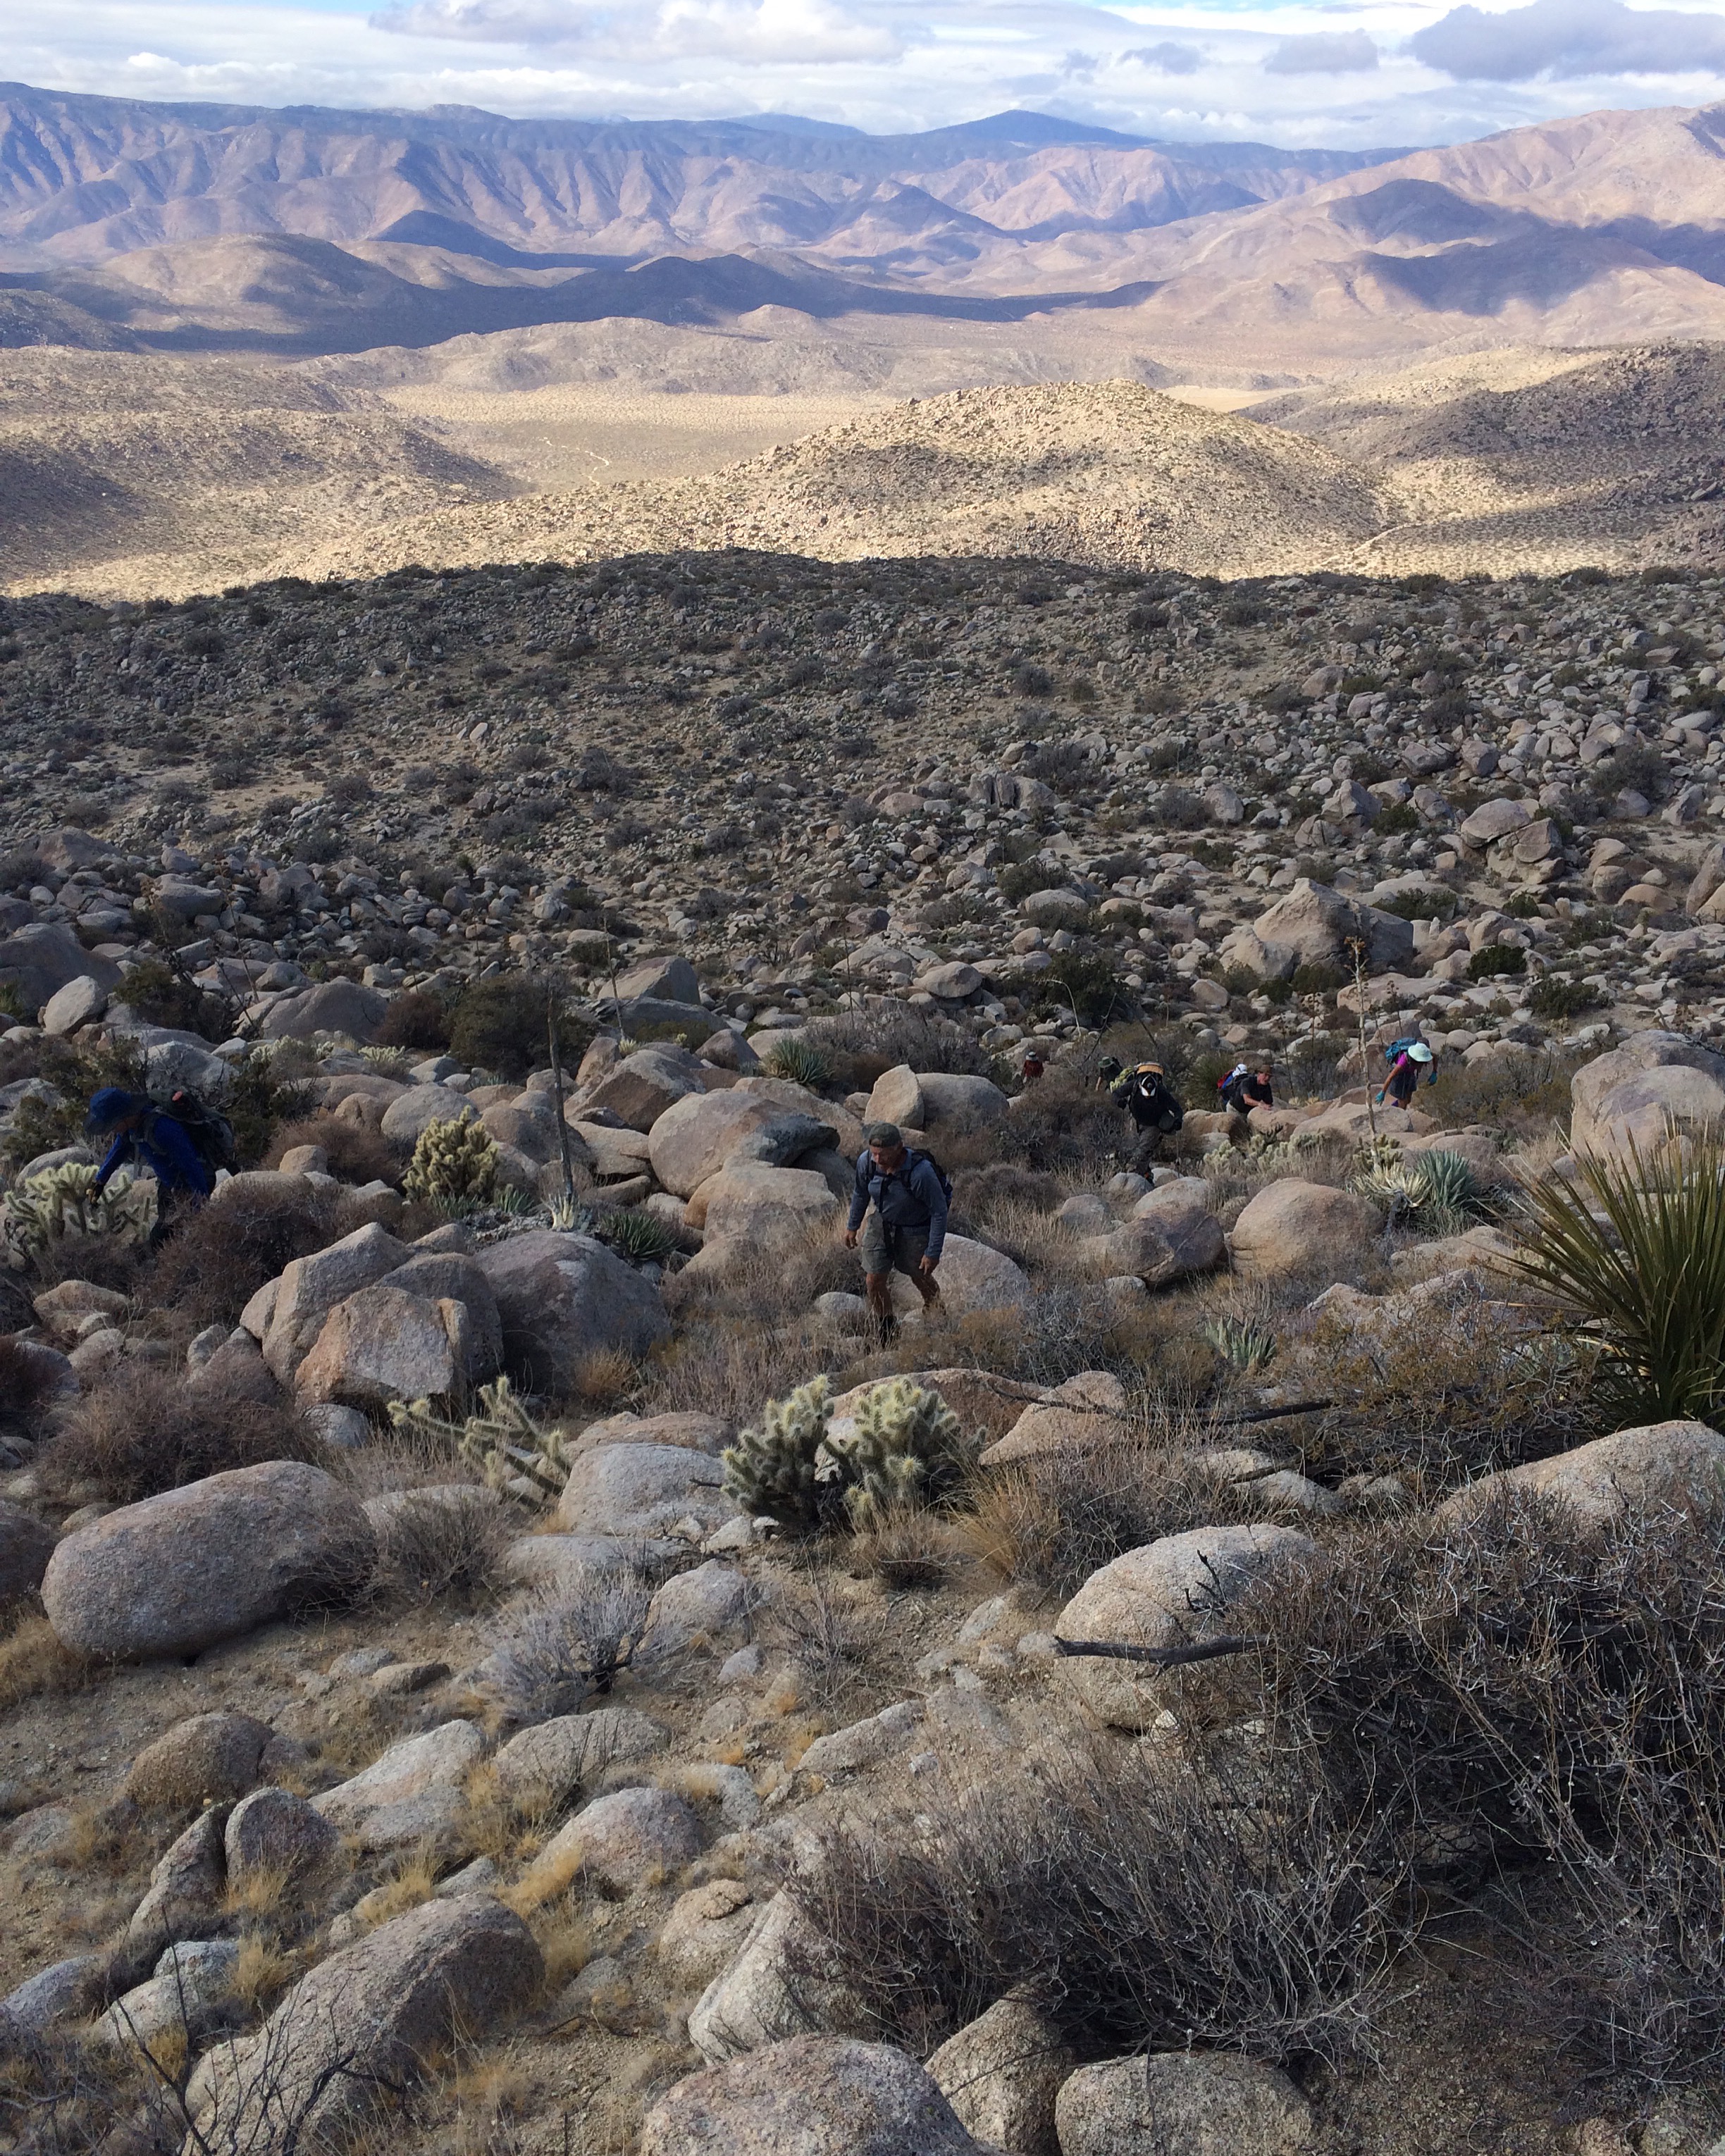
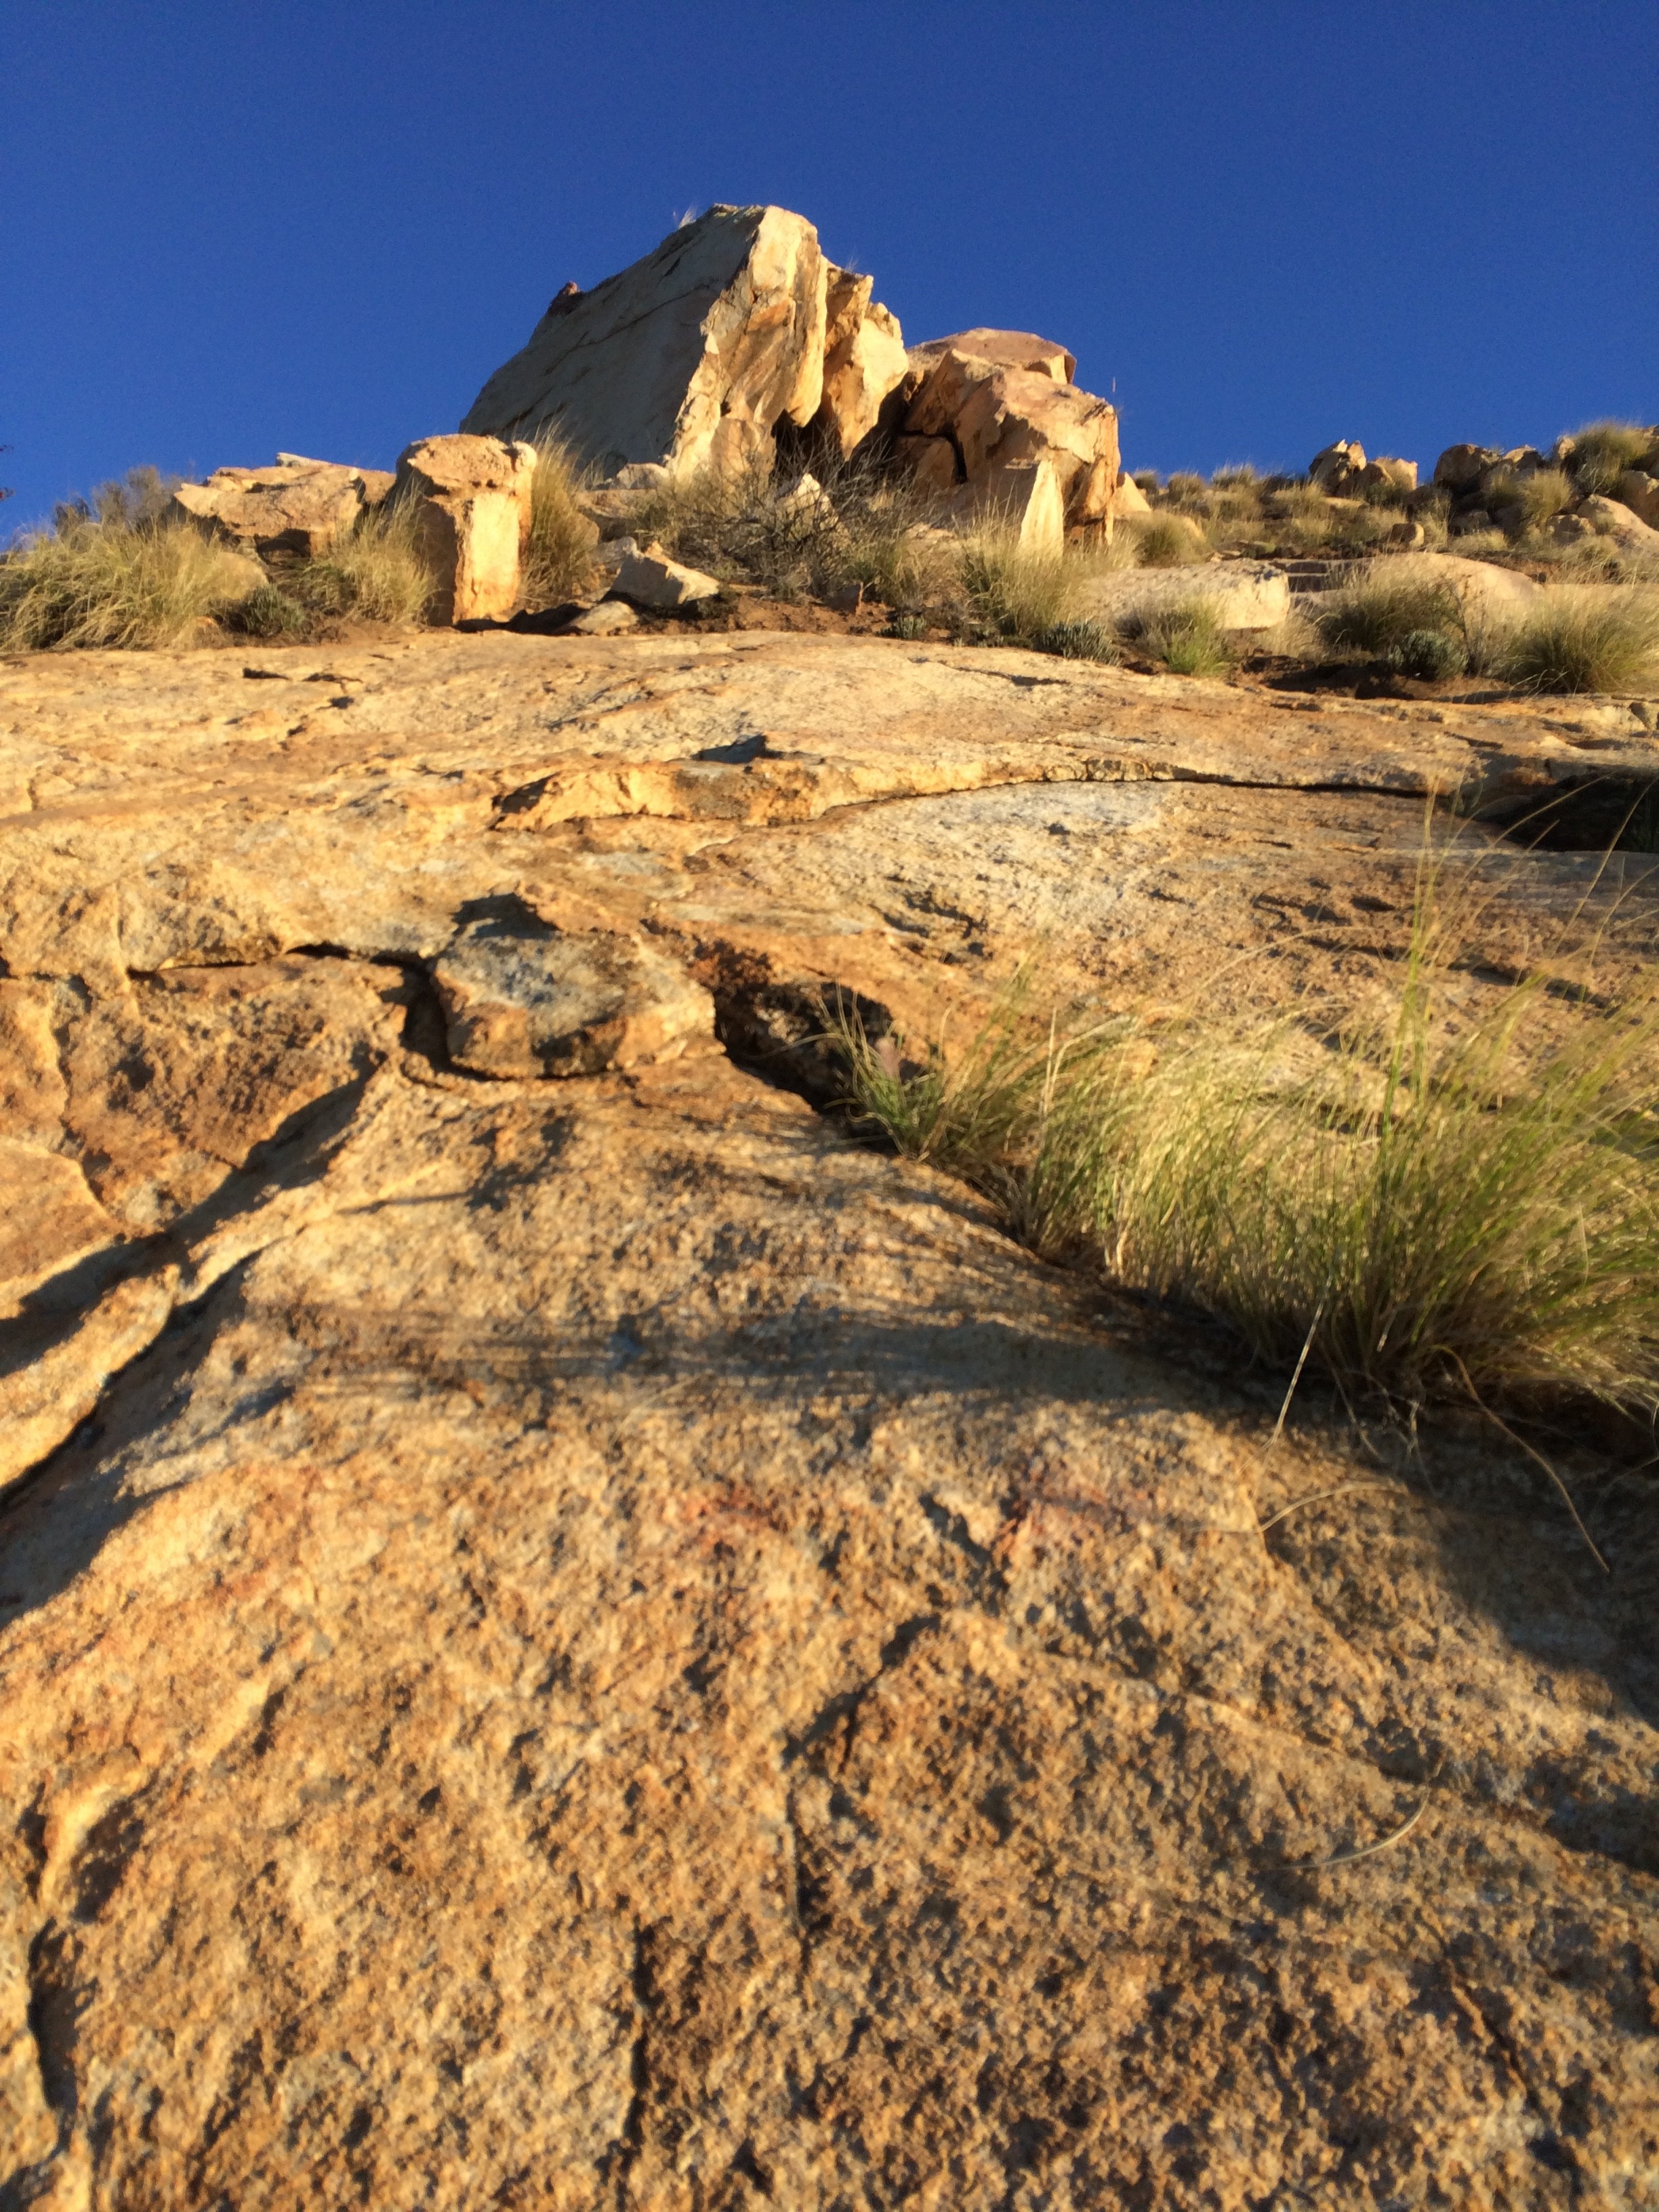
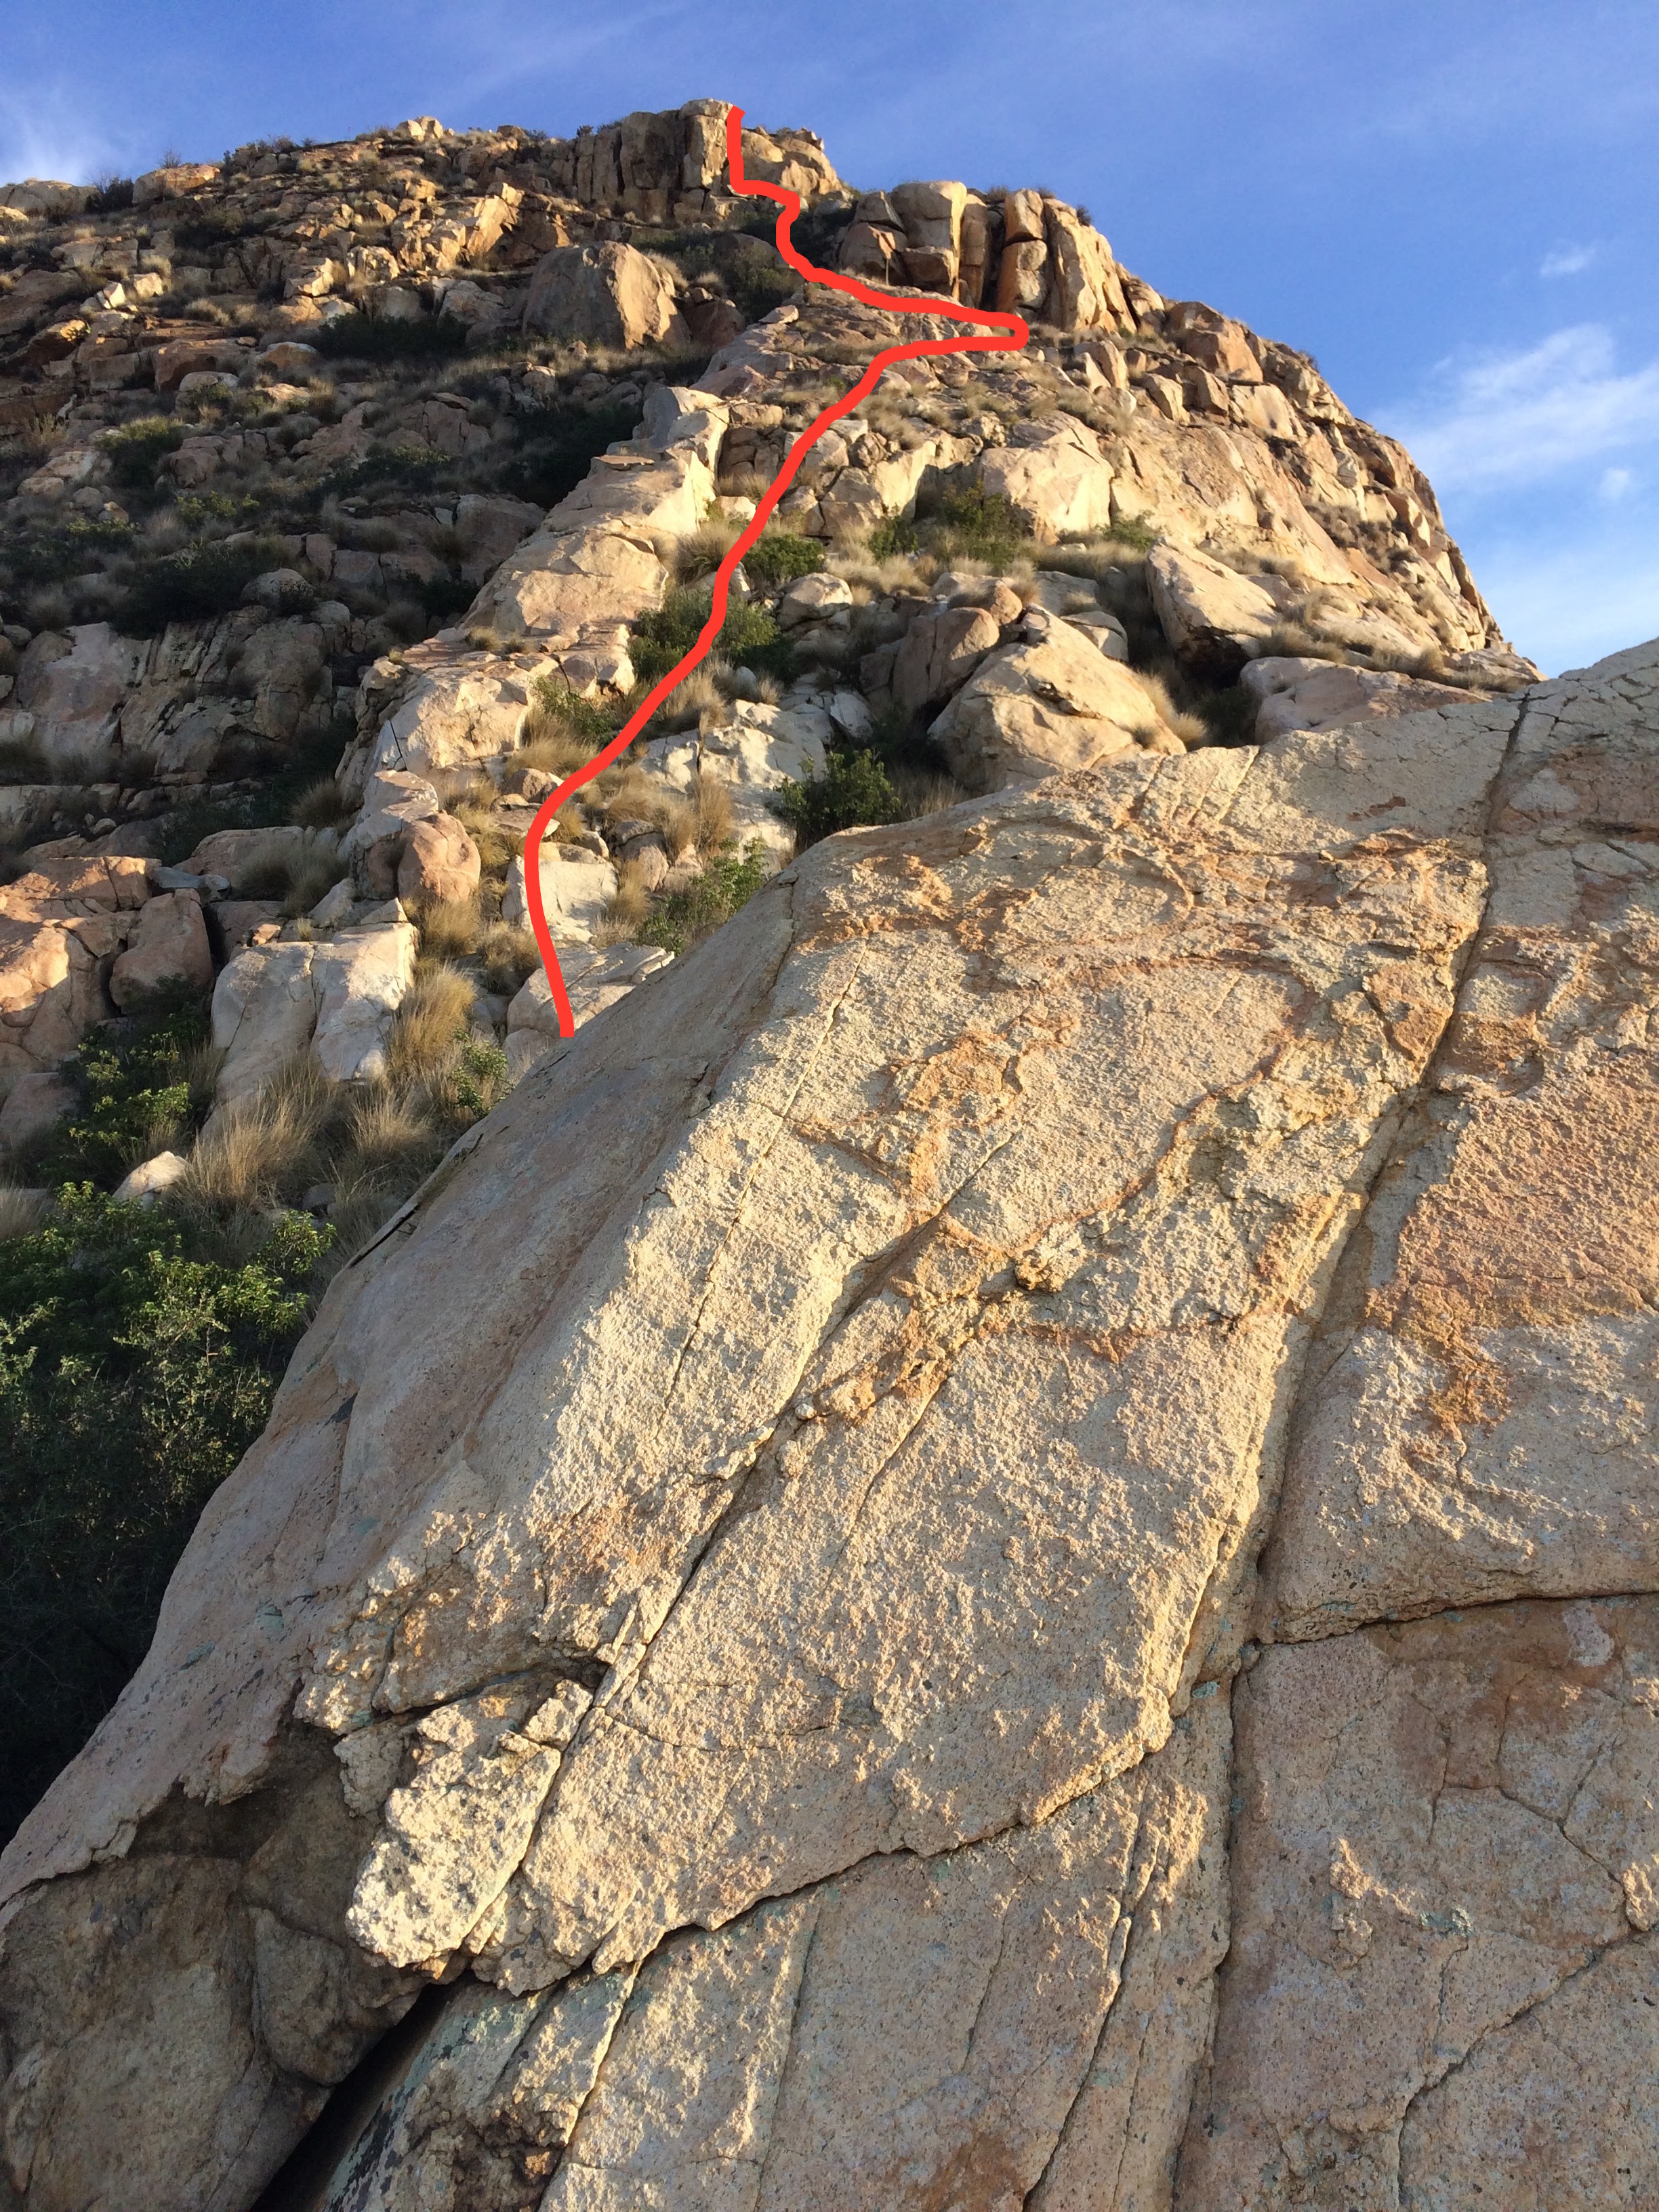
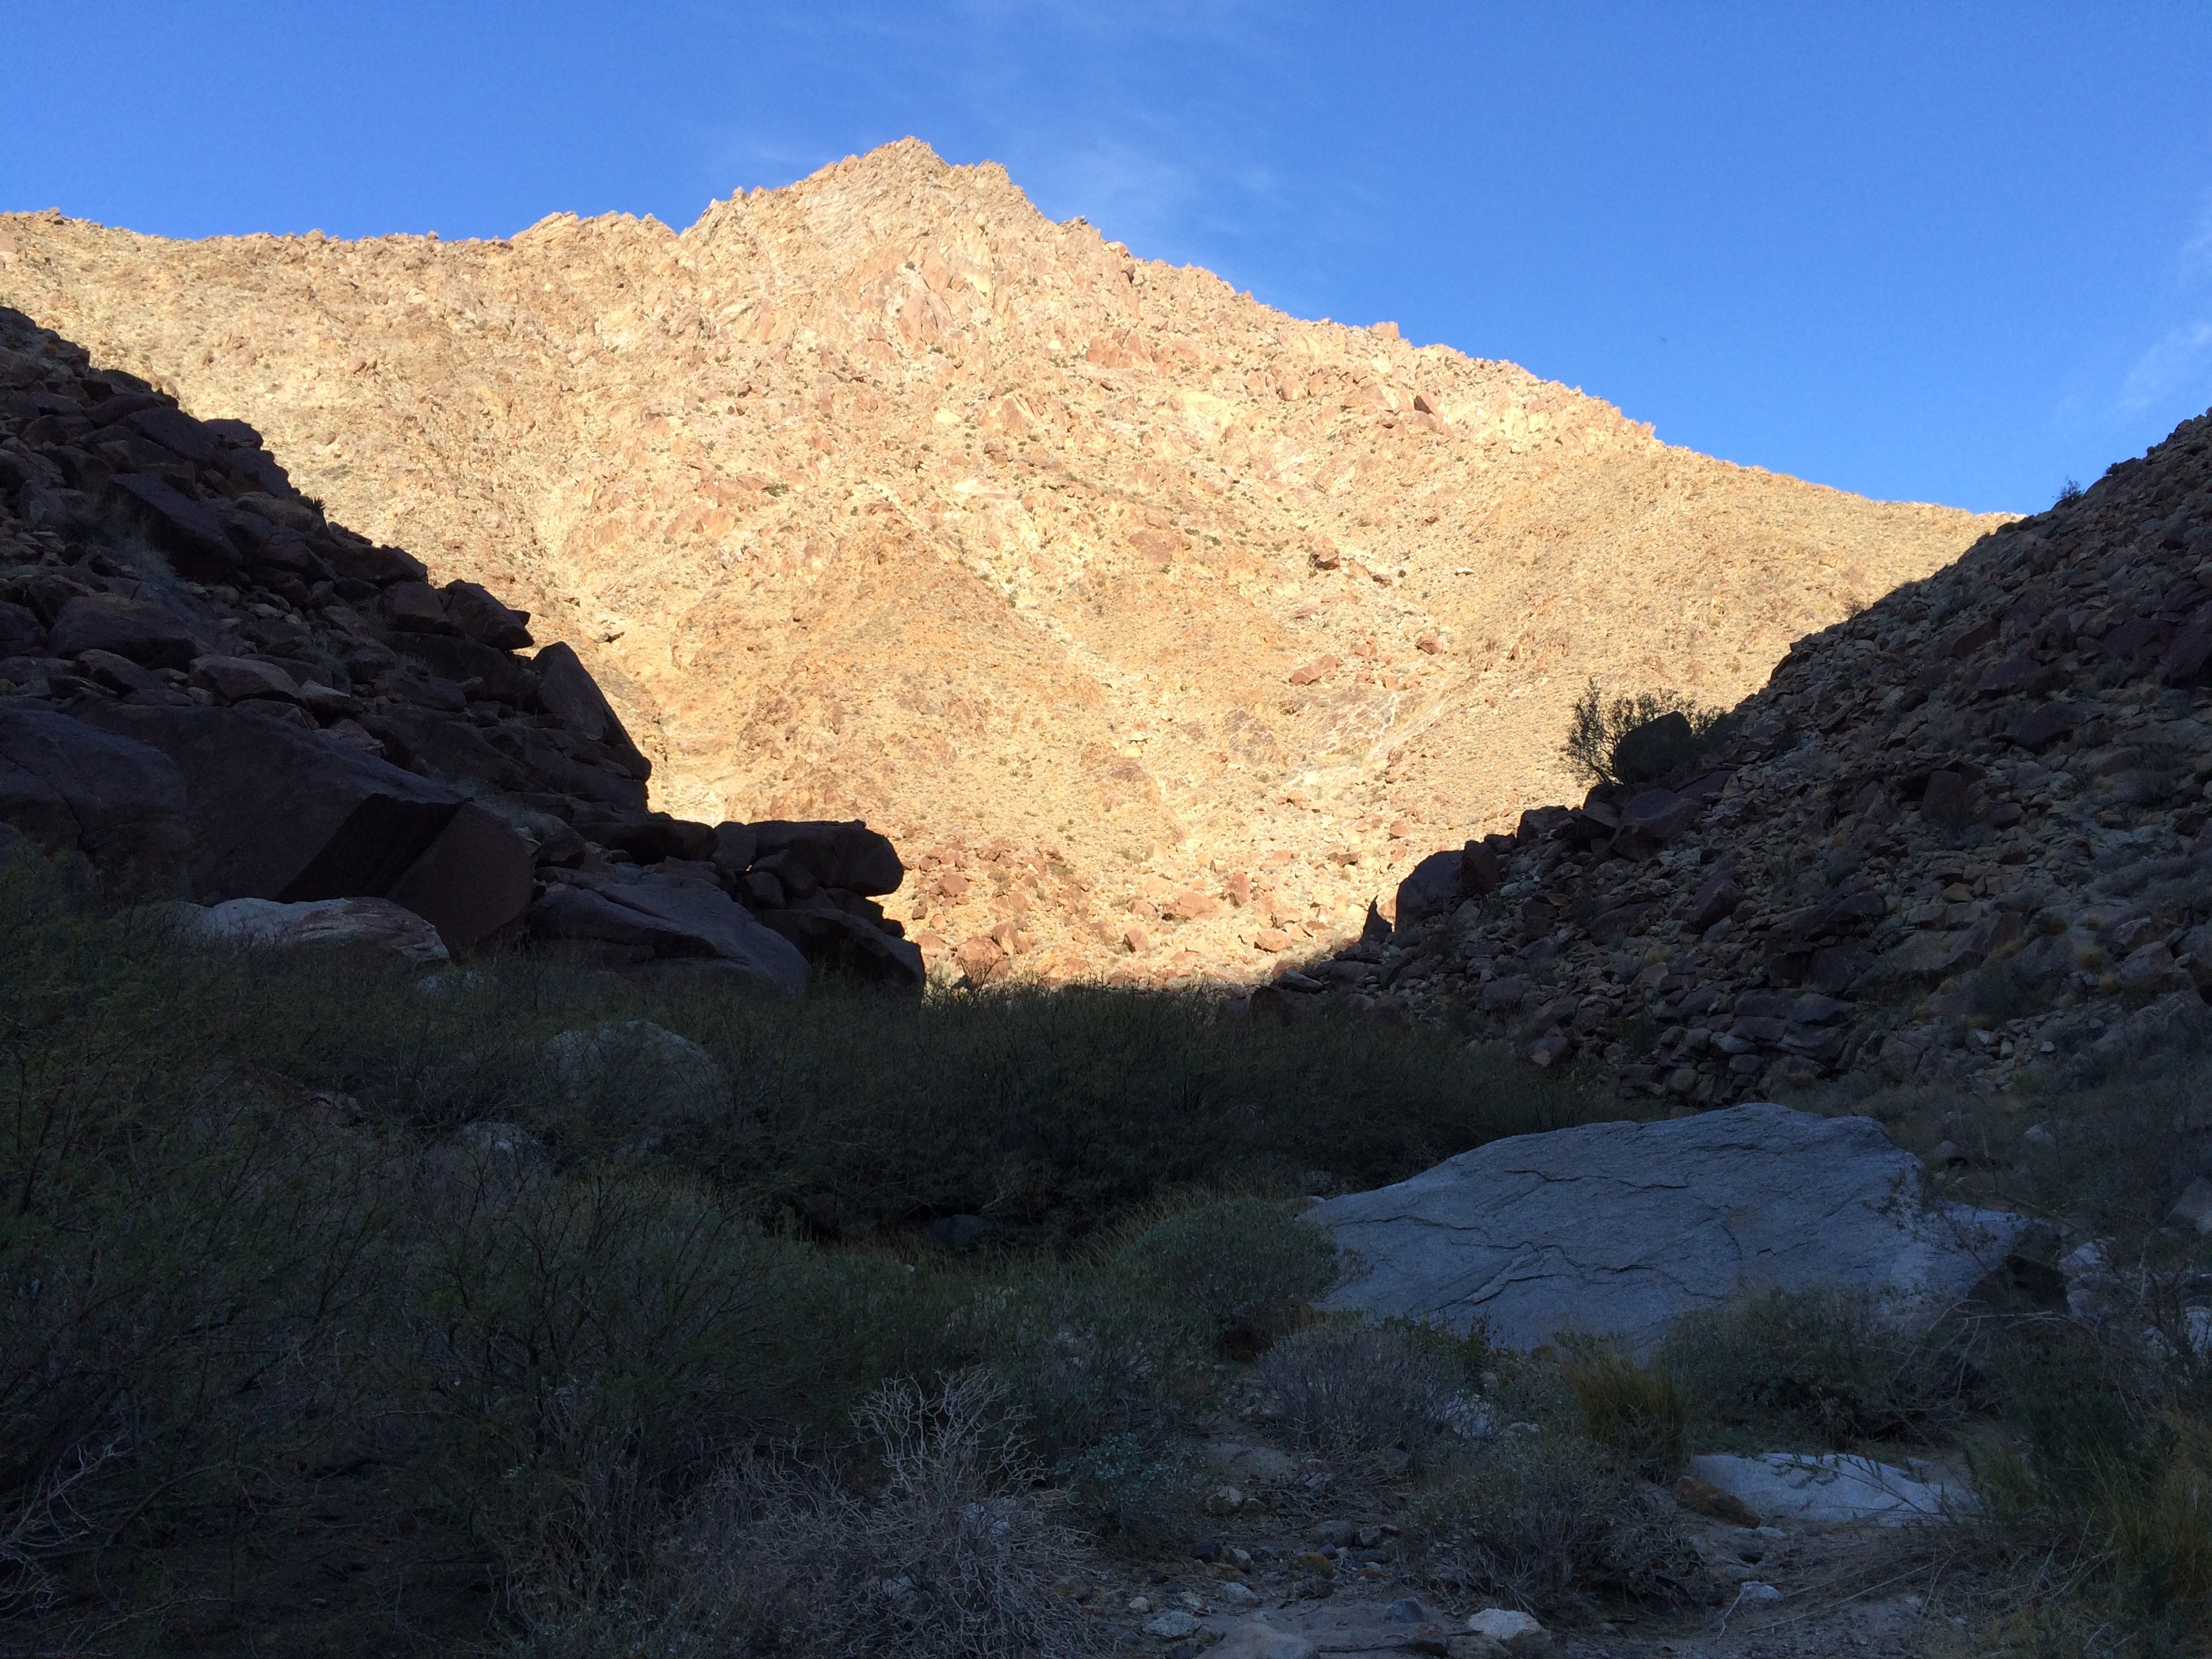
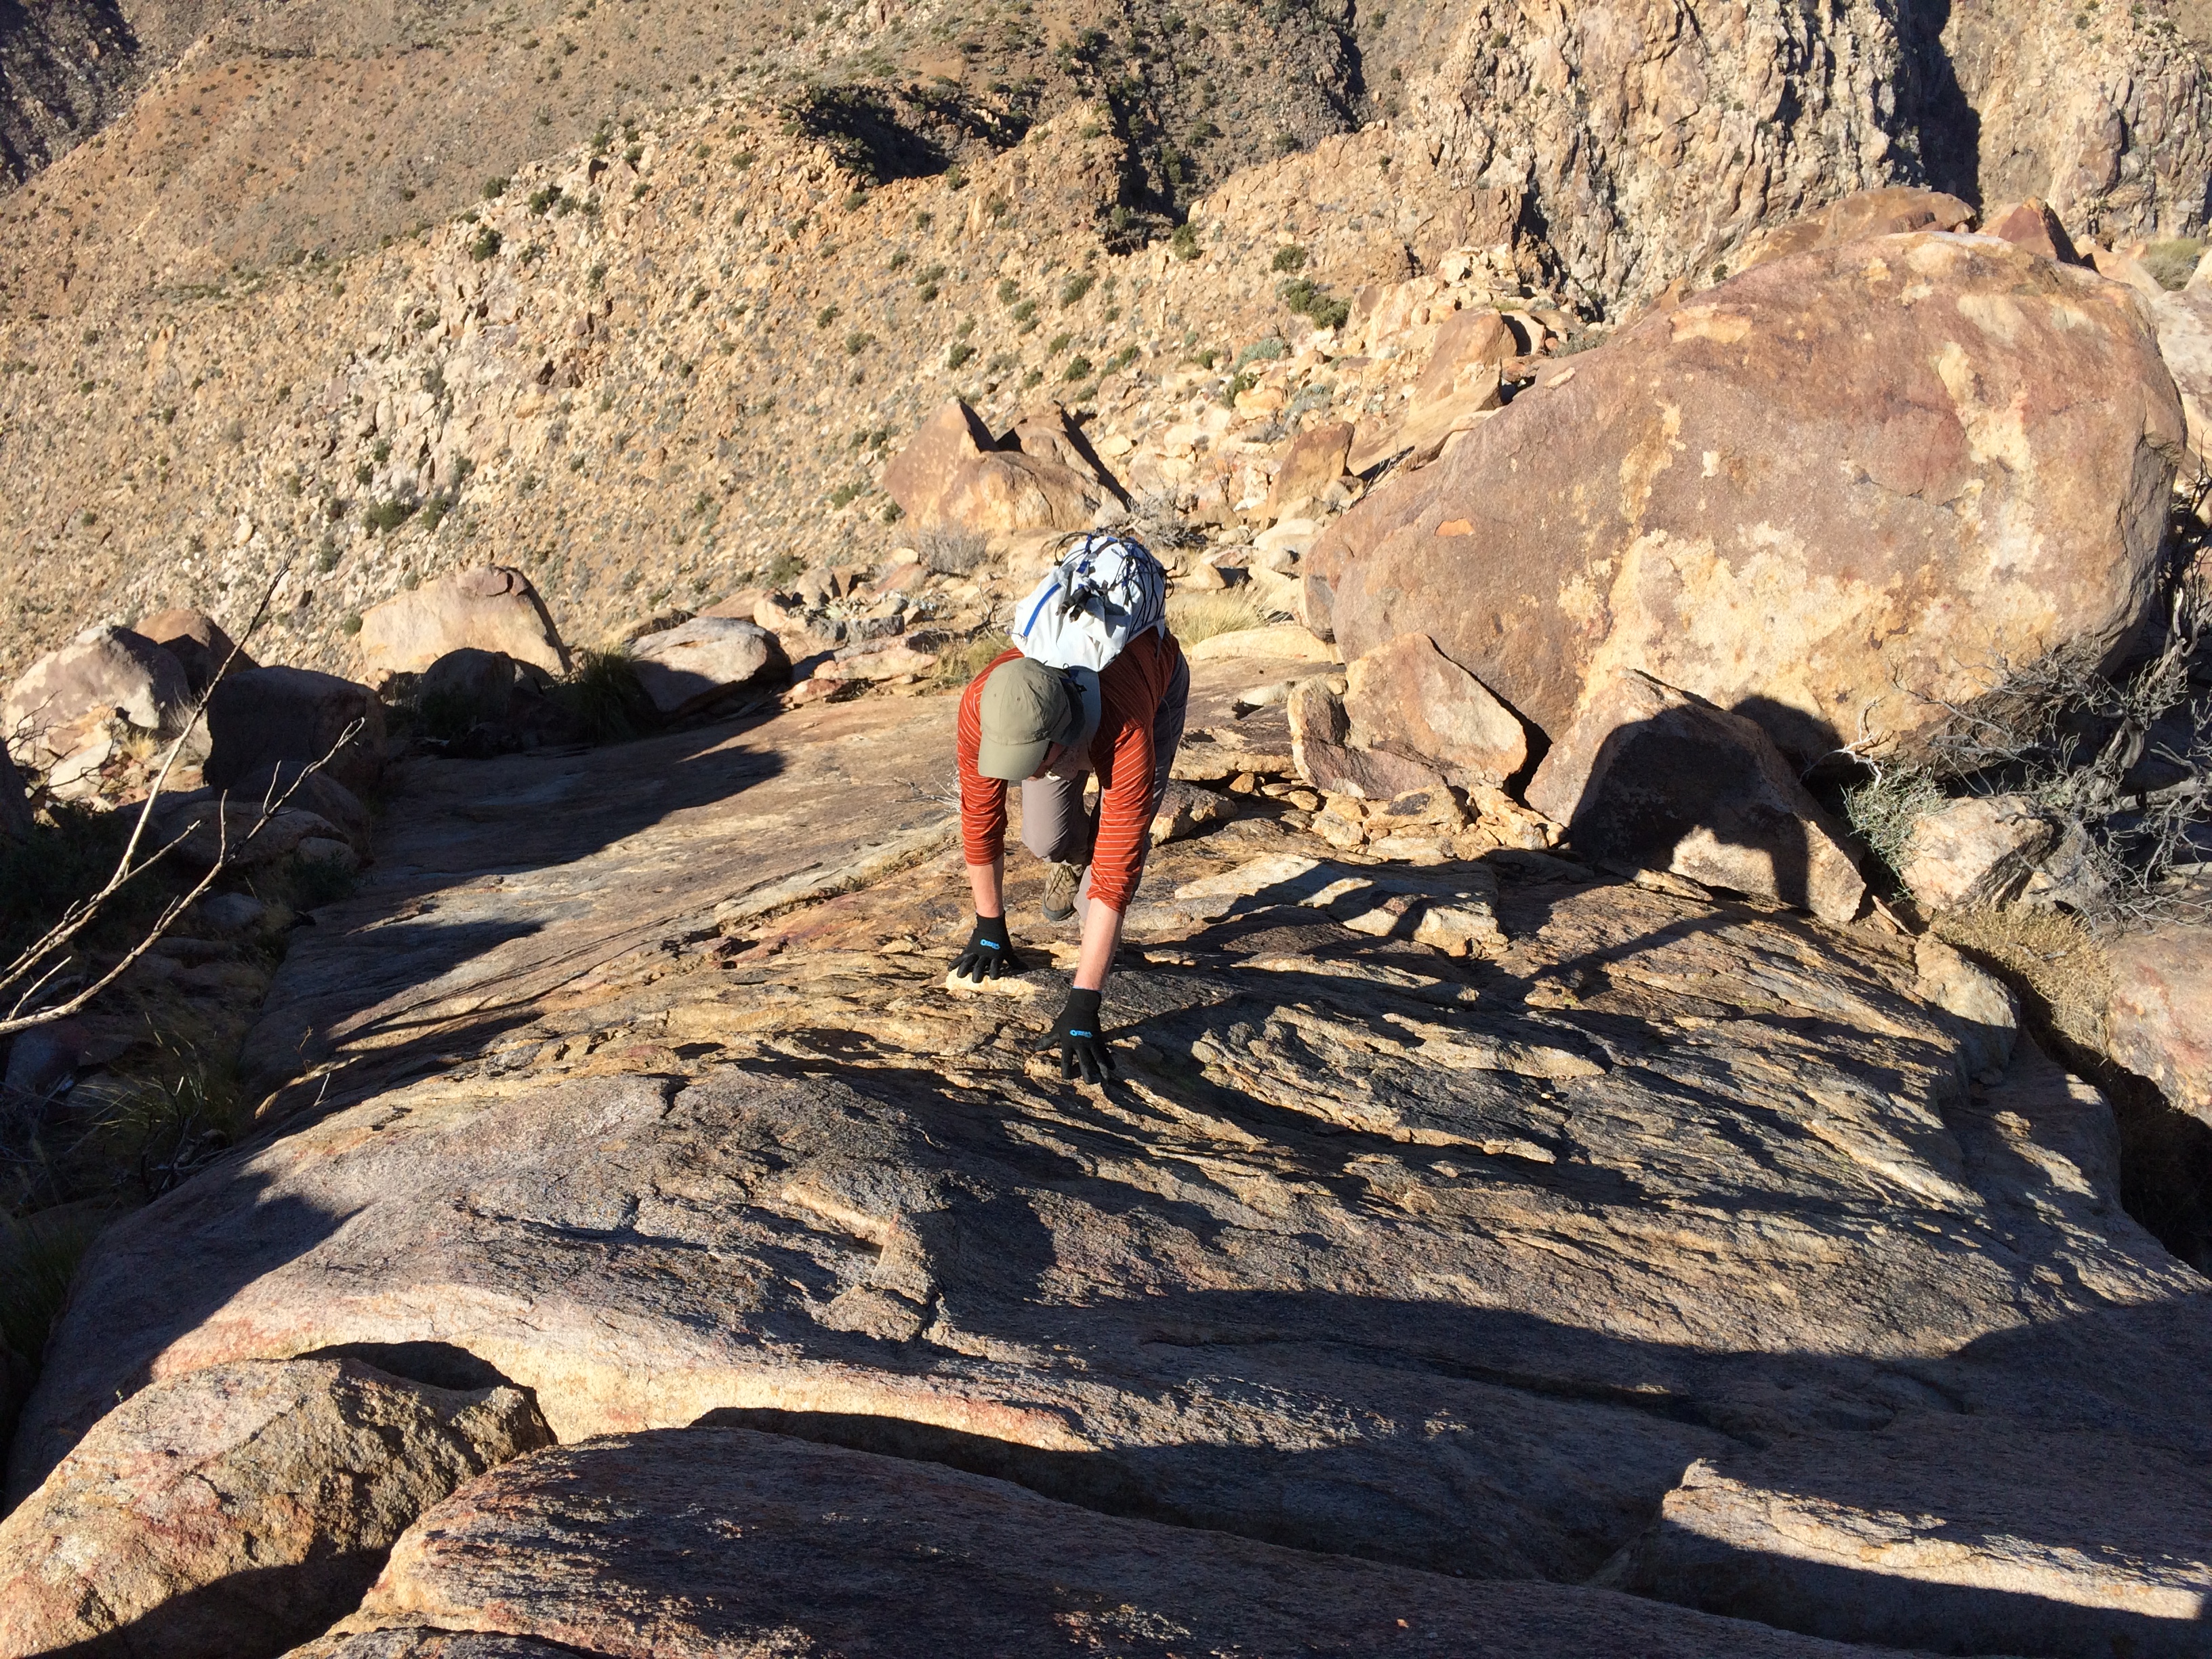
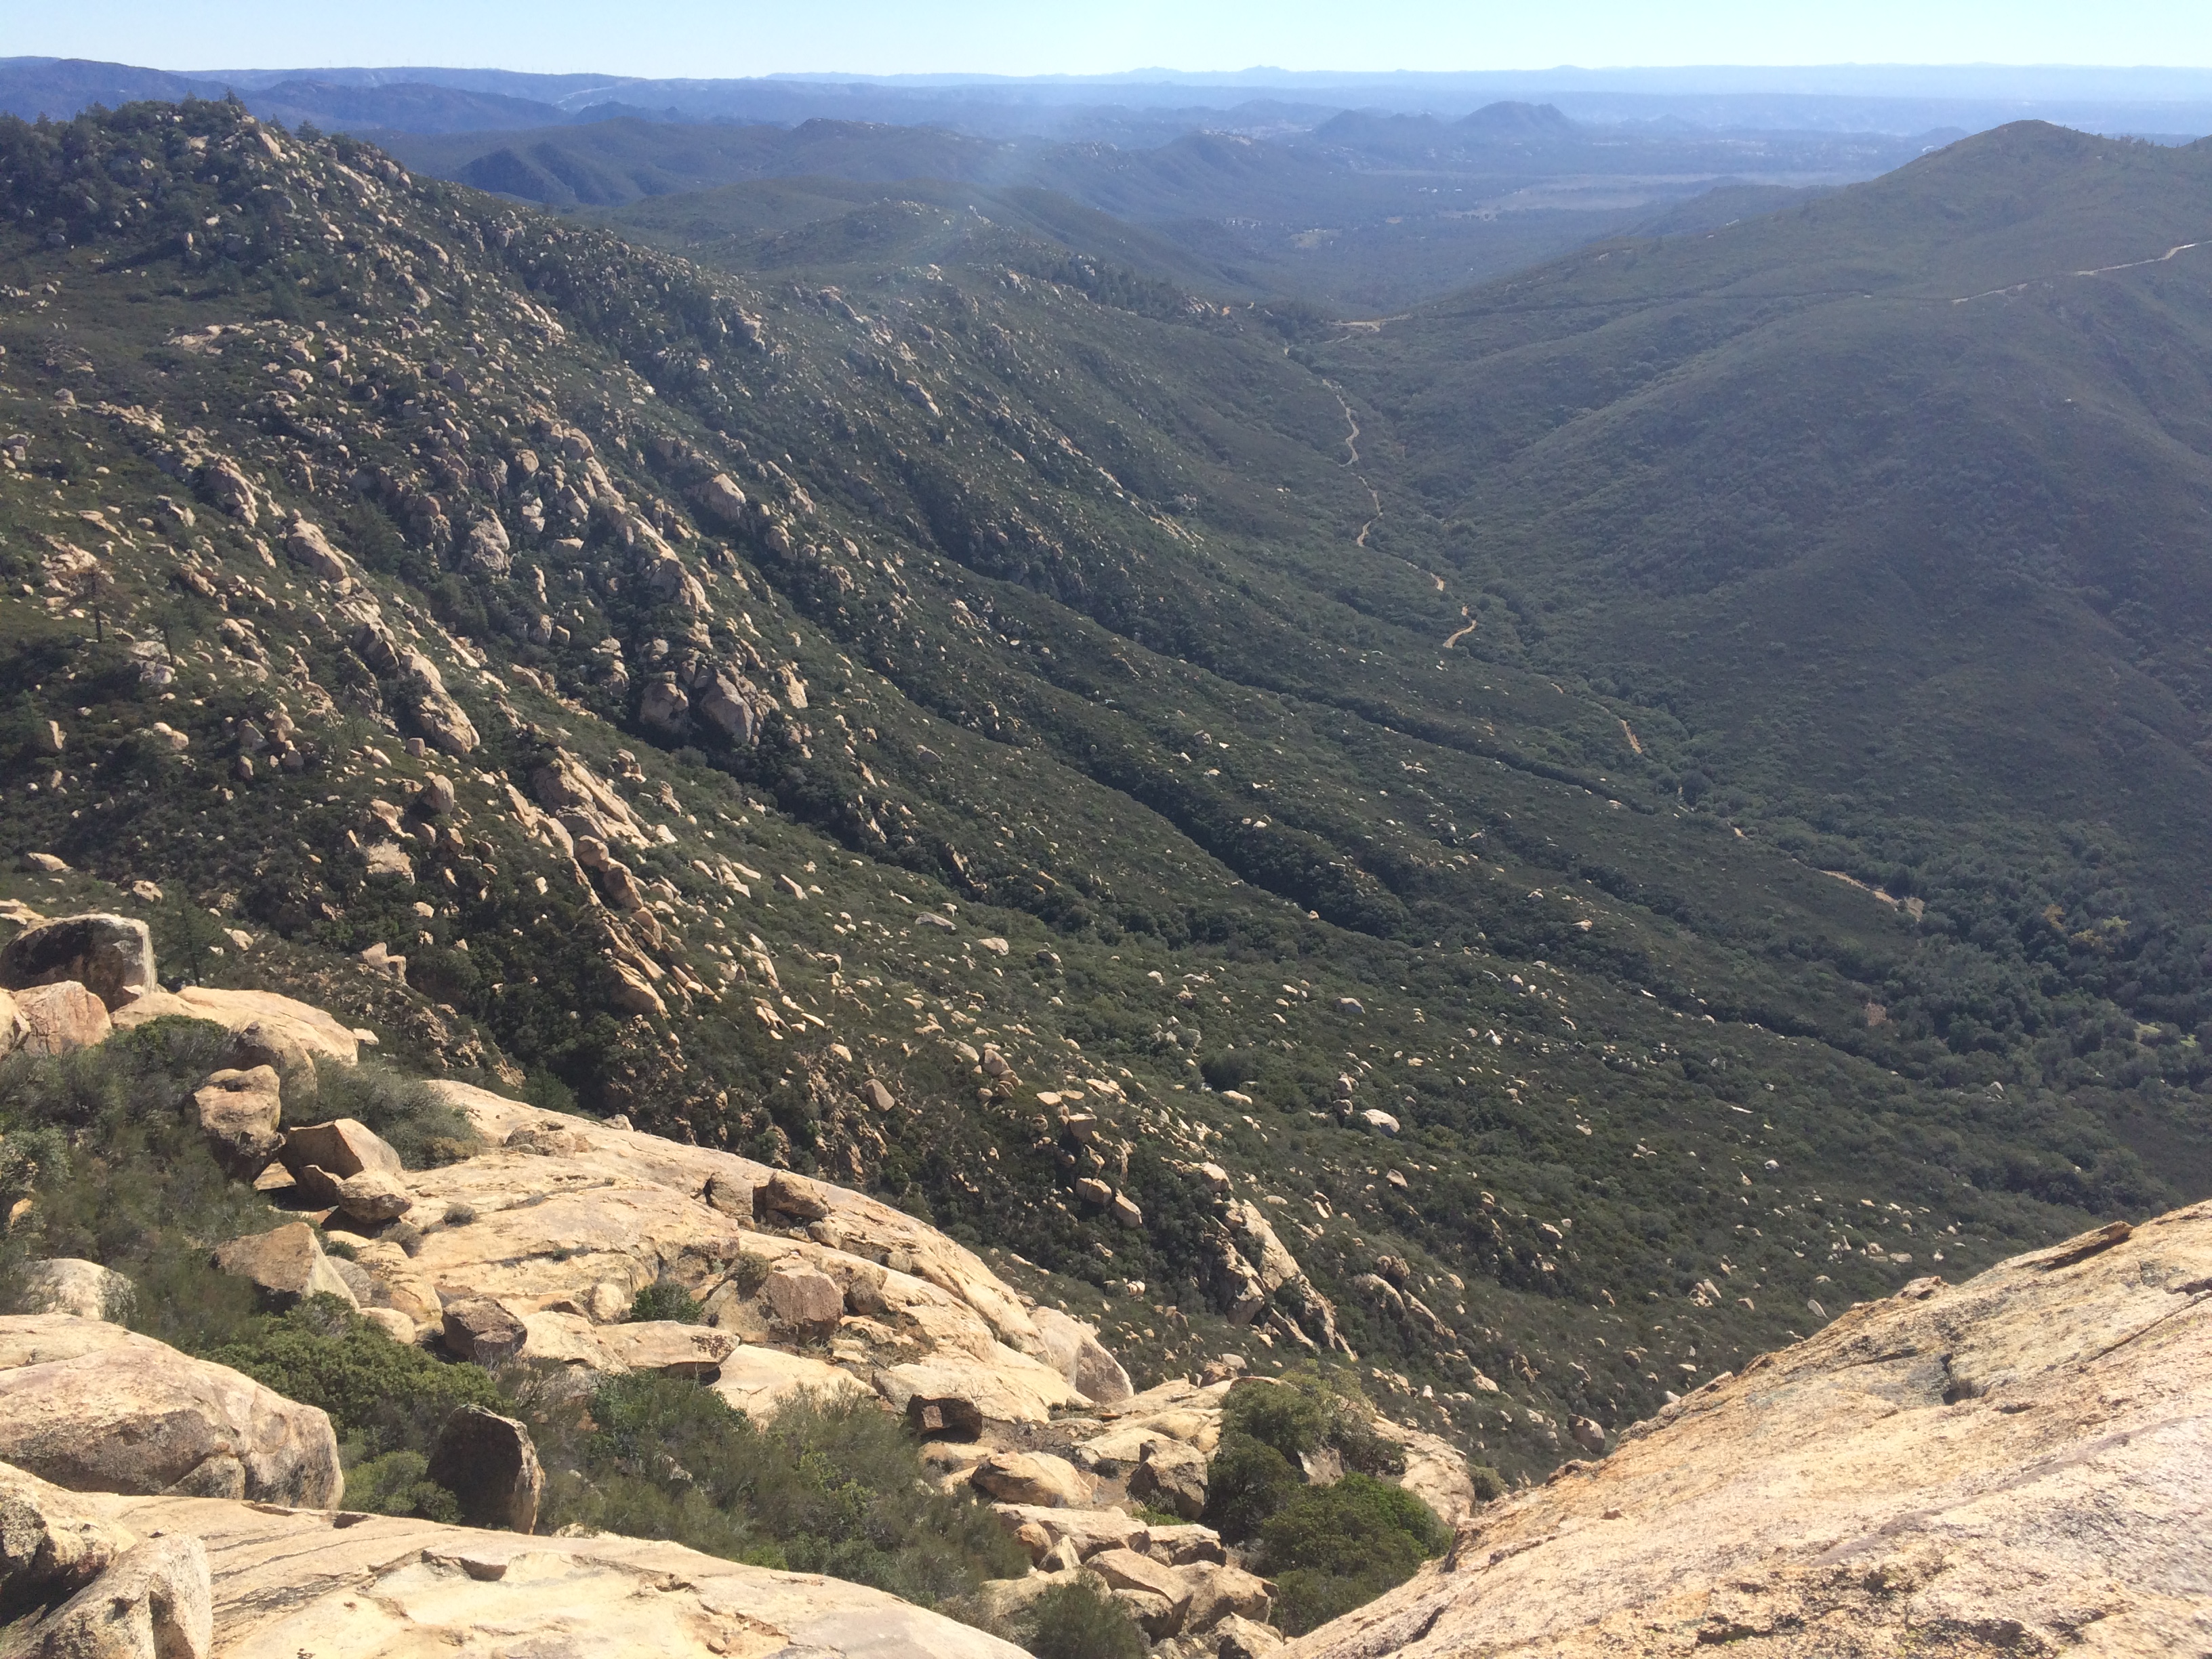
The approach was long and began with a graded flat road, then up steeply up a rocky, rough trail, past several stream crossings and through dense forest, up to the alpine and the Boston Basin where the ridgeline of Torment, Forbidden, Boston and Sahale came into view.
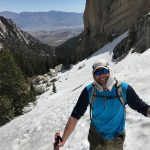
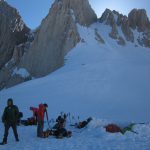
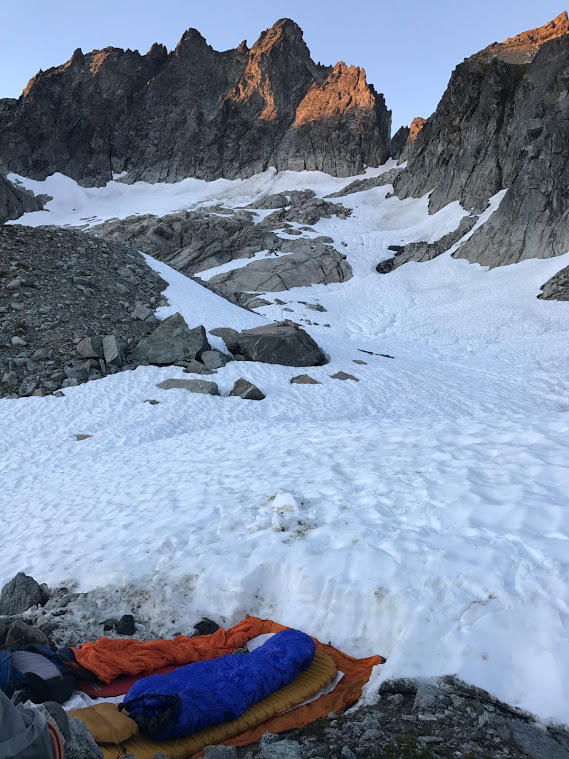
I took a crap in one of the best backcountry toilets you can imagine with a commanding view of Johannesburg Mountain opposite the valley.  We traversed the moraine to the west, up over some polished slabs and shallow snowfields.  Chris punched through some shallow snow and slashed his shin, but his Navy medic training came in handy, he patched himself up and was back on the go within 20 minutes. We climbed through easy 4th class terrain, over a low rib to a perfect, albeit half buried bivy site at the base of the Taboo Glacier.  We chopped it out, it dried quickly in the hot sun, enjoyed a nice dinner while smoke was beginning to blow from the northeast in due to fires burning in BC.
 
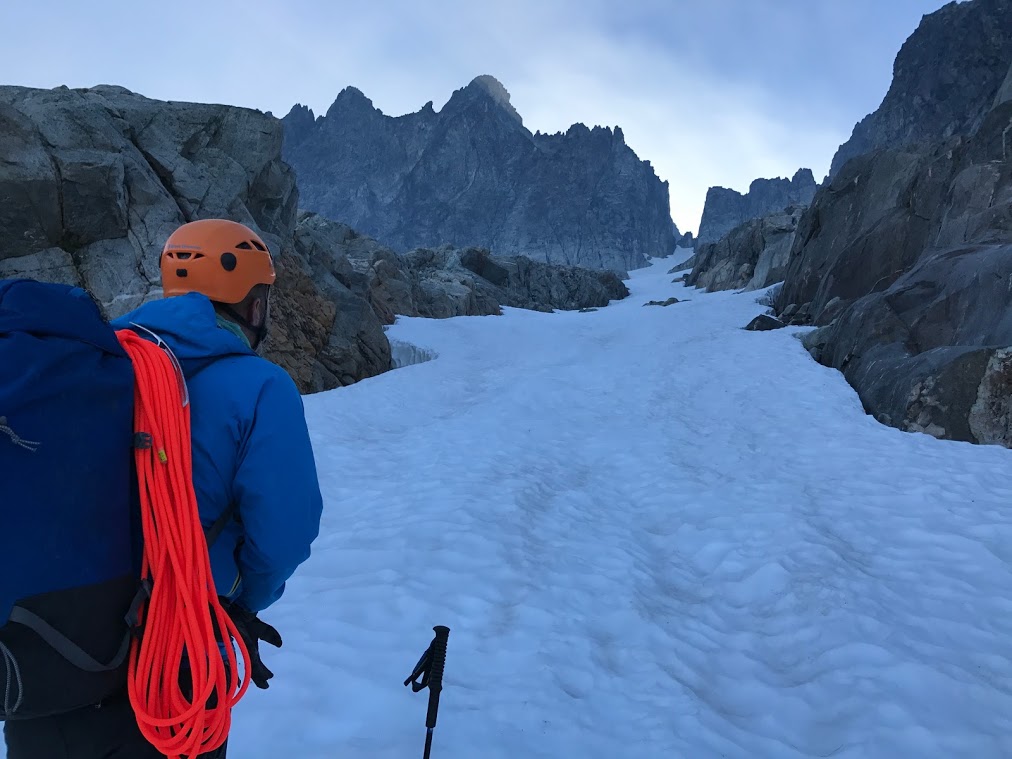
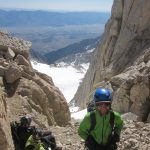
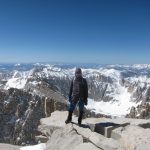
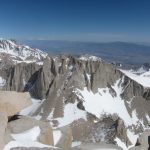
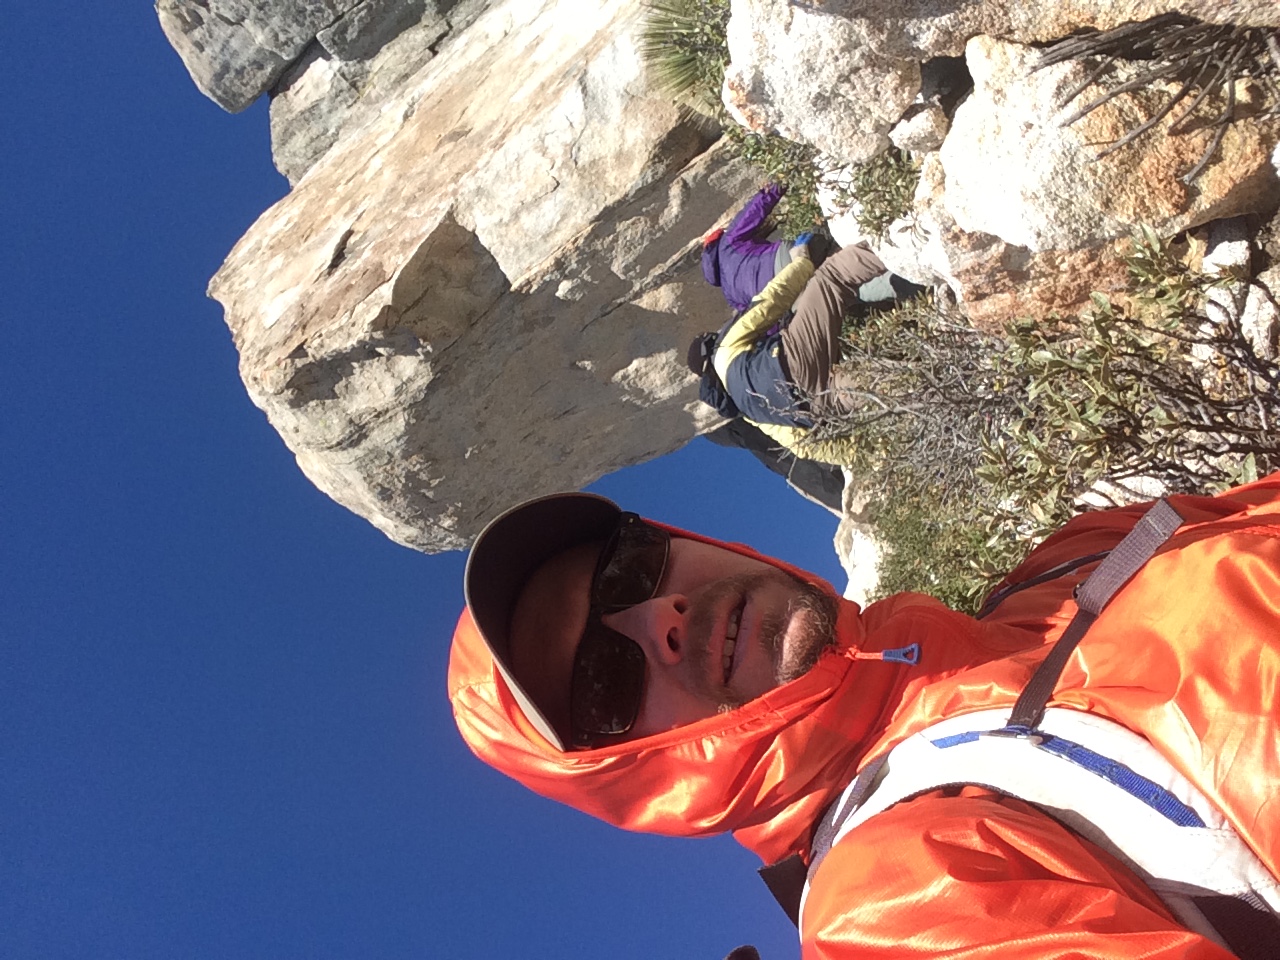
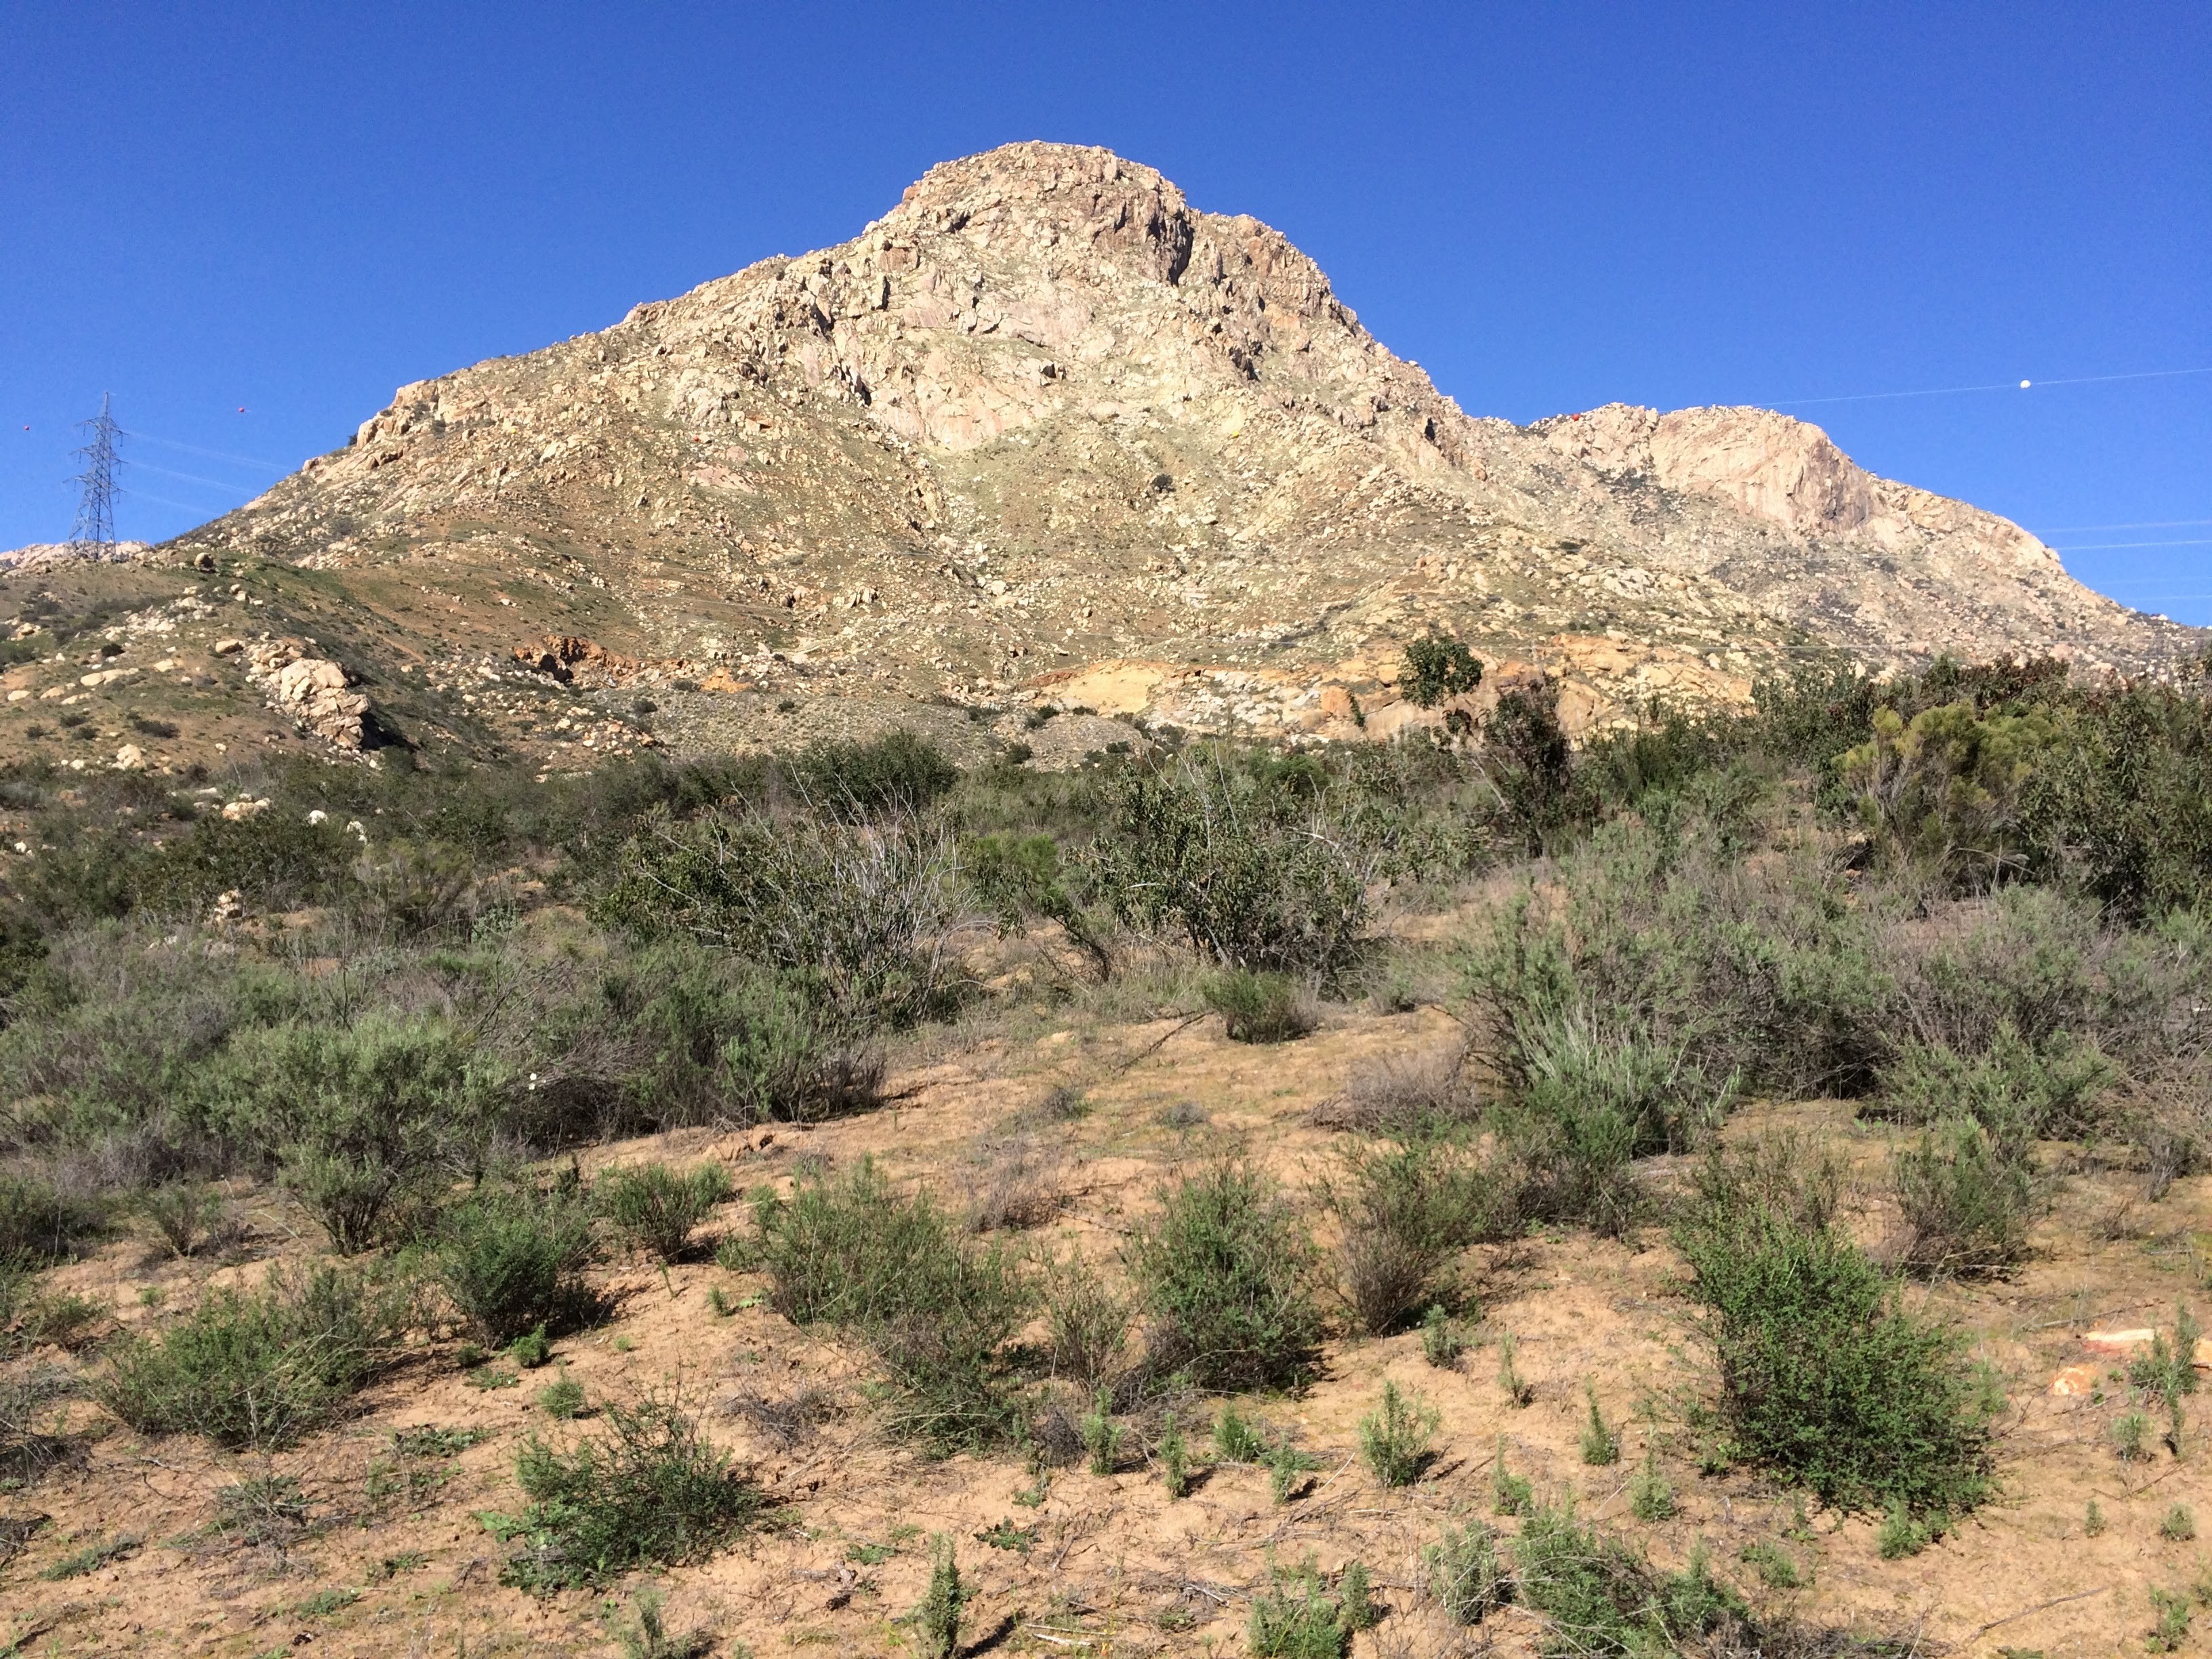
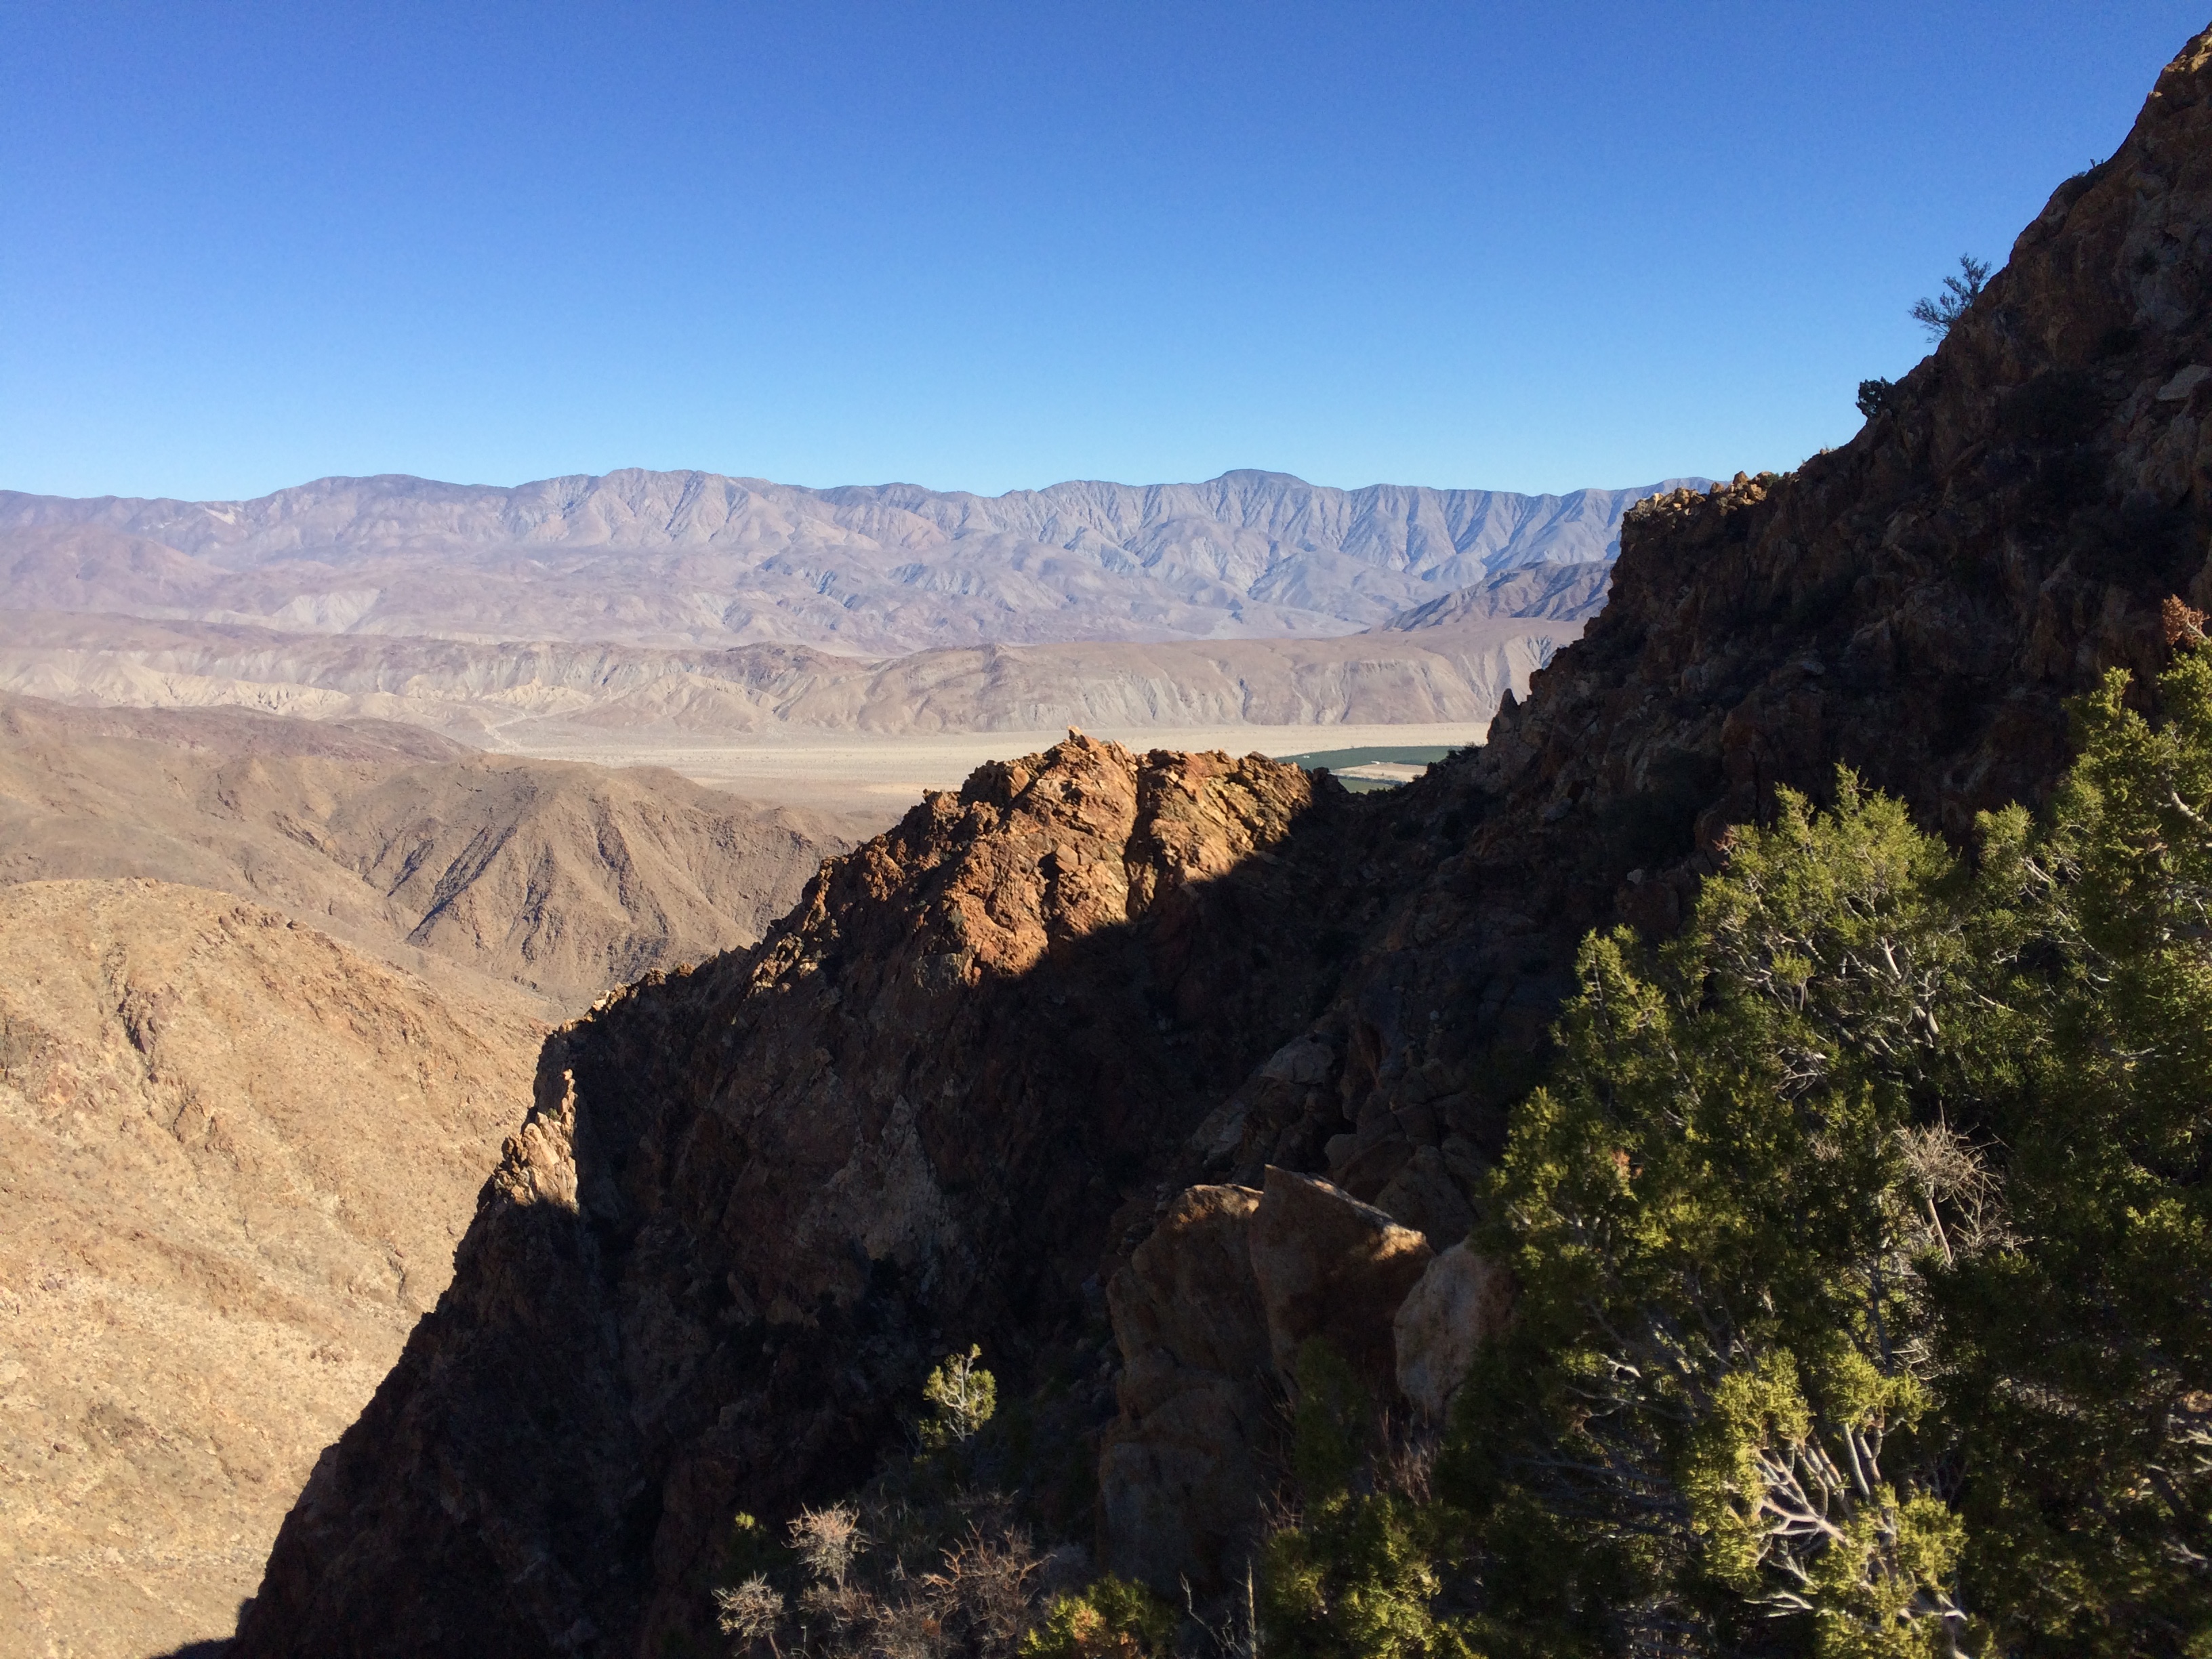
Tuesday we started up the southeast face route of Mount Torment at 5:30 AM. The smoke had intensified overnight and the valley was coated in smog which would intensify during the day.  Heading up the glacier via moderate snow and an easily-crossed moat, we racked up at the prominent notch.  The route trends around the southeast face via a well-defined route, many short pitches of fun and exposed climbing.  Using various dihedrals and ledge systems, trending around the face to a 3rd class gully, then over another notch to a good break spot, we dropped packs and continued around the summit block on easy 4th class terrain to the summit. Views were expansive, including El Dorado Peak, Sahale Peak, Granite Peak, and Moraine Lake.
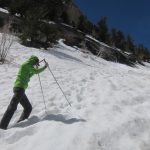
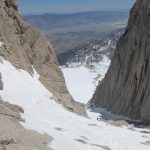
From here we rappeled twice into the southeast face of the ridge on easy terrain to a notch, where we could see El Dorado peak and Moraine lake below.  The Torment glacier below was steep and heavily moated.   Chris rappelled down and was forced to put crampons on while hanging in the moat.  After what seemed like an eternity, he gained the snowfield, gave me a belay while I did a free-hanging rappel on to a ledge and across the snow bridge, finally climbing up out of the moat on about 3 meters of near-vertical snow.  Crossing this moat took nearly an hour and was the most challenging section of the route.
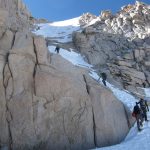
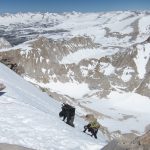
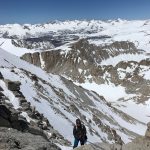
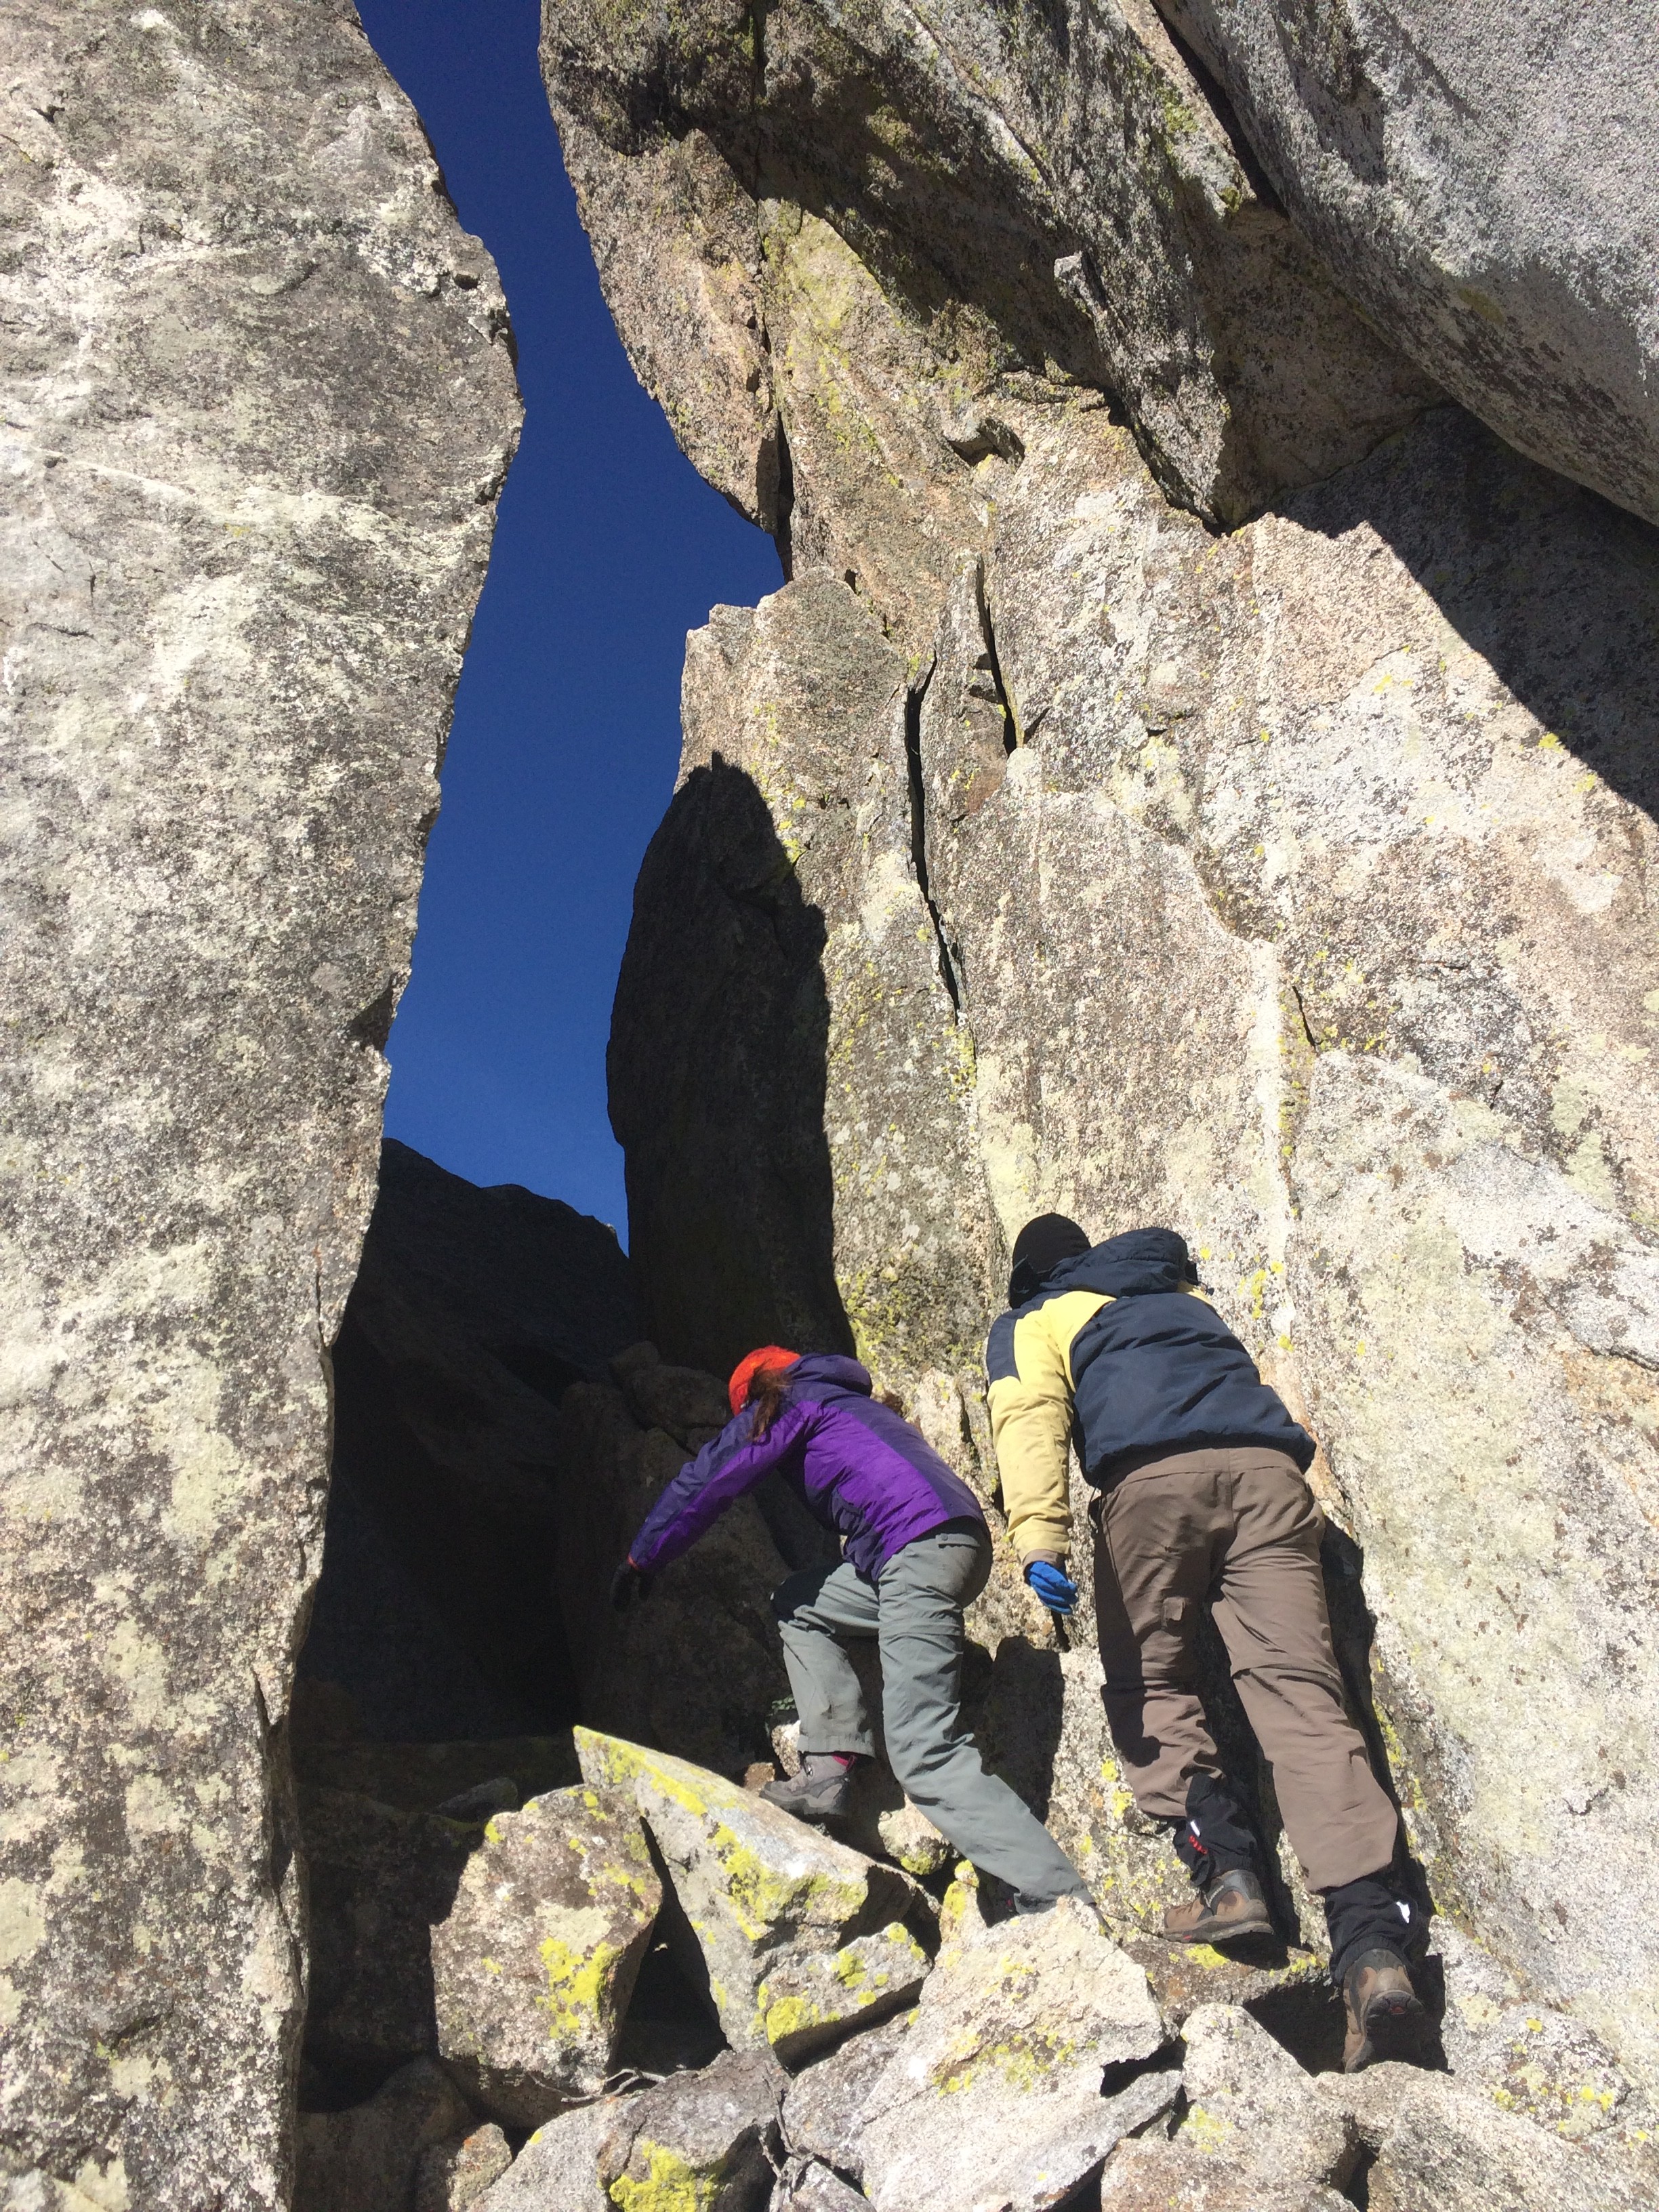
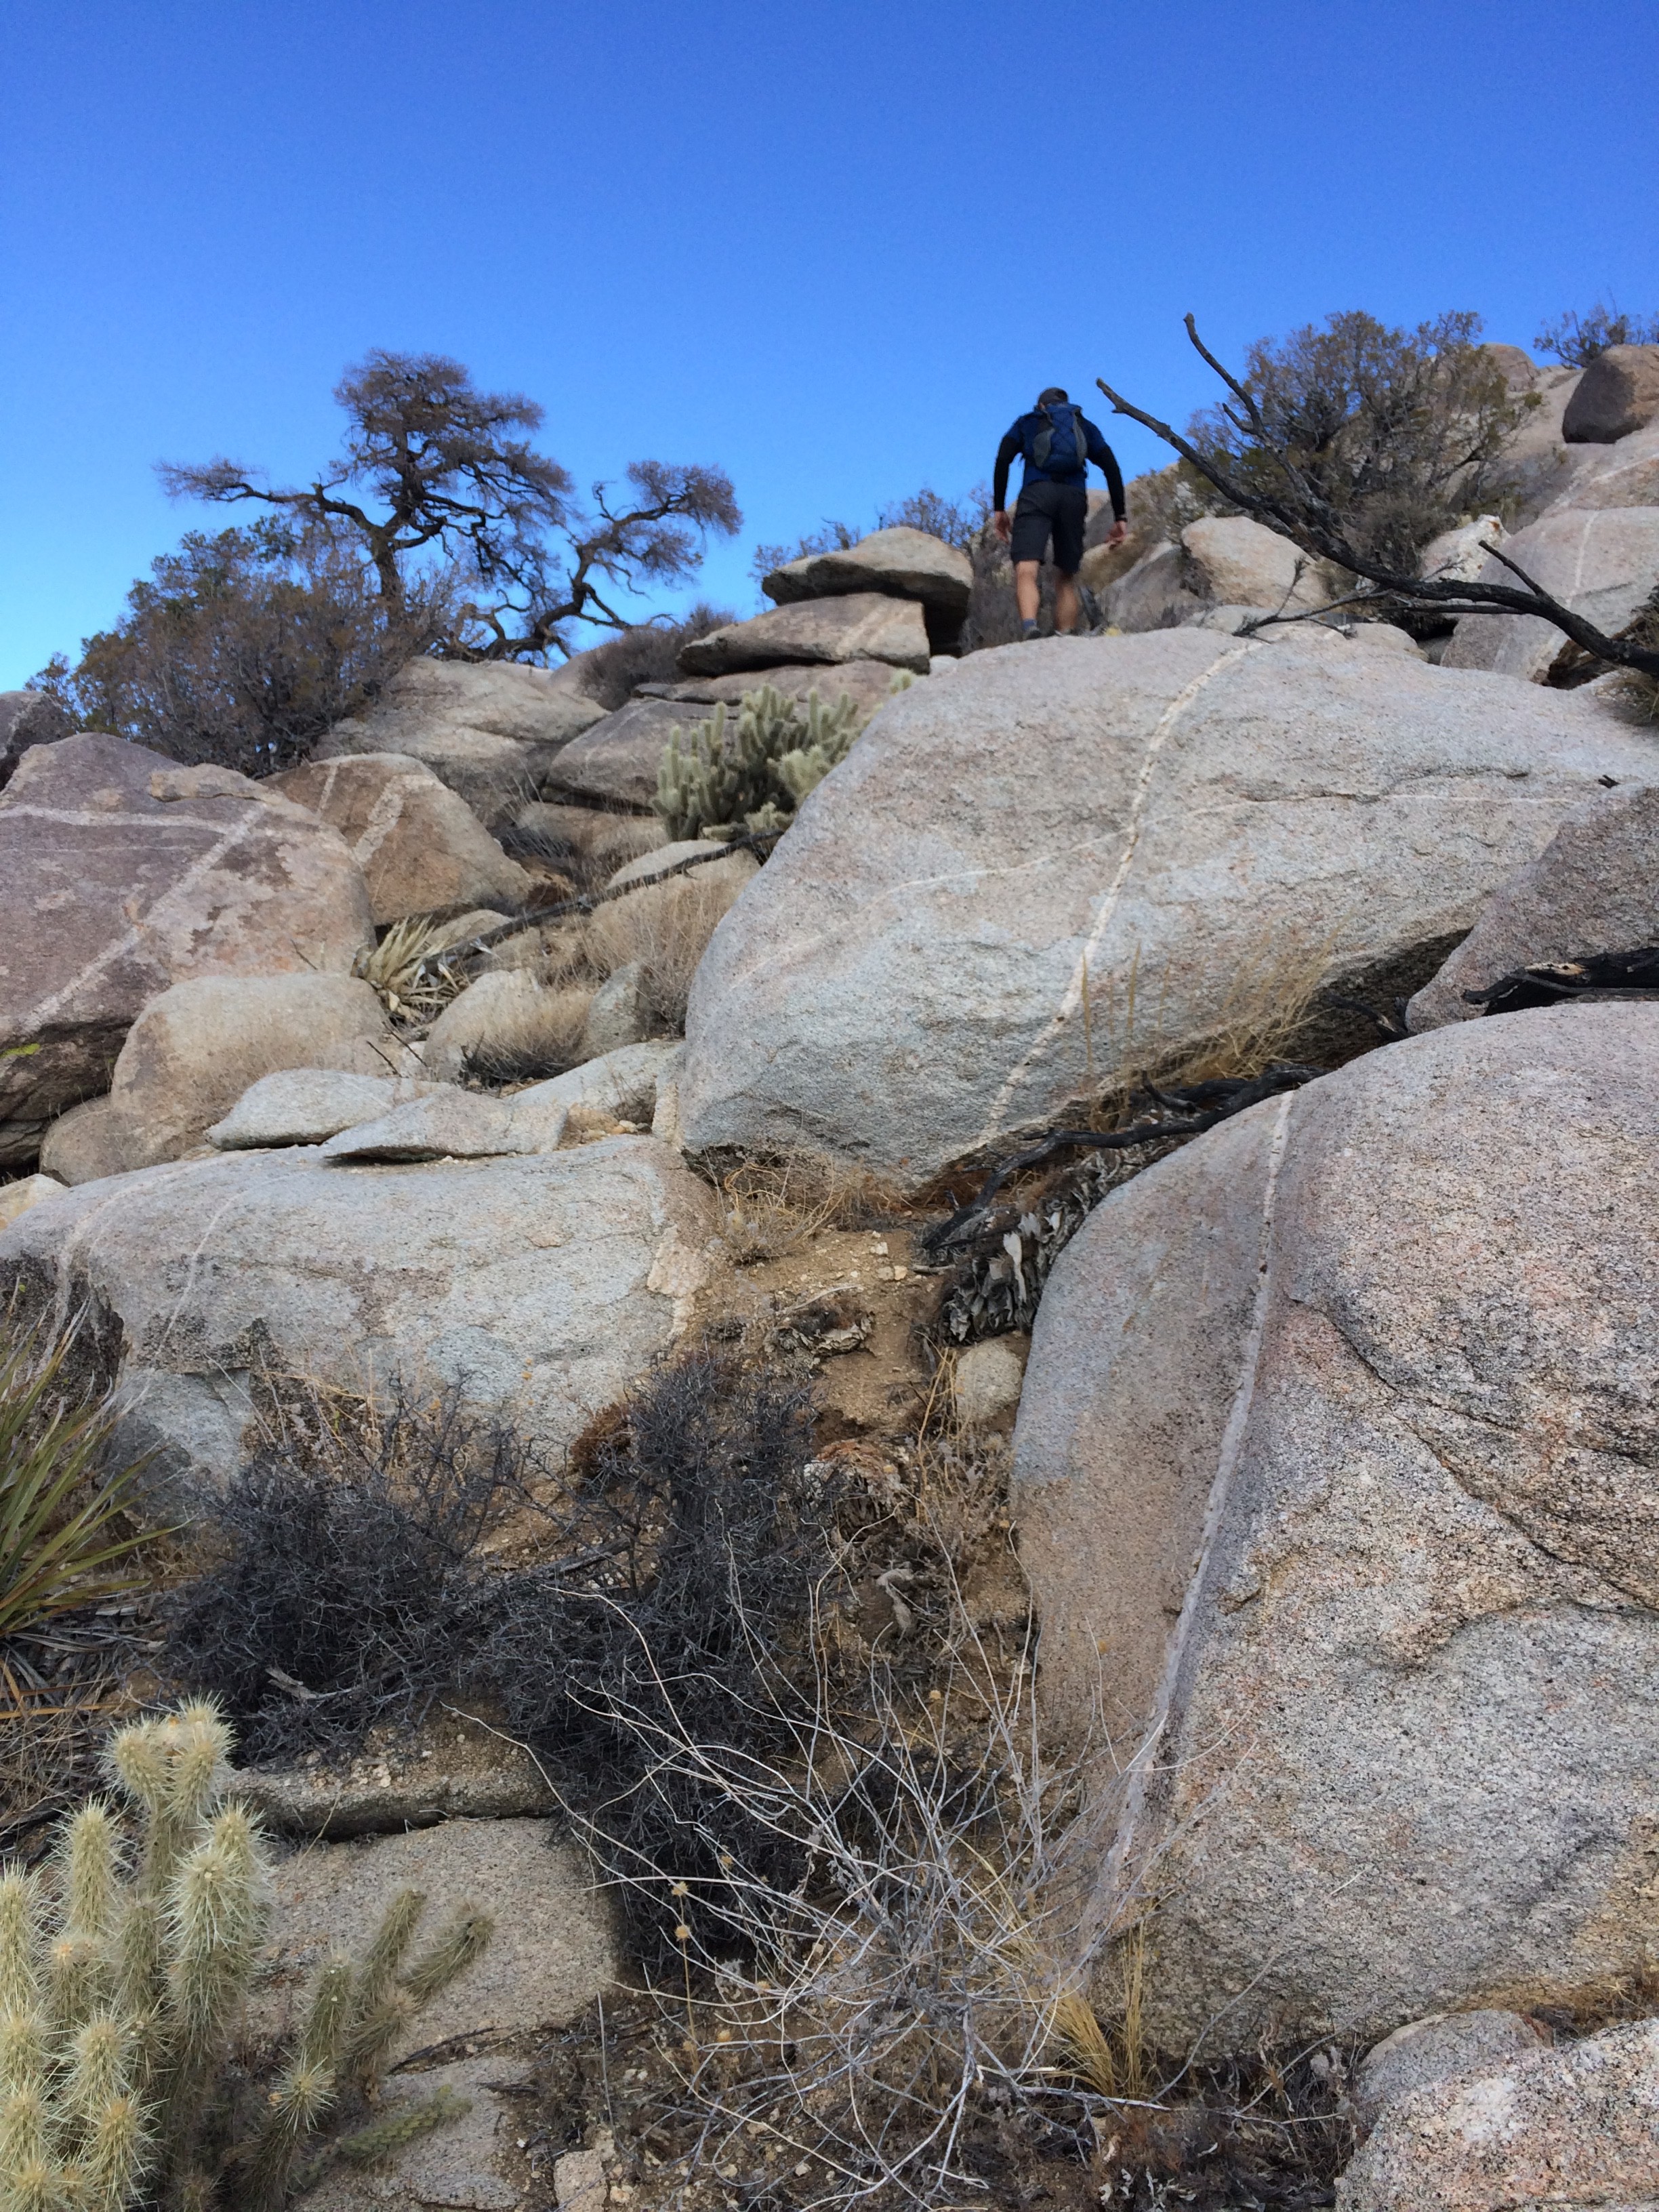
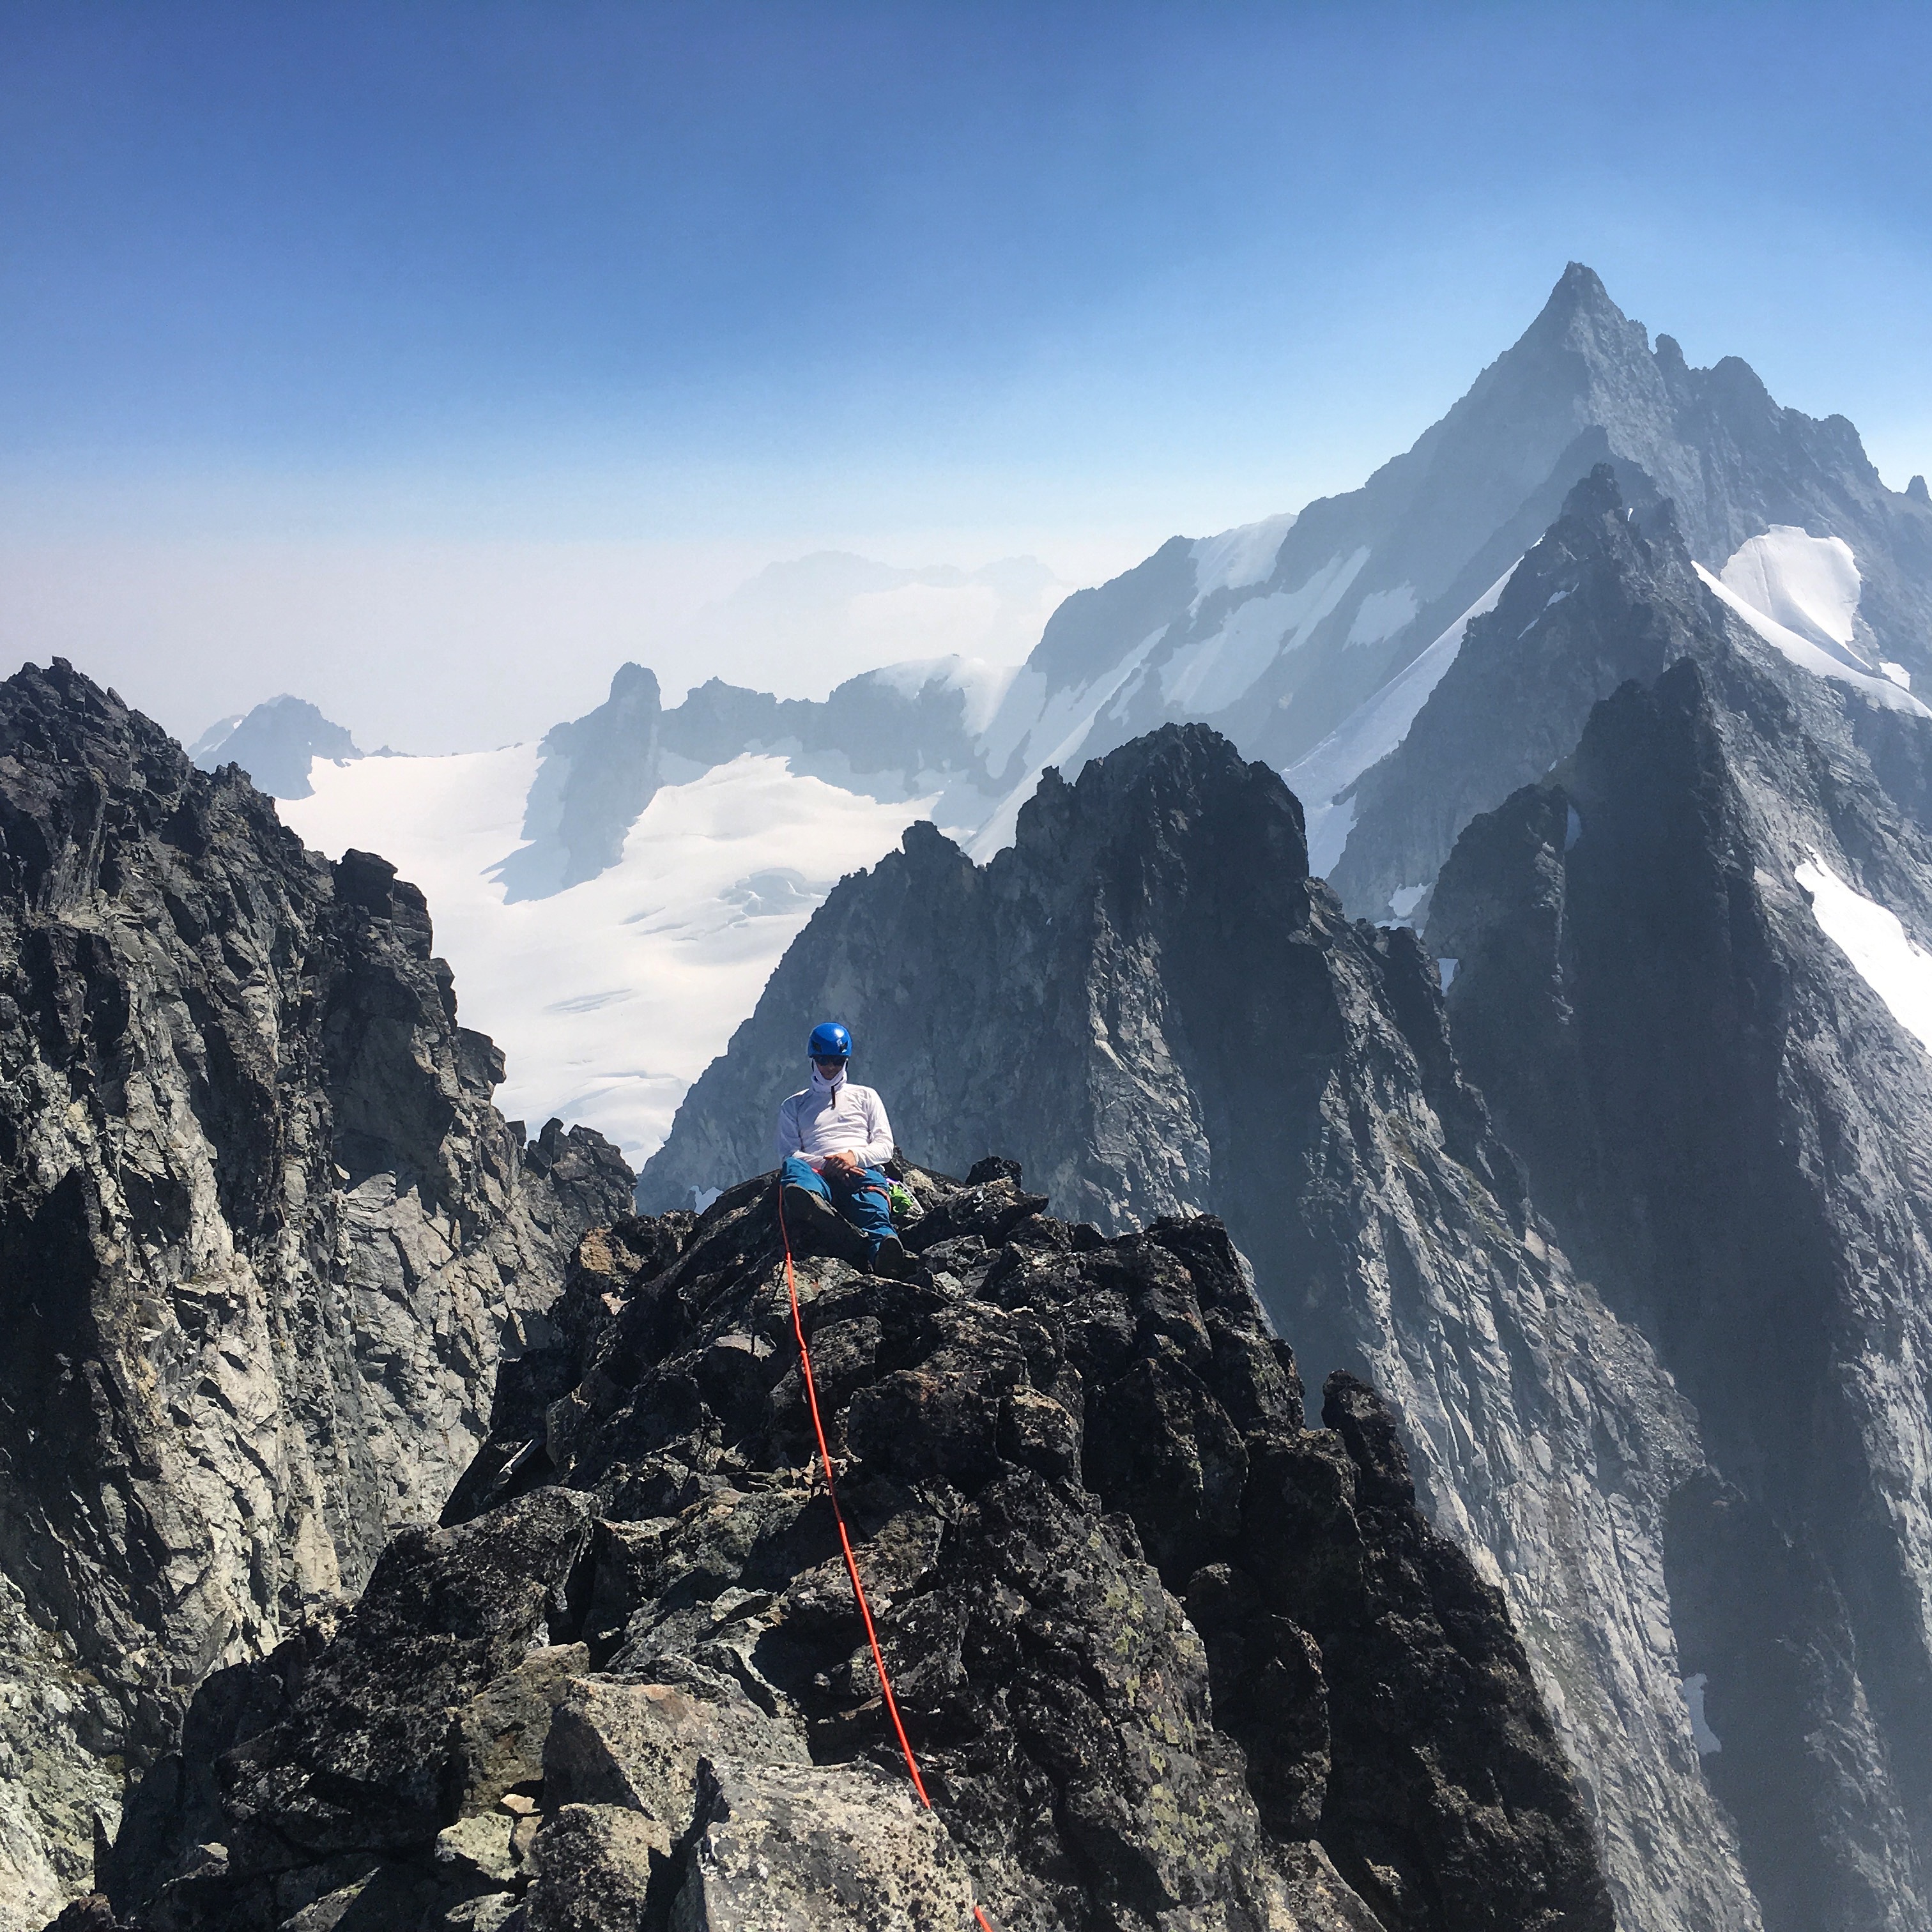
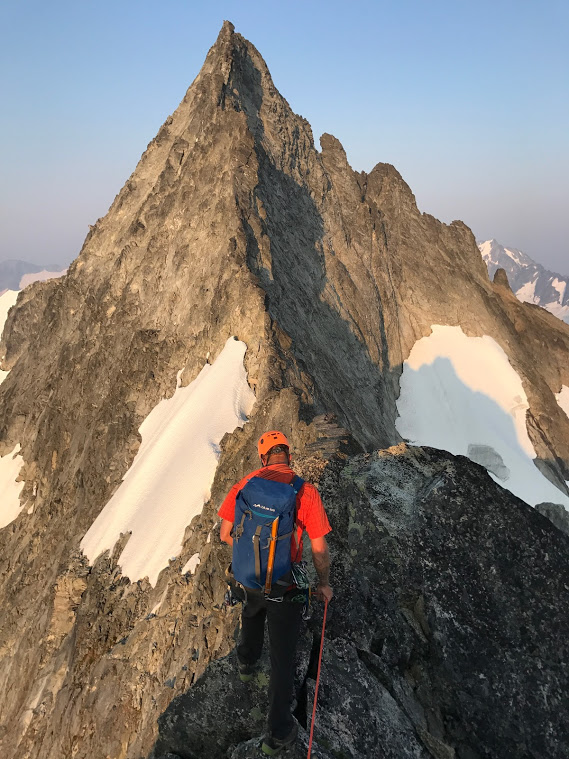
Once on snow, we traversed about 100 meters of a 50 degree steep snow slope to the bottom a dirty, loose rib, working around the north side of the rib to cleaner rock where Chris did 3-4 pitches of exploratory 4th and low 5th class, finally to arrived at a prominent, flat snow notch that  Chris called the V-notch, which allowed for faster travel along the ridge, using the shallow moat to bypass the low rock towers.Generally working around the towers and alternating from the south to the north side, we moved relatively quickly, through a second notch Chris called the U-notch, and then ultimately ending up at a broad, grassy, melting snowfield where we had water and a break before moving up a loose and sketchy south-facing slope to the top of the ridge.
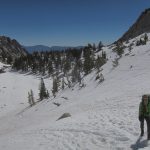
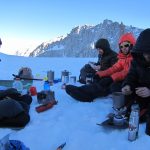
At the top of the ridge we covered several hundred meters with huge exposure on both sides, culminating in a series of sidewalk-like flat blocks which could be walked over with ease. I was so exhausted I really could only barely enjoy it, but I stayed upright for the most part.   We did a short rappel off the top of the ridge to some 4th class ledges and ultimately scrambling up to the bivy notch, a perfect spot on the north side of the ridge adjacent a snowfield, with a nice gear storage area just above, one of the classic bivys for sure.  Had dinner, chatted, passed out just after sunset and 14 hours of sustained climbing.
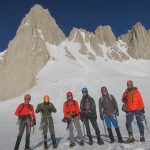
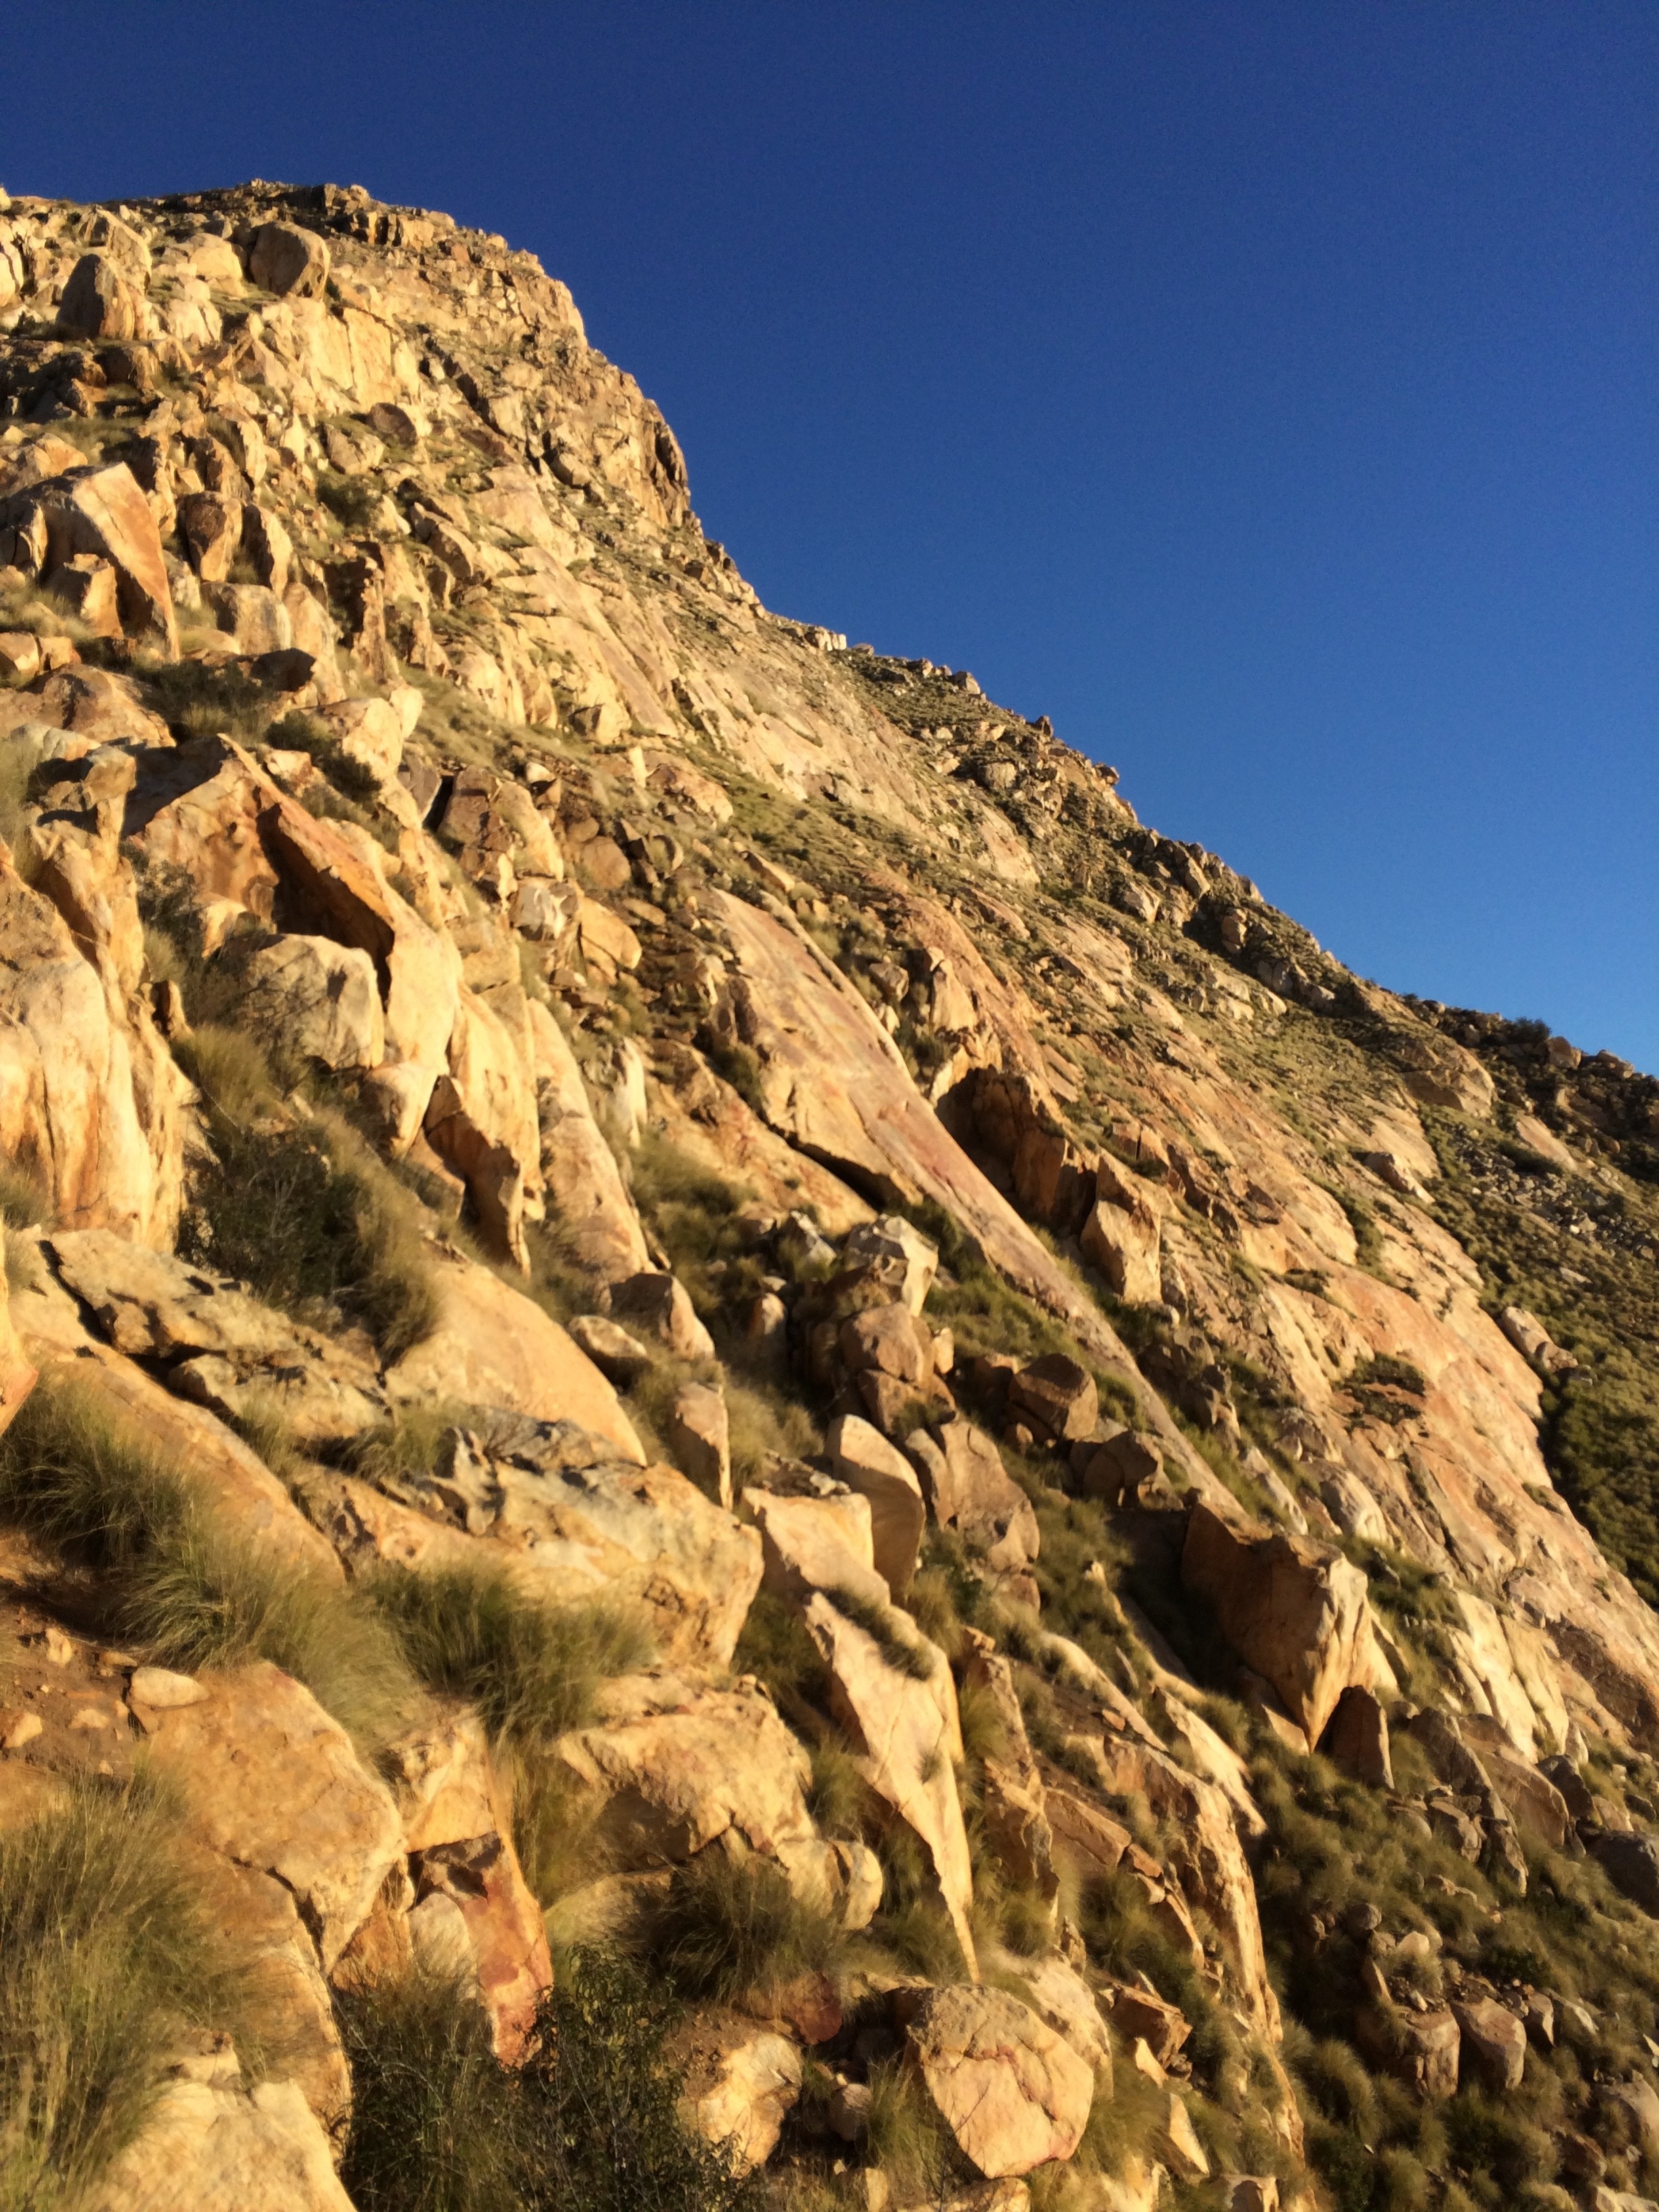
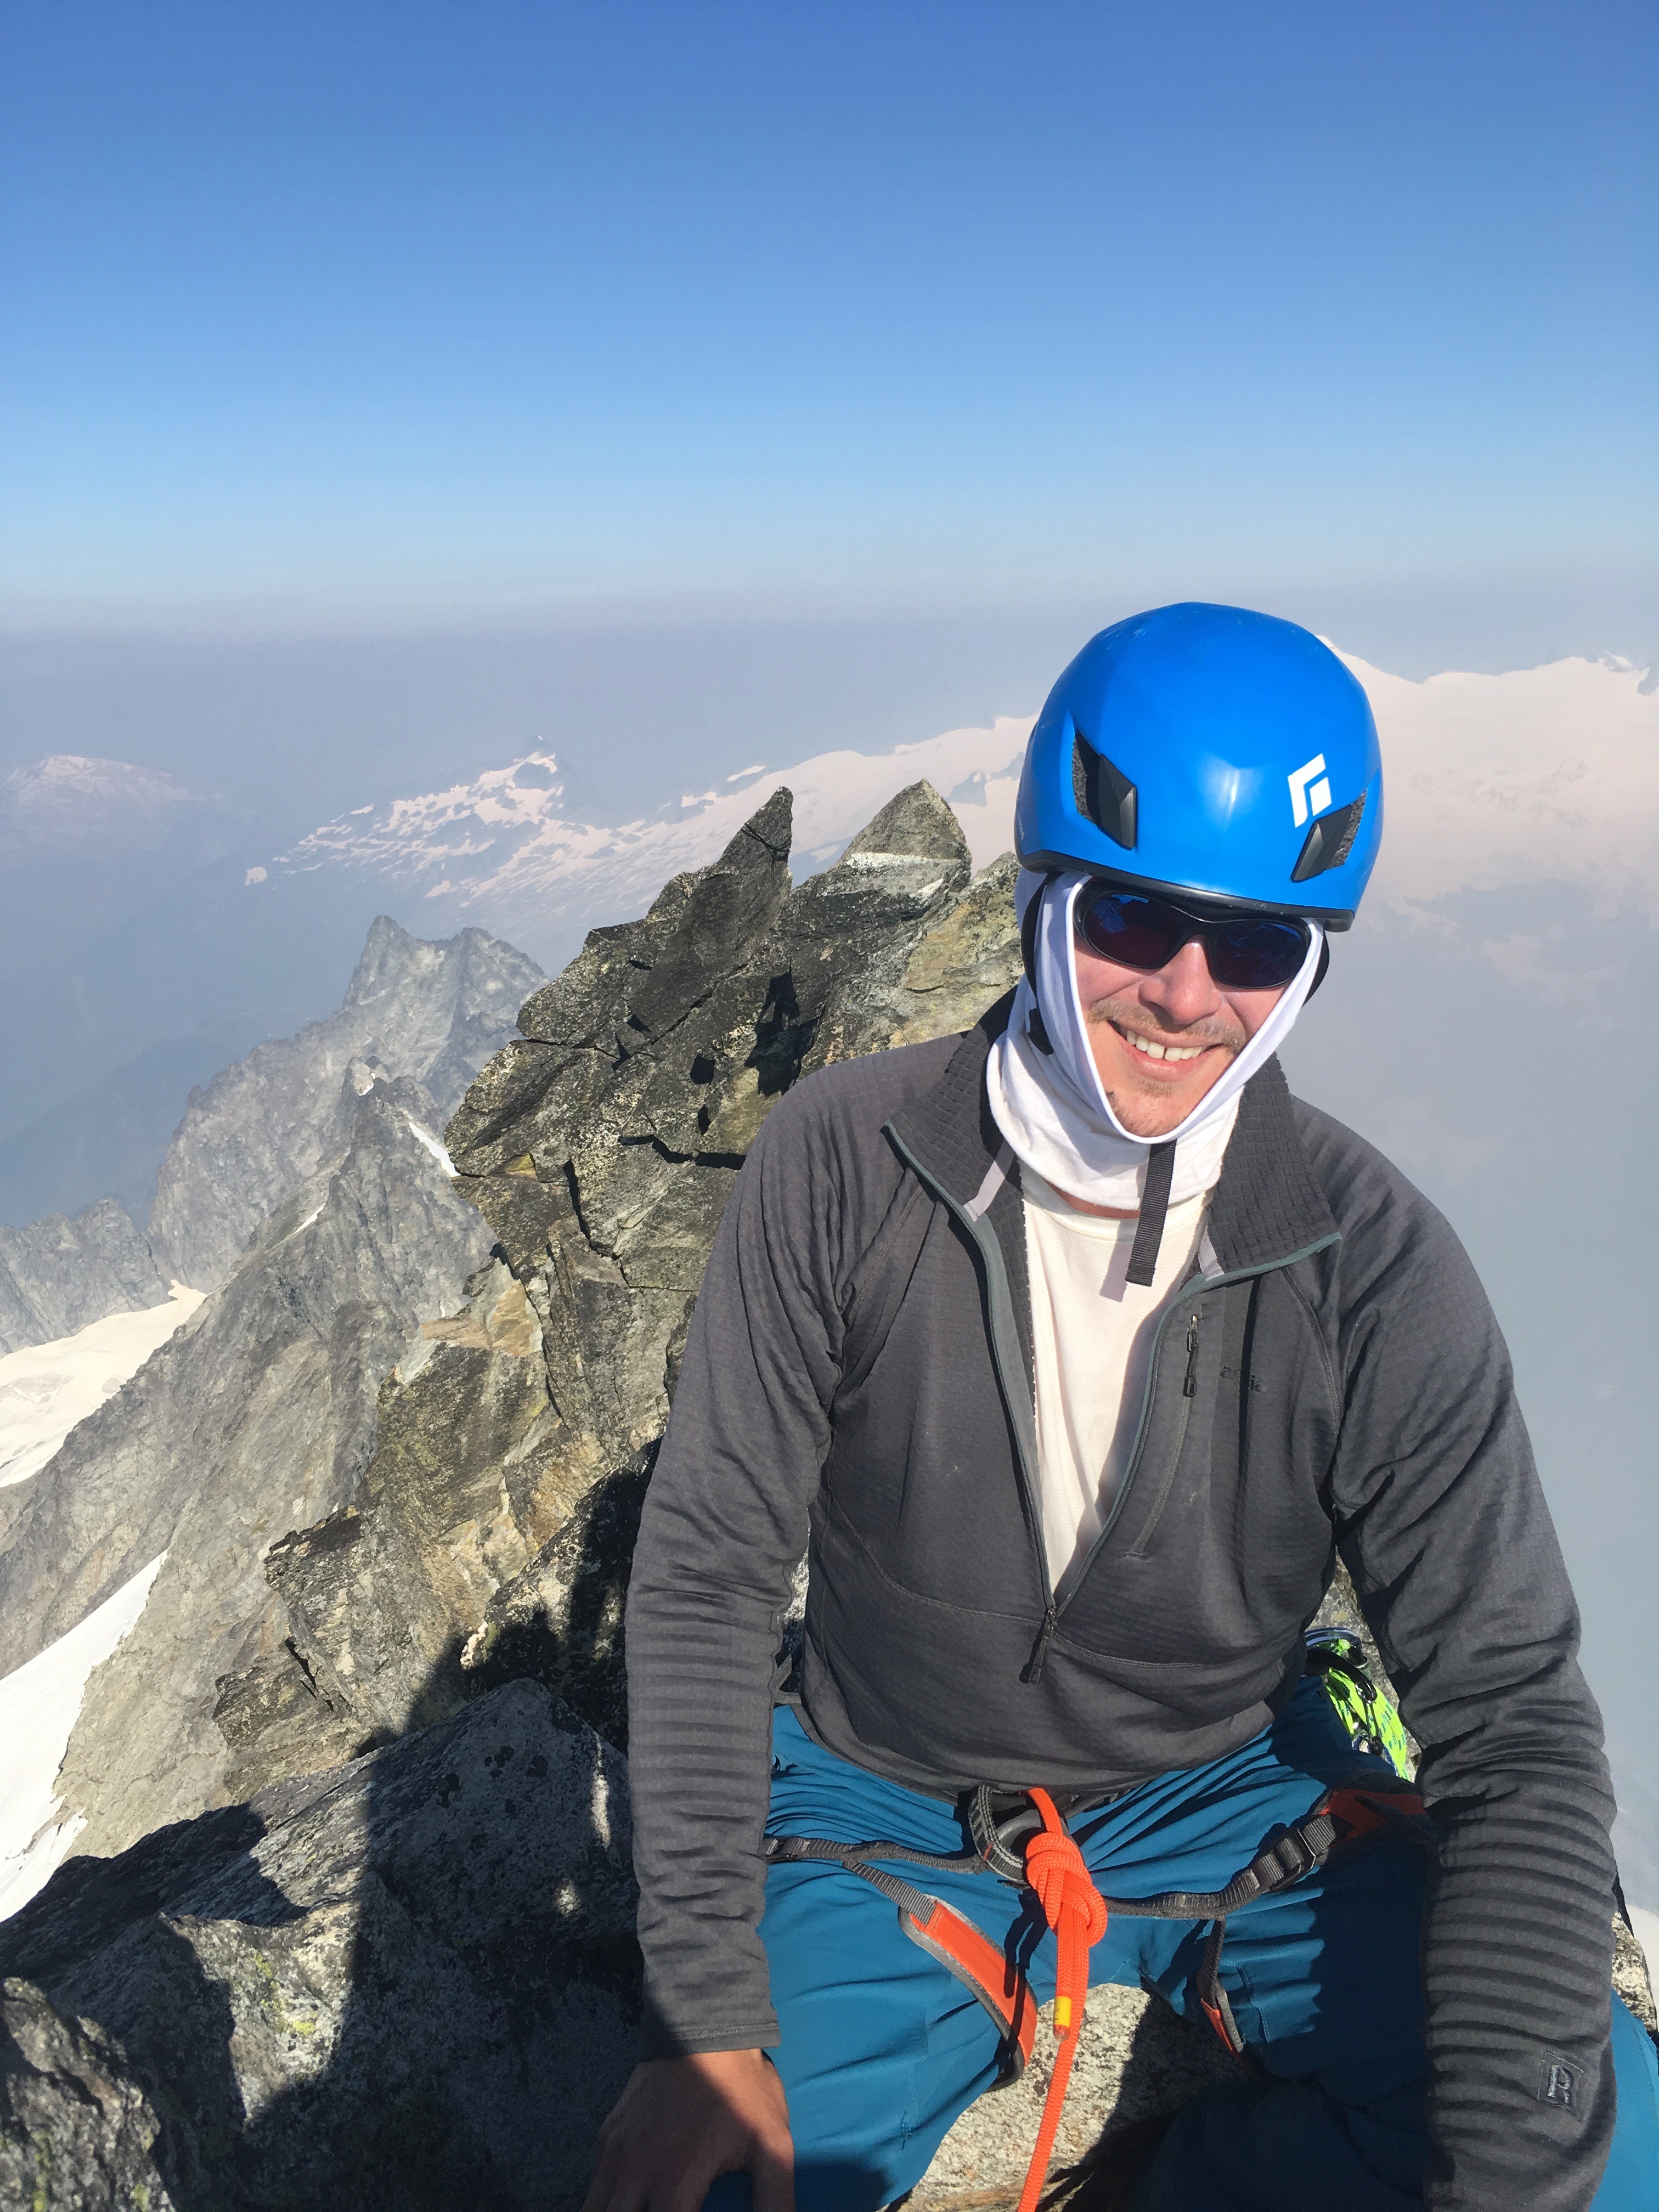
Wednesday started a bit late, around 6:30.  Smoke had now completely filled the valley and visibility was minimal. We broke camp and headed up the west ridge of Forbidden, starting immediately with an easy, airy step-over, then following mostly 4th and low 5th class terrain up the ridge, avoiding most difficulties by staying on the north side.  A few short fifth-class moves including some low angle friction slab traverses, a slab boulder problem which gave me a bit of trouble, an exposed traverse on which I slipped on a dirty step but caught myself,  and an easy 5th class downclimb off a tower just below the summit. Chris knew all the tough spots so it was easy to just follow instructions and we moved fast.  At the summit we could see that the smoke pollution was intense and the entire area was cloaked in smog.  Overall the climbing was fun, sustained and not too challenging, this really lived up to it’s reputation as one of the 50 classic climbs and was generally a blast.
The descent route from Forbidden is very complex. Descending the west ridge was primarily down-climbing, with a few sections where Chris lowered me. Overall very positive holds, no major difficulties and we moved well.  We passed 3 guided parties coming up and Chris chatted with some of his colleagues. Back at the notch, we descended loose 4th class terrain to a prominent rock rib between two gullies.  The first 2 rappels went over low-angle terrain.  Rap stations were easy to find and were solid, with fixed pins, nuts, and nicely equalized rope anchors.
At the top of the 3rd rap an unguided party came up the gully to skier’s left, an unsafe place to be due to rockfall hazard.   The leader darted around the anchor before moving above us and I noted he made me nervous.  Chris rapped down and I followed.  As I reached the belay, we heard “Rock” shouted from above and lunged into the small cliff at the rap station.
A toaster-sized block came flying down and narrowly missed Chris’ head and exploded on the ledge.  Chris politely notified the party above of their carelessness but thankfully no one was hurt.  The belay was carefully chosen to provide shelter and it was much appreciated.
Watching another climber move from being in a rockfall hazard zone, then to climb above us to then create a rockfall hazard, confused me. it took me several minutes to accept that it was out of my control, but a part of me was angry at myself for not confronting the climber at the belay.  I knew he was unsafe.  I could have asked him to wait at the belay until we were out of the fall line.  Chris snapped me back into reality, something he is very good at, and we moved on.
The 4th and 5th rappel took us out of the fall line onto solid high angle rock, and finally down above the snowfield, where we did one final 6th rappel to the glacier, Chris belayed me down the steep snow, then walked and then glissaded the low-angle slow, the moraine, and finally the long, hot, dusty and intensely buggy hike back to the car, arriving about 11 hours after we started.  I was profoundly exhausted.
This trip was extremely demanding and took every ounce of my mental, physical and emotional energy.  The terrain is complex and the exposure is constant, which drained me after 14 hours of sustained climbing with a pack.  Most of the terrain was on good quality rock but there were some loose sections that were nerve-wracking. There is no easy way off the route so once on the north side of Torment the party is committed to finishing the traverse, rappelling off the south side of the ridge would require many steep rappels and uncertain anchor opportunities.  The area is remote and even a small slip could lead to serious injury, so it took constant focus and concentration.
All that said this was rewarding and there were long sections of fun and satisfying climbing.  The West Ridge of Forbidden Peak was very enjoyable.  I was looking to push my limits and was not disappointed.   Chris was a beast and put tremendous effort forward, leading every pitch, managing the rope, and handling the complex route-finding so I could focus on moving across the terrain.  Watching Chris I learned a lot about careful movement in the mountains, route-finding, and careful, efficient gear handling.
The big lesson for me was that alpine climbing requires a different mindset and skill mix than typical pitched out rock climbs.   It’s a mix of hiking, scrambling, rock, snow, and the objective hazards are much higher and to a certain extent the margin of safety is not always in your control.  Good judgement is more important than climbing ability as you can usually route-find your way around most major difficulties.  But some obstacles will simply be impossible to pass without strong rock, rope and snow technique.   For my next outing, I also will need to lighten my load – ideally carrying less food, and smaller pack as a starting point.

Mt Whitney – Mountaineers Route – 4/27-28 2017

I drove from San Diego to Lone Pine Thursday 4/25. Got a late start. Made camp at Lone Pine Creek.

Friday morning, we drove up to portal and scouted around the trailhead, saw some German tourists get their Honda Civic hung up on the snow, but didn’t see our party. We did an acclimitization hike up to about 10,000 feet. Jonathan pointed out terrain traps, rotten snow, avy danger. It was early, the snow was firm and deep, the sky was clear and air was cold. I worked on my snow travel technique and we kicked a lot of steps. We passed through some avy debris at around 9,000 feet from the previous weekend which had taken out a climber who ended up requiring a helo evac. Stopped past some narrow ledges called Clyde’s Traverse, a bypass of the creekbed in summer. We stopped at a shallow draw just above the exit of the ledges. Hung out for an hour and caught some rays. We encountered a few climbers descending, all who reported strong winds and unsuccessful summit attempts.

Made an early start, coffee and breakfast then drove up to Portal with “A Long Way to the Top if you Wanna Rock n’ Roll” blasting. The cold weather led to perfect bootpack and we made fast time to Lower Boyscout lake where we met a party of 3-4 climbers who had bailed from their summit attempt previous day and were heading down. At Lower Boyscout the altitude began kicking in, the landscape transitioned to alpine and we stopped to melt snow for water.

I came across some other AAC members, Lee & Rani, they had just come down from a successful summit and were breaking camp. I found out that two other AAC members had attempted to summit the previous day but were turned around by winds, and had already descended and left the mountain. Without my partner, no tent poles, stove or fuel, I made the decision to descend with Lee and Rani. Lee had to pee, so I headed over to the edge of the steep slope below Iceberg lake to give them some privacy.

Just as I arrived at the top of the slope, Jonathan was slogging up, he had detoured to the bottom of the draw, far below the final steep slopes near the bottom Keeler Needle and Crooks Peak, thinking that was Iceberg Lake. He ended up adding about 500 feet of climbing to the already big day. He was toast, but he was there, and shortly after the rest of the party showed up, Jonathan Wachtel, chapter president, Tom Vokes, trip leader, Tim, As well as Sunshine and Tim who planned to climb the east buttress. The warm sun was almost t-shirt weather, but the minute the sun dipped behind the massif, temps dropped out.

We had a lively dinner where Tom learned the buttery joys of instant mashed potatoes and Jonathan W. enjoyed his Everest-grade down suiting. I learned a crucial lesson: if you’re camping in the snow, and you need to melt snow for water, and you have a liquid fuel stove, bring the liquid fuel stove, not the wobbly torch stove and a tiny 4oz fuel can. A pair of coyotes circled camp but kept their distance. My feet got cold, especially my left foot. My sleeping pad blew a baffle, I climbed in my bag before 7PM and slept like shit, but I was plenty warm all night.

We got an early start and were on the mountain in firm snow. The long main chute chute yielded to a rocky notch which revealed the final 400 feet, an exposed and steep snow slope to the summit. The crux turned out to be a short section of rock, that was unnerving but easy. The consequences of a fall here could be serious, and one of our party just ahead took a belay which I gladly glommed onto. The bootpack was well-established and it was an easy climb to the top.

We popped a few Guiness’ and took photos, lingered on the summit in the cold, clear air, admiring views in all directions. We decided to rap the chute, which was a nice way to descend, although slower than downclimbing, and it wasn’t a terribly difficult downclimb. Rappelling over the rock sections was definitely the right choice, although we did dislodge a toaster-sized rock when pulling the ropes. The alternate walk-off descent to the west was avy-prone and extremely steep, and not recommended at all.

In the mid-day sun, the east-facing main chute had softened, the descent was easy and we were back in camp after about 2.5 hrs. glissade conditions were in full effect. Terrain traps abounded in the warm sun as the glissade tracks led directly into man-sized ice-water pits. We broke camp and glissaded almost to the parking lot, enjoying numb buttcheeks and good laughs. Burgers, beers and a failed attempt at a cappucino ensued, as we learned of Ueli Steck’s death on Everest, a bittersweet moment to an otherwise fantastic weekend.

5 hours later I dropped off Jon, drove home, showered and crawled into bed.


San Ysidro Mountain, Bonny BM, White BM

IMG_6809

Sunrise on The Thimble and San Ysidro Mountain

After having previously bagged The Thimble (5779′) and being turned around by high winds at the summit block of Bonny (4574′), I returned to the outskirts of tiny Ranchita, CA on Thursday, Feb 11, 2016.  The objective this time was to finally bag Bonny and then skirt The Thimble to ascend San Ysidro Peak (6147′).  I camped at the nearby Culp Valley Primitive campground and had the place pretty much to myself.  Weather was unseasonably warm with daytime highs in the mid-70s and overnights in the low 50’s.  The best part was there was nearly no wind, which in this area is a constant challenge as it is a wind funnel between Volcan Mtn to the south and Hot Springs Mtn to the north.

IMG_6823

Exposure on the summit block of Bonny

Despite my commitment to an alpine start I didn’t get on the turnout on Montezuma Highway until 7:30.  The route takes you immediately north, cross country, climbing consistently from the cholla-choked lower slopes, Gain the hill immediately from the road and then Bonny is easily recognizable as a big pile of rocks about 100 feet high.  If you want to bypass Bonny there is a broad wash to the west.  Otherwise skirt it from the southeast, and on the north side and you will see an obvious path up.   Trend back around the base of the summit block southwest and you will see an 18″ wide ramp next to a head-high block with a 40-foot drop below.  There are ample handholds above the ledge, and as long as there is no 40mph wind gusts, this is the only class 3 move, the summit is directly above.  I was up and down in about 15 minutes.

San Ysidro Ridge and the Thmble seen from White BM

San Ysidro Ridge and the Thmble seen from White BM

After Bonny, descend the wash ahead, and trend west along increasingly well-tread footpath towards obviously-named Chief rock or Chimney Rock.  At this point you’ll encounter one the biggest route-finding obstacle of this trip – the barbed-wire fence which marks private property to the west.   It’s almost impossible to completely avoid trespassing on this trip, but you will need to go east around White BM to avoid the private roads and homes below.  If you follow the HPS Route #1 you appear to be tresspassing although given the number of signatures on White BM vs San Ysidro, my guess is a lot of people do it.  The difference is significant, as the most direct route is on well graded roads and would cut a 2-hour approach in half.  The route I chose takes you as close as possible to avoiding all private property.

The Thimble

The Thimble

Gain the ridge above Chimney Rock and follow the fence, ascending a broad, sandy ridge towards White BM.  The views just continually astound and open up in all directions, with views of the desert floor below all the way to Salton Sea.  Continue to climb the occasionally steep ridge to the rock-cropped White BM from the southeast.   The summit of White is easy to bag from here, a walk-up to a simple class 3 scramble.   However navigating the descent, and subsequent re-ascent from the north, is much more difficult.

The only reasonably safe descent of White is to the north.  From the summit, descend directly north, picking your way through brush, for about 100 feet, then trending back around to the west to reach the saddle between one of two rocky sub-peaks below White.  Descend between the two horns of rock through occasionally brushy terrain to a low wash.  Cross the wash and stay north, eventually you will reach a dirt road and the barbed wire fence.  Gain a steep, sandy ridge here, and follow it along the fenceline to the base of the Thimble.  The kitty-litter textured sand and lack of vegetation makes you feel like you’re ascending a glacier.

From here there are two ways to proceed.  You can bypass the thimble via one of the saddles to the North or South, enduring a fairly brutal bushwack on the brushy north and west-facing slopes, which will drop you into the high point of the wash below. Alternatively, follow the fenceline over the lower, south spur below the Thimble, down into the broad meadow below. This route is easier travel but will you will lose more elevation and have to gain a couple hundred feet back to the high point of the wash.

IMG_6852

San Ysidro Mountain seen from just below the Thimble

From the wash west of Thimble, follow the obvious and well-ducked route up, passing several sandy, flat, shaded campsites which would make an ideal location for a base camp for a multi-peak mission.  San Ysidro now looms above the increasingly steep walls of the canyon. Continue heading north, staying on the eastern side of the slope, climbing steeply. Ducks make the route easy to follow all the way to the summit.

IMG_6872

Hellhole Canyon,Borrego Palm Canyon and Borrego Springs from the summit of San Ysidro Mountain

At the top I was surprised to find Morteros used by the Cahuilla to grind pinyon nuts.  Pretty amazing that had to go up there just for basic food needs.  The summit area is relatively wide open and has fantastic views that include San Gorgonio, San Jacinto, Toro Peak, Palomar Mountain, Hot Springs Mountain, Volcan Mountain, Whale Peak, and the Salton Sea.

IMG_6860

San Jacinto and San Gorgonio from San Ysidro Peak

Depending on the route chosen, bypassing Thimble can be as tough on the return as it was on the ascent.   White BM is very challenging when approached on return from the north, and finding the route back up is much tougher.  From there it’s a pretty easy trip, watch your route finding near Bonny, you need to head southwest from Bonny towards the closest high point or you will end up bushwacking through gullies back to Montezuma Valley road.  I ended up below my car and had to walk uphill on the steep and busy road about a quarter-mile.

I completed the trip in about 6 hours, add an extra hour for the Thimble.   Recommended time of year in winter on a calm, cool day.   The Ranchita area is known for wind and you can routinely face high winds over 40mph.  Because of the relatively high elevation, storms can create very hazardous conditions including lightning,  ice and high winds.  Bring plenty of water (I went through 3 liters on a very warm day), sunscreen and wind protection as this is an exposed route throughout.

There are a number of bivouac spots on both sides of Thimble that would serve as good base camp locations to split up the long approach, although finding wind cover would be a challenge on the east side of Thimble.  Climbers looking for class 4 and 5 terrain will find it in abundance especially on White BM and the north side of Thimble which has a 50-foot vertical slab.

San Gorgonio – Vivian Creek to Momyer


IMG_2579
Southern California’s premier alpine playground is the San Gorgonio Wilderness.  While much of the mountain is closed due to the 2015 Lake Fire, the south facing slopes and summit are still open.

Access Vivian Creek trailhead cross the rocky dry river bed to the signed beginning of the trail.  Ascend switchbacks to the hanging valley and the first trail camp.  Slowly ascend and continue east with views of Galena Peak and Yucaipa ridge opening up to the south.

IMG_2642Eventually the trail reaches the southeastern flank and begins to ascend steeply on good trail, as timber gives way to pinyon and ultimately the bald windswept summit.  After bagging the peak, we headed northwest along the ridge to the Dry Lake View trail camp.  This is a very windy spot and is at over 10,000 feet.

The Thimble

IMG_4890Ranchita sits in the Montezuma Valley at 4,000 feet above the desert floor and Borrego Springs.  The windswept eastern edge is home to some of the most rugged terrain in Anza Borrego Desert State Park.  As part of a 2 day peak bagging trip which included Indianhead, I set out from Culp Valley in late November to take on several smaller scrambles.  The prize of the trip is the Thimble, at 5779 feet an impressive 500-foot tall pile of slabs and rock that may be the premier class 2-3 scramble in SD county.

From Montezuma Valley Rd in Ranchita, park immediately across from the ABDSP Sign on the north side of the road.  There are several parking spots here.   Pick up one of many use trails north, taking care to avoid the fenced private property just to the west.

One of the best parts of this trip is the views.  They are expansive and everywhere. Every time you reach a rise the landscape will just open up.  Above, the long spine of the San Ysidro Mountain spreads out to the northeast. Below, Hellhole Canyon gives way to the complex of canyons and ultimately Borrego Springs.  Beyond to the north, Rabbit ridge looms at over 6000 feet.

IMG_4892You will be heading north along a broad plateau towards the San Ysidro ridge a few miles away. Along the way are a number of benchmarks.  Bonny is first, a modest but challenging pile of rock.  The easiest route up is via the well-ducked northeast side where a steep chimney will give you access around to the west side of the rock.  From here you will need to traverse a very narrow and exposed ledge to get to the summit block.  On the day I visited, I encountered 30mph wind gusts and chickened out at the ledge.  This would be an easy spot for a 2-man team to protect.

IMG_4922Beyond Bonny you will continue to climb the flats, ultimately cresting a ridge where the Thimble and San Ysidro peak come into full view.  White benchmark rises up from the northeast.   In order to avoid private property, you need to go over White, and it’s a fun slabby bushwack.  Approach from the south. trending slightly east.  You will find the summit block easily and the block is easily climbed.   The descent is trickier.  You will need to begin by descending the north side, through a sand field and dense brush. Then circle around to the west to regain the route to the Thimble.

Finally, being careful not to tresspass, you will reach the shallow draw and approach to the Thimble. Gain the ridge to the low saddle to the south and begin to climb up a steep, crumbling, cactus-riddled slopes.  After a few hundred feet you will reach the beginning of the large boulders and slabs.  There is a slot chimney that will give you an easy and fun class 3 roIMG_4925ute all the way to the summit.   The summit block is large and flat and is a great place for a break.  Descent is a crumbly mess no matter which side you go, but the west side is best if you continue on to San Ysidro Peak just beyond.  We ran out of time for that one.

Return the way you came.  There are numerous other benchmarks in the area and the scrambling and cross-country travel opportunities are really endless.   Culp Valley primitive campground is nearby and is a fantastic base camp for the area.  Pinyon Ridge to the south complements this trip nicely.

Due to the elevation and exposure, wind can be a major issue here.   Gusts up to 40mph are fairly common, so bring windgear, chapstick and sunscreen as the conditions can easily cause windburn.

Pinyon Mountain via Bighorn Canyon Loop

The PIMG_5106inyon Mountains occupy a remote section of the Anza Borrego Desert State Park.  Whale Peak and Sunset Mountain preside over the deeply rugged main ridge of Pinyon Mountain.  This trip was an overnight taken in December, 2015, a long loop from Nolina Wash, up Bighorn Canyon, overnight on Pinyon Mountain, down through the dry falls of Pinyon Canyon, finally through Harper Flat. Total distance is around 16 miles with most of the 3000 feet of climbing on the first day.

IMG_5133At mile 81 on 78, turn into the signed Nolina wash, drive up the wash to the intersection of two major washes and park. Bighorn canyon’s entrance is a mile or so north of the Nolina wash, and you will have to find the right washes to avoid going up the mouth of Nolina Canyon. Follow the sandy, easy wash through Bighorn Canyon until you reach Blue Spring, which is marked by large, pock-marked sandstone formations looming overhead. A ridge drops down just above the sandstone, forming a low saddle between the Nolina and Bighorn canyons.  Gain the ridge here and follow it, climbing steeply about 2000 feet, over steep and sandy slopes, past a saddle to the obvious summit.

Despite dodging the cholla and agave, the summit is relatively flat and easy to explore. Most of the pinyon appear to have been burned making windbreaks and flat, open camp spots scarce.  I camped just next to the summit register but really didn’t find too many camp sites that could accommodate more than a simple bivy.

IMG_5170For day two, head south down the summit to a point above the ORV road and a turnaround spur just below. Carefully descend the crumbly slopes until you reach the valley floor. Head south (left) on the ORV road until you reach the jumpoff at about 1.5 mi. The road trends west out of the canyon, but continue past the jumpoff, picking through a number of class 2 dry falls. Most are easily navigated, but the final dry fall is class 3 and will require you to drop your pack to get through the final few feet. Soon you will reach the Harper Dam, built in the 30’s when this area was ranchland, a testament to how much drier the area has become over the decades.

After the Harper dam, follow the wash northeast through the broad and open Harper flat, finally into the lower section of Pinyon canyon, down the wash and another few dry falls, ultimately connecting to the washes past Sunset Mountain and back to your car.   Stick to the wash closest to Sunset Mountain to avoid navigating the Cholla, Yucca and Agave fields inbetween the washes.

Whale Peak South Approach

highres_444254651Whale Peak, at over 5,000 feet above the desert floor, hosts a unique ecosystem where you can see the transition from the desert floor to the Pinyon Pine forest above.  This is one of the longer class 2 cross-country peak bags in Anza Borrego. Whale is a classic in many ways and a good beginner trip for those looking to transition from trail hiking to cross country desert peaks.  I like to call this one ‘mountaineering without snow’ as it really gives you the feel of a mountaineer, route finding, avoiding obstacles, and generally using all your senses and physical capabilities to get up and down the mountain.

IMG_4031From Blair Valley on S-2, drive back beyond the campsites and follow signs about 1.5 miles to Pictograph trailhead.   The road is decent and most 2wd sedans should have no major problems.

Follow the signed Pictograph trail .5 miles east into a small valley and go directly north towards the base of the mountain ahead. Go straight up, staying out of the gullies on broad ridge. After the first steep dirt wall the terrain will flatten a bit before climbing again.

You are now on a broad ridge which can be followed to the summit for the most direct route.   There is a small, flat valley slightly west of the ridgeline near the midpoint which can save you some climbing and will allow you to approach the summit from a well-ducked western route  As you gain the ridge, try to aim for the left side of the ridgeline, avoiding the cliffs on the east face.

IMG_3994You will continue ascending over boulder fields until the final 100 feet or so to the summit which is steep but well protected with no exposed sections and occasional large boulders.  If you drift east you will encounter class 3 and 4 terrain quickly.

The summit area is broad and offers shade and windbreak due to the thriving pinyon forest.   It has largely recovered from recent burns.  Views are expansive across the crest of the Peninsular Range from Laguna to Volcan Mountain, Pinyon Ridge, Rabbit Peak, Salton Sea and beyond all visible.  Clouds of dust from Ocotillo Wells and Glamis can also be seen.  There are numerous campsites at the summit and in the flat valleys just below the summit.  Small bivy spots are abundant, of course, no water.

For the return, follow ducks to the west immediately  down the slope towards the deep gully.  This sandy and boulder-strewn canyon will take you down easily, with just a couple of barely class-3 dry falls to negotiate.

I climbed this with the SD Desert and Mountain Adventures Meetup group.  Bob M was the leader, this was a large group including an accomplished mountaineer and a complete novice.  Total hiking time was about 5.5 hours, pace was not super fast and we stopped to look at some pictographs on the way back.

El Cajon Mountain South Ridge

IMG_5561Class 2-3 scrambling in San Diego county can be hard to find without a long drive to Anza Borrego. However one of the toughest climbs in the county is located just 40 minutes from downtown – El Cajon Mountain, also known as El Capitan in Lakeside.


IMG_4642 (1)


The iconic El Capitan ridgeline is visible from all over the county, particularly the El Cajon valley, Lakeside and Alpine areas. The very strenuous and very popular class 1 route approaches the summit from Wildcat Canyon rd to the north via a long, undulating fire road that is steep and causes a number of rescues every year due to exhaustion and dehydration. This trail is tough enough for the vast majority of hikers seeking a challenge, but the South Ridge proves to be a much tougher ascent that will test your scrambling and route finding skills.  It took me 3 separate attempts to reach the top of the ridge, and I was successful on January 24, 2016.  It took about 2 hours to cover less than 1.5 miles and about 2500 feet of elevation gain.  I’ve since been back many times and it’s one of my favorites.

At the end of 67 in Lakeside take Mapleview to El Monte Rd through the valley towards the El Capitan Dam.  Just before the road ends there several dirt lots adjacent to the road. Park here. The start of the climber’s trail is noted by a wooden beam over the riverbed.

Take the climber’s trail over a small bridge.  The trail is across the street from two big boulders. Climb up to the road and the first power line tower, go left at the raptor sign, staying on the road, past two abandoned mining sites, finally climbing the steep dirt slope to the power line tower up on the ridgeline.  If you want to climb the south ridge, don’t take the climber’s trail past the raptor’s sign, that will take you to the base of the climbing walls (where there are other class 3-4-5 routes for another blog post).

IMG_4632Follow the use trail up the ridge to the power line tower. The terrain is mostly steep dirt and can be slippery. Pick your way though the well-worn path, continuing to climb steeply. Stay on the ridge and avoid going too far to the left or right where the terrain quickly becomes steep and impassible. Along the way some fun slabs can save considerable time vs. the loose dirt and rock.

Soon you will reach Lunch Rock which marks the the halfway point and the beginning of class 2-3 rock. Climb up through the cave at the top of lunch rock and continue up, around and over boulder fields and slabs. You will pass a few small plateaus before finally reaching a large boulder with a mature oak tree growing straight out the west side.

At this point you can continue directly up the ridge on rock, or turn left at the tree and ascend just below the ridge via a series of steep grassy, loose, west-facing slopes and gullies typically used as the line of descent.  The gullies are never above class 2 but choked with brush and rattlesnakes, loose rock and dirt.  The rock route below stays on top of some of the large boulder sections towards the top, it is probably class 3.

IMG_9271Go up to the tree and directly to the right is a narrow, steep staircase gully that takes you up to the boulder.  Scramble up a narrow ridge and shortly you will reach a large round, smooth slab and a narrow, ledge heading out onto the face.  Although a bit exposed it is very easy.  From there, follow a crack up onto the low-angle slab above, and friction climb to the next plateau and more scrambling. You will dead-end into a steep, narrow gully with a steep headwall. Look for a chockstone in a fist-width crack on the right, a bit of a hard class 3 move that pulls you up into another fun rock gully above.  Aside from the few hemmed-in areas the slab is grippy and low-angle.

Optionally, just above and west of the chockstone gully you will see a split rock which leads to a small cave with a chimney, a nice 6′ shimmy takes you to another plateau and ultimately the hardest move on the ridge.

The final part of the headwall is a brushy, hemmed-in gully, all the way to the right (east) side of the ridge.  It is a slot with “Mike” spray painted, and is just next to the big drop on the east face. Squeeze up the last few feet and there is a class 4 move with some spicy exposure to gain the low-angle slab above.

If you want an alternative to the class 4 move,  you can go left at any point and skirt below the narrow rock ridge. At the headwall there is a steep rock gully blocked with rockfall.  Skilled climbers can go over the big chockstone, there is an easy scramble left up to another narrow ledge leading to the upper slopes. There is a rappel anchor here, a good point of reference on the descent.

From the base of the headwall  is mostly small boulders and cruddy dirt slopes.  Pay attention to several large boulders you need to skirt on the way back down.  If you wish to summit, there is developed trail to the summit heading north.

The descent has tricky routefinding because of the brush and tall grass.  Descend the headwall slope into the rockfall gully, go around the blockage to the west and enter the gully there, continue down the slope, generally staying west of the ridgeline in a series of eroding slopes and rocky gullies.  Stay high and aim for the well-marked saddles which will keep you on route. Each time just go left down the gully back toward the ridge.  Regain the ridge at the tree above lunch rock.

IMG_4650

Special thanks to this good beta which got me 80% there.

Disclaimer:  this is not a hike, but a steep, cross-country scramble with loose rock, slabs, large boulders and dirt slopes. There is considerable danger of injury or even death and many rescues have taken place on this route.  A GPS is useful but there are several places where you could become trapped with no ability to retreat. A good rule of thumb – if you can’t downclimb it, don’t climb it.  Cell service is good throughout but don’t rely on it as a substitute for good judgement.  Severe heat is an issue May – October and rattlesnakes are present in early spring in the tall grassy west-facing slopes.  A google search for El Cajon Mountain rescue returns plenty of examples of people getting in trouble.

Indianhead, Anza Borrego Desert State Park

IMG_4838Looming above the family friendly campground at Borrego Palm Canyon is one of the gnarlier class 2 scrambles in the desert. Spend a day dodging cactus and picking over boulders up one of the classic Borrego peaks.

Park at the day use area of the Borrego Palm Canyon campground and hike up the well-marked trail into the mouth of Borrego Palm Canyon. The second palm grove marks the terminus of the official trail, continue up the canyon, crossing the stream multiple times until you reach the third palm grove.   This section is pretty straightforward, follow well-tread footpaths but there is no official trail. Lots of flowing water and big pools of water here. At the third palm grove, gain the ridge coming in from the north and begin climbing over steep, loose dirt slopes and mostly small boulders, loose rock, agave and cholla.

IMG_4806Eventually you will reach the saddle which is a good spot for a break. From here simply follow the main ridge east towareds the always visible peak.  This section has the best scambling as the boulders are larger and there are some fun slabs to climb all the way to the summit which offers lofty views of the Peninsular Ranges, Borrego Valley, San Ysidro Mountain, Santa Rosa Mountains, and Salton Sea.  Return via same route, taking care of the loose rock and sandy dirt.

IMG_4786For most this trip will take 7-9 hours.   Pack water as there is none once you leave Borrego Palm Canyon.   There is no trail, this is a cross-country trip, so expect loose rock, pointy cactus, and some varied class 2 and 3 terrain. Route finding is pretty straightforward as you can see both your objective as well as your line of descent from everywhere on the route.  Hardy adventurers can continue north on the saddle towards San Ysidro Peak and Hellhole canyon and bag multiple benchmarks along the steep, rugged ridgeline.

Corte Madera Mountain

IMG_3787Another great hike in the Pine Creek Wilderness, this is one of the best in the county with great views, sparse pine and oak-studded peaks, and big granite slabs galore.

Exit I-8 at Buckman Springs Road, about 1 hour east of Downtown San Diego.  Turn right on the well-marked Corral Canyon Road, with signage for the Corral Canyon ORV area.  The road is paved but rough, especially at the bottom, but is gets progressively smoother and more well-maintained as you ascend up into the valley.   Follow the road a few miles until you see a green gate and a forest service sign about the nesting raptors in the area.  Park immediately past the gate, in the small area off the road.

IMG_3815Passing through the gate, you’ll walk west on  a shady oak-lined road until you see a nicely marked garbage can which shows the terminus of the Espinosa trail.  Follow the Espinosa trail west, following the dry creek, then finally climbing to a road intersection where Corte Madera’s southeast face comes into view.  To the south, Los Pinos mountain rises up, topped with a fire lookout at the peak.

A handy sign points the direction to the summit trailhead, turn right and follow the Los Pinos fire road north, climbing steadily as chapparal becomes mixed with sparse oak and pine.   At another raptor nesting sign, turn left and begin climbing steeply up the ridge towards the Corte Madera summit.   The trail trends north past boulder slabs and shady pine and oak stands, with fantastic views of Corte Madera Valley, a private ranch property at the foot of the mountain. Mt Laguna and Cuyamaca are easily visible as you climb.  After about an hour you’ll reach a sketchy junction, stay left and continue past the first flat campsite.  You’ll continue climbing up the back of the cliff-face of the mountain, through waist-high chapparal, passing a fantastic campsite at the summit before reaching the cliff’s face and the summit register.  Enjoy far-reaching westerly views that stretch to downtown San Diego on a clear winter day.  Retrace your steps to return.

IMG_3837Note that this is in a very remote part of the county that which receives very high temperatures much of the year.  travel in this area outside of Nov – April is not recommended.  While the trail is remote, the Corral Canyon ORV area does get a lot of traffic, so be aware of Motorcycle and truck activity, especially in the lower sections of the road.