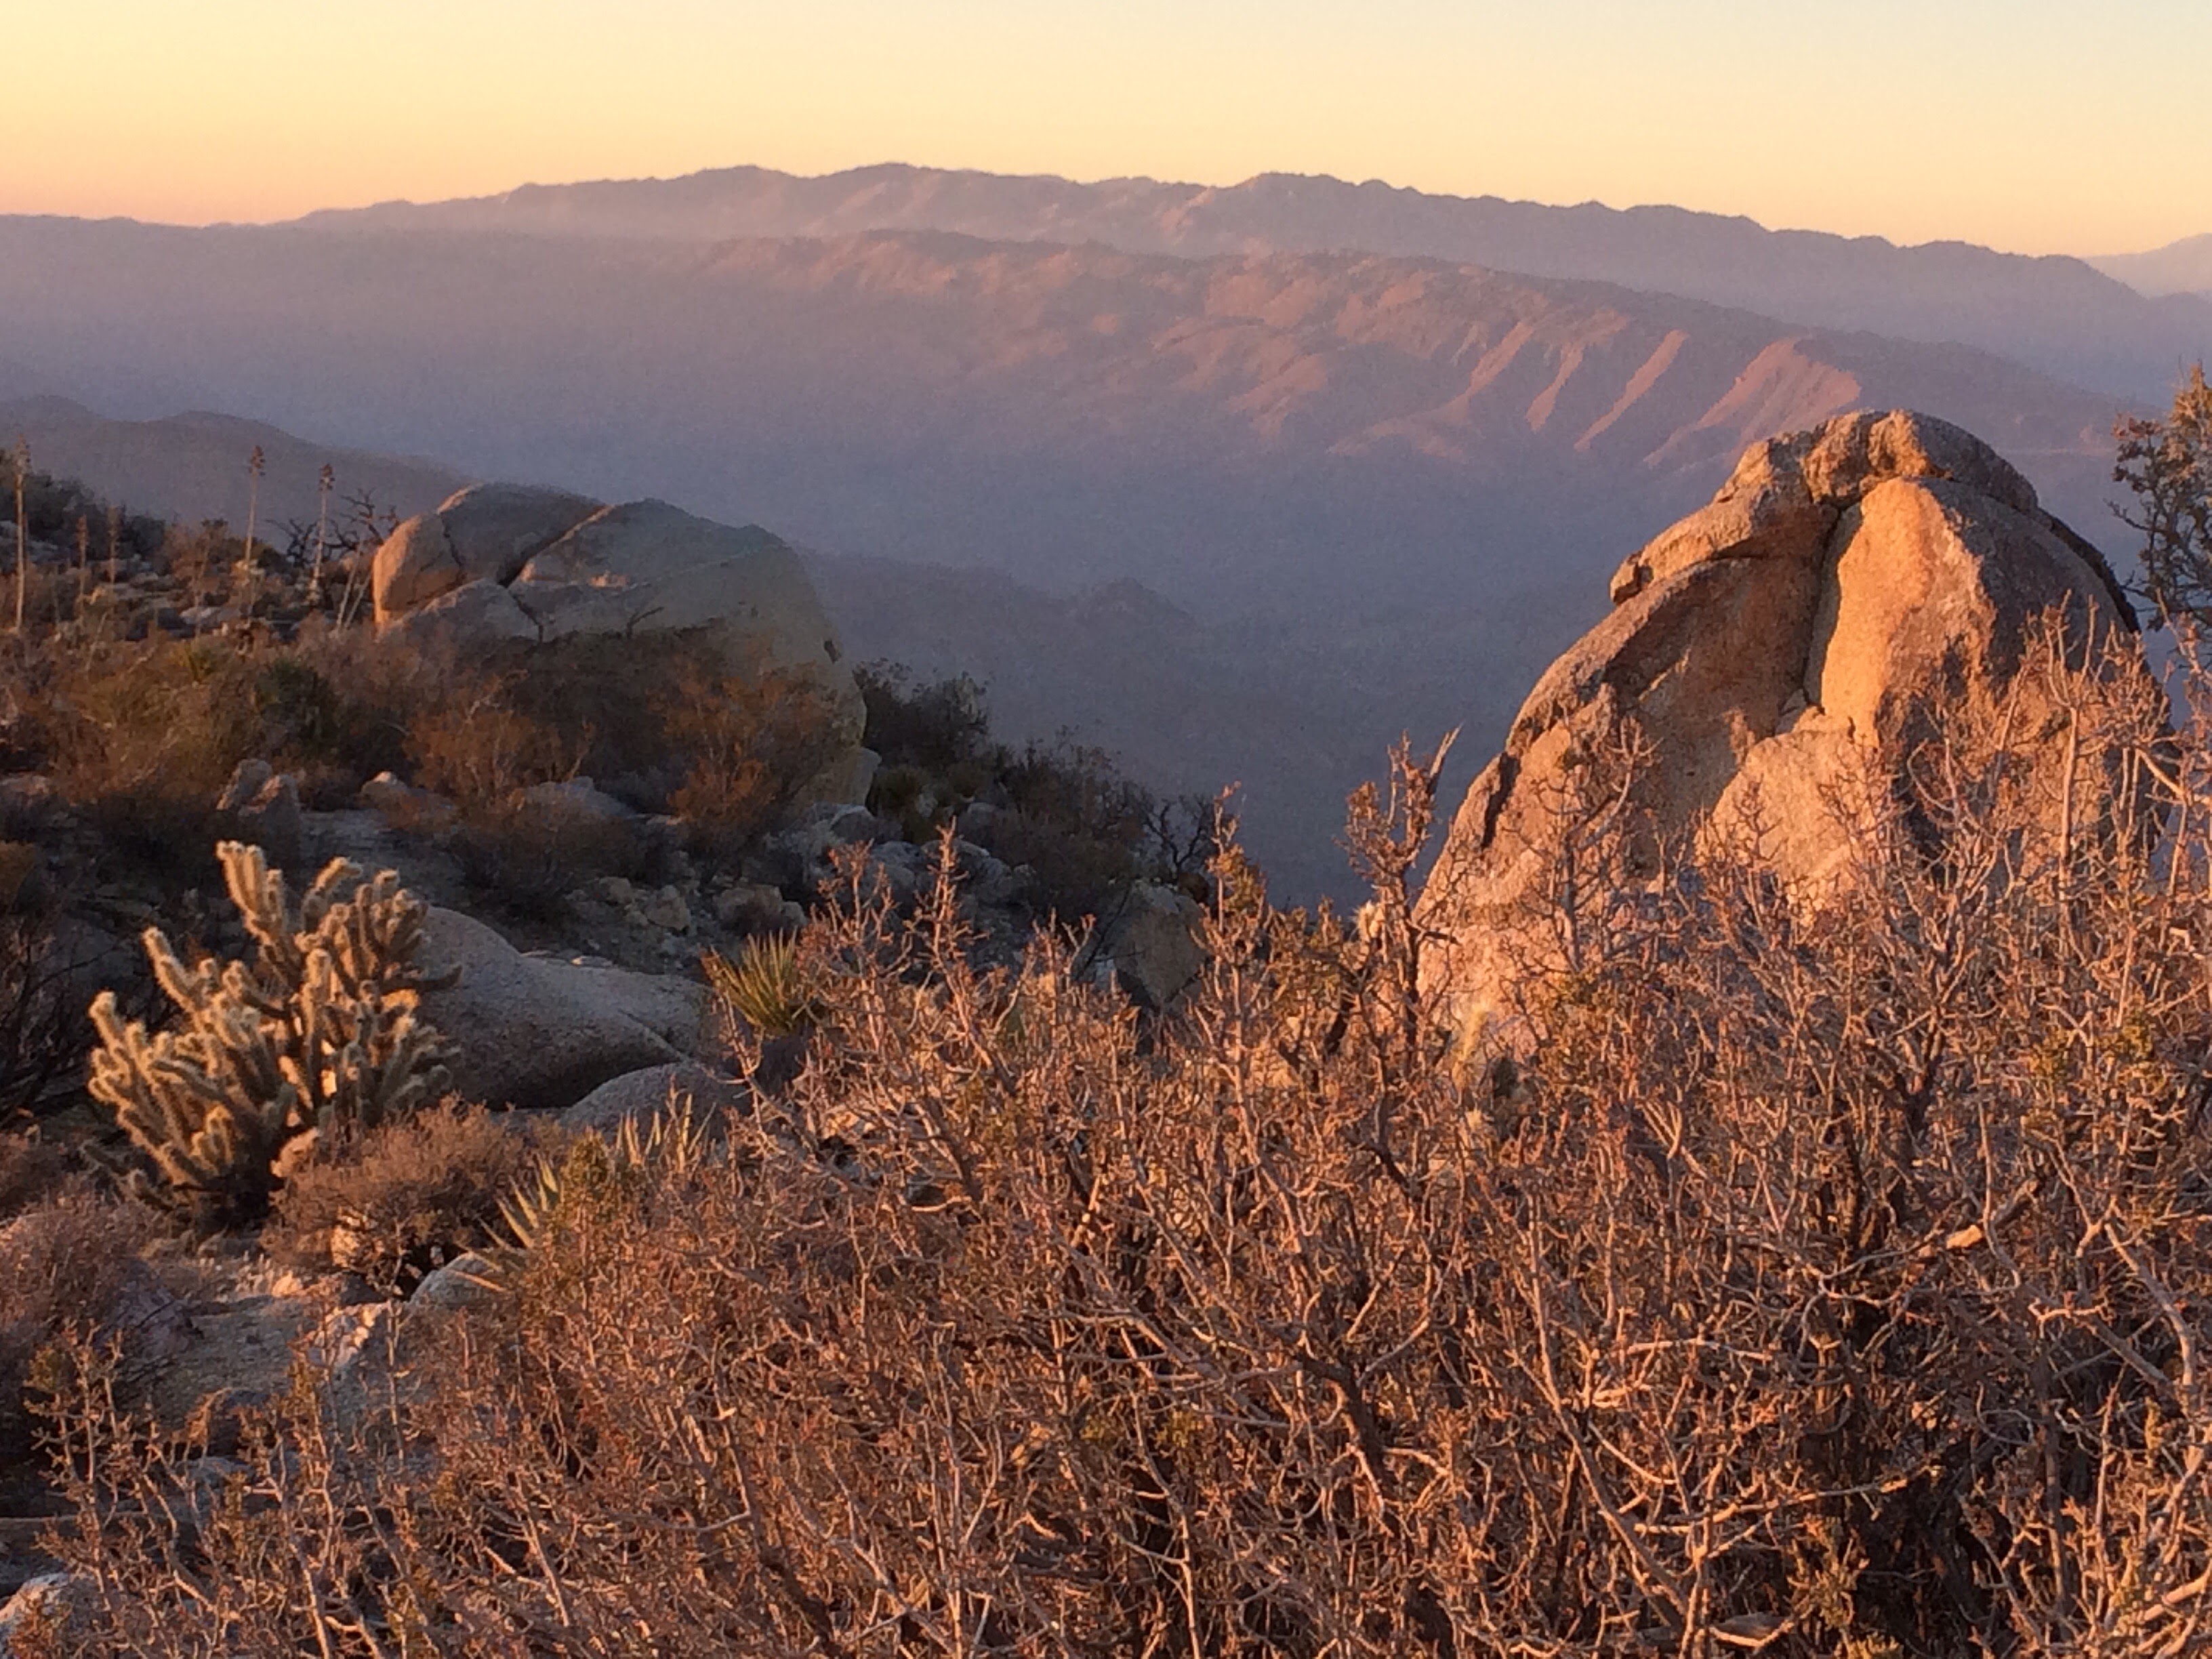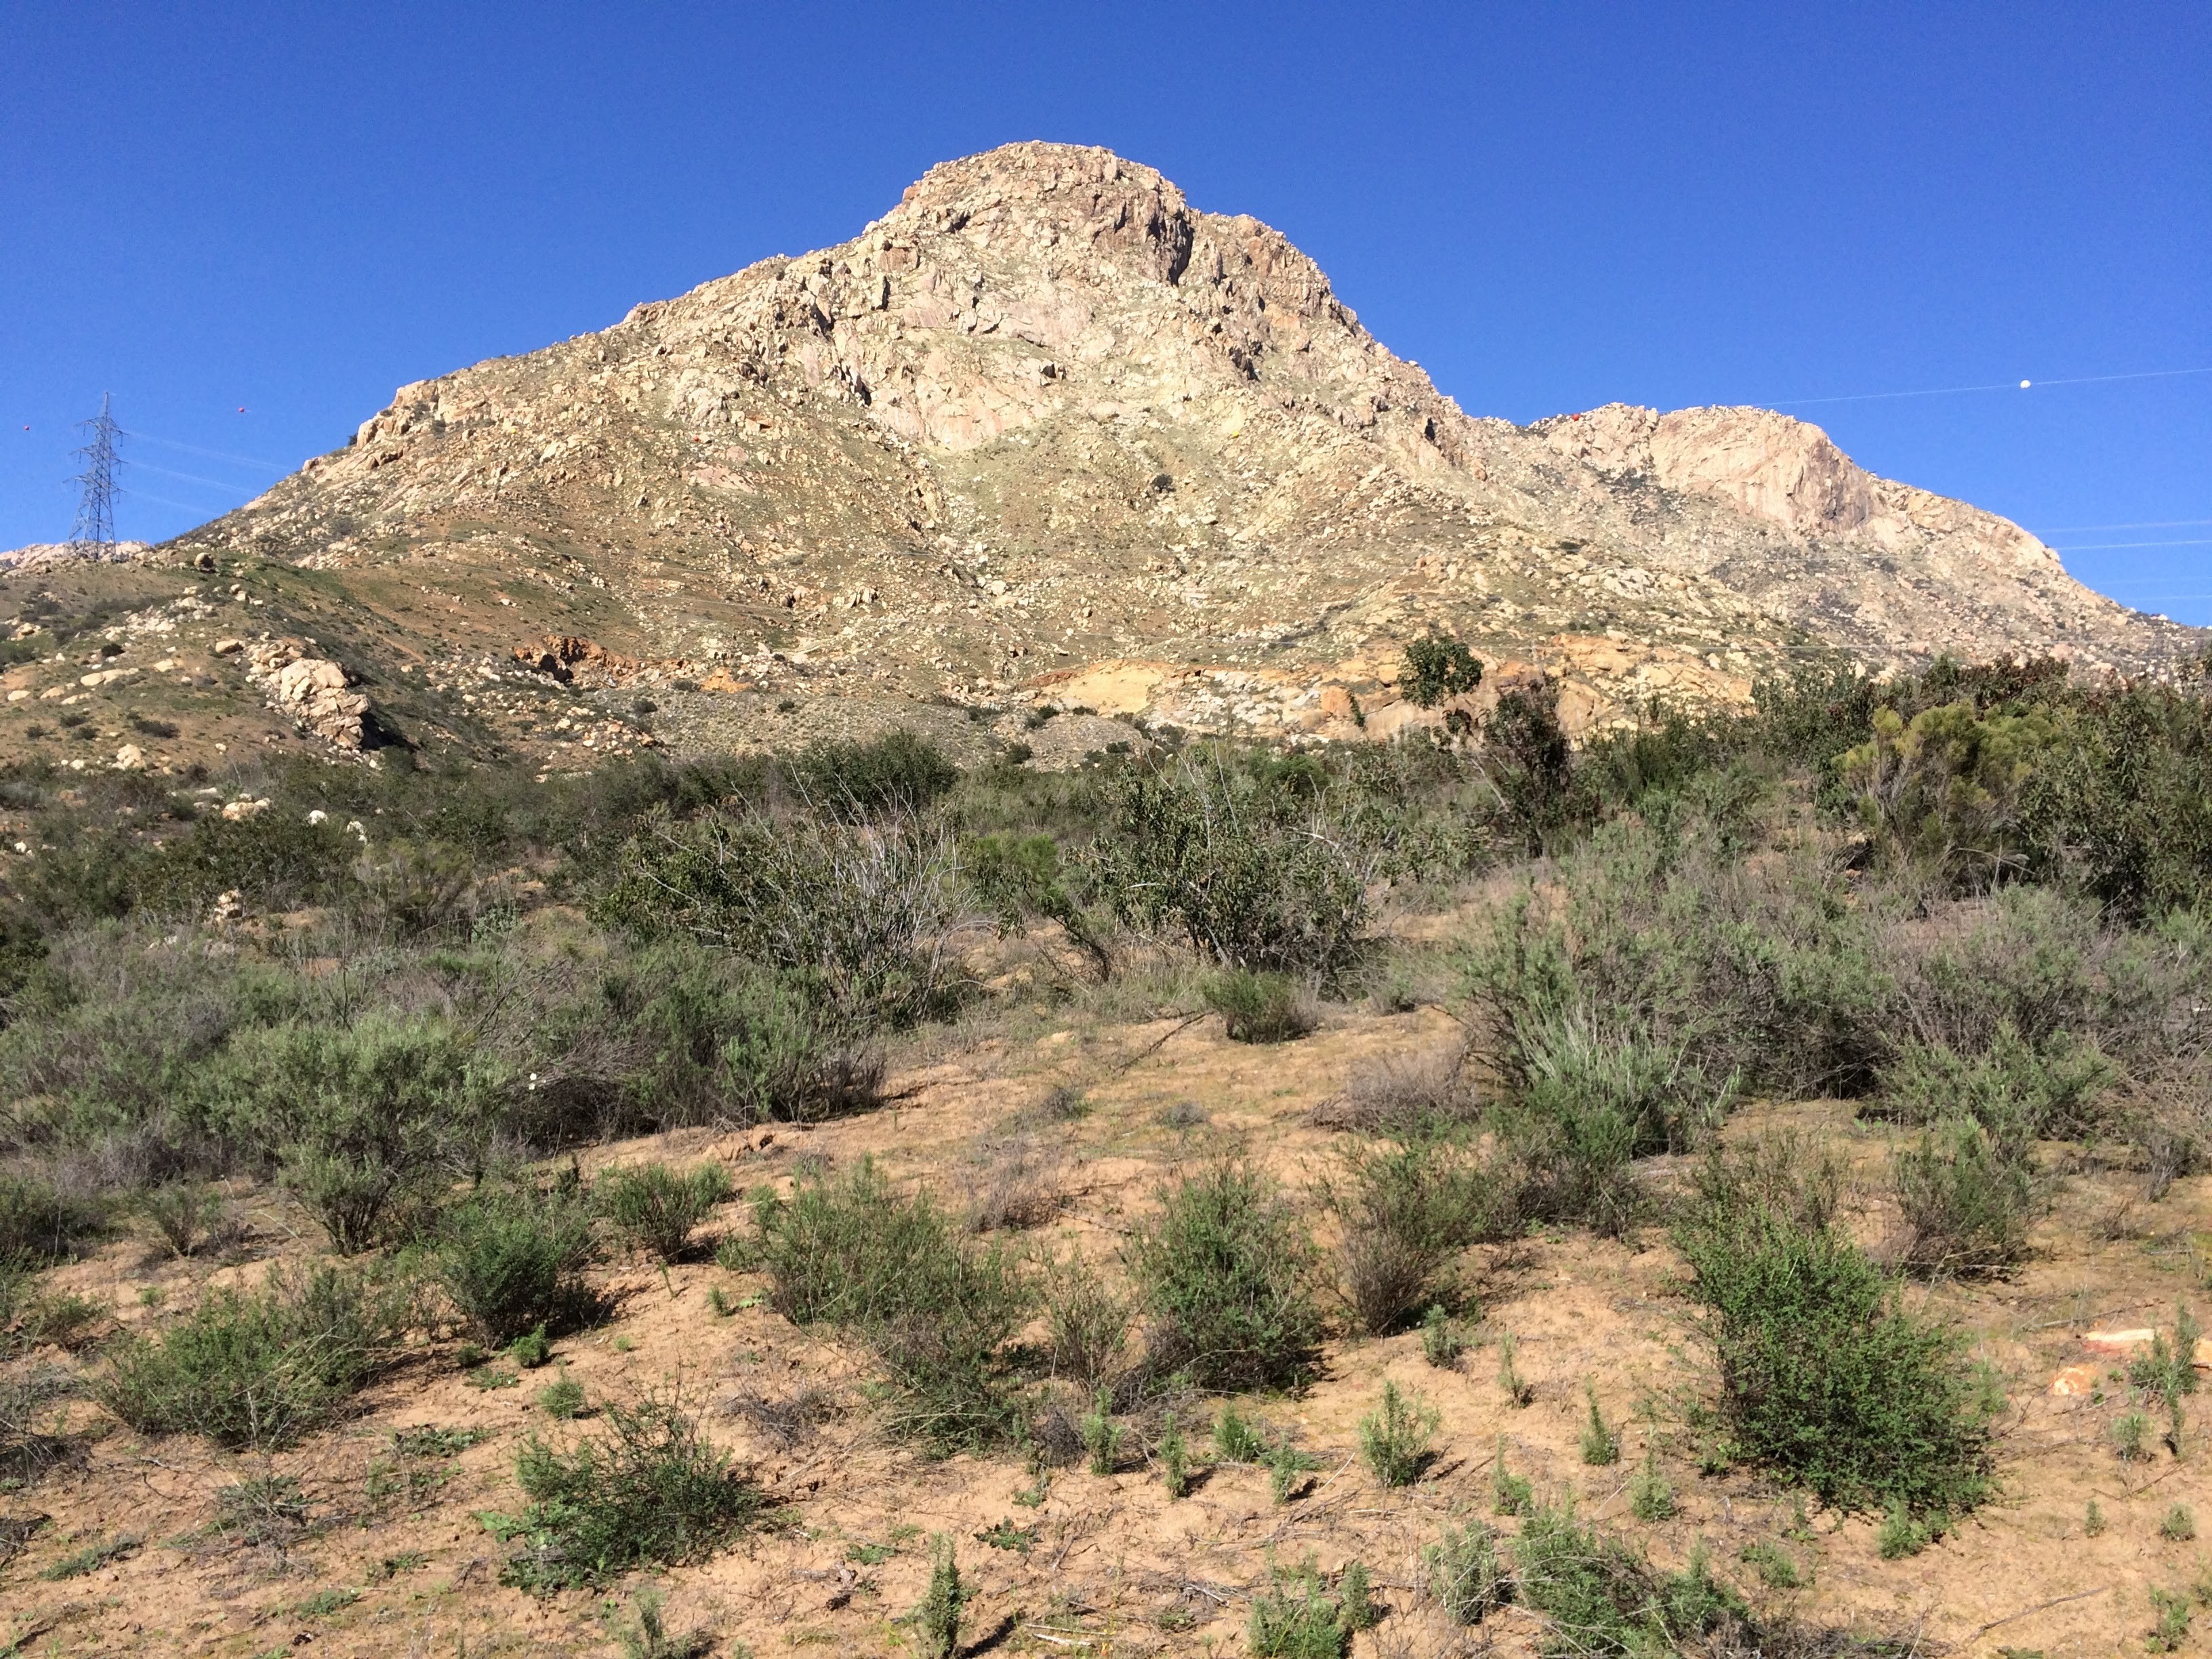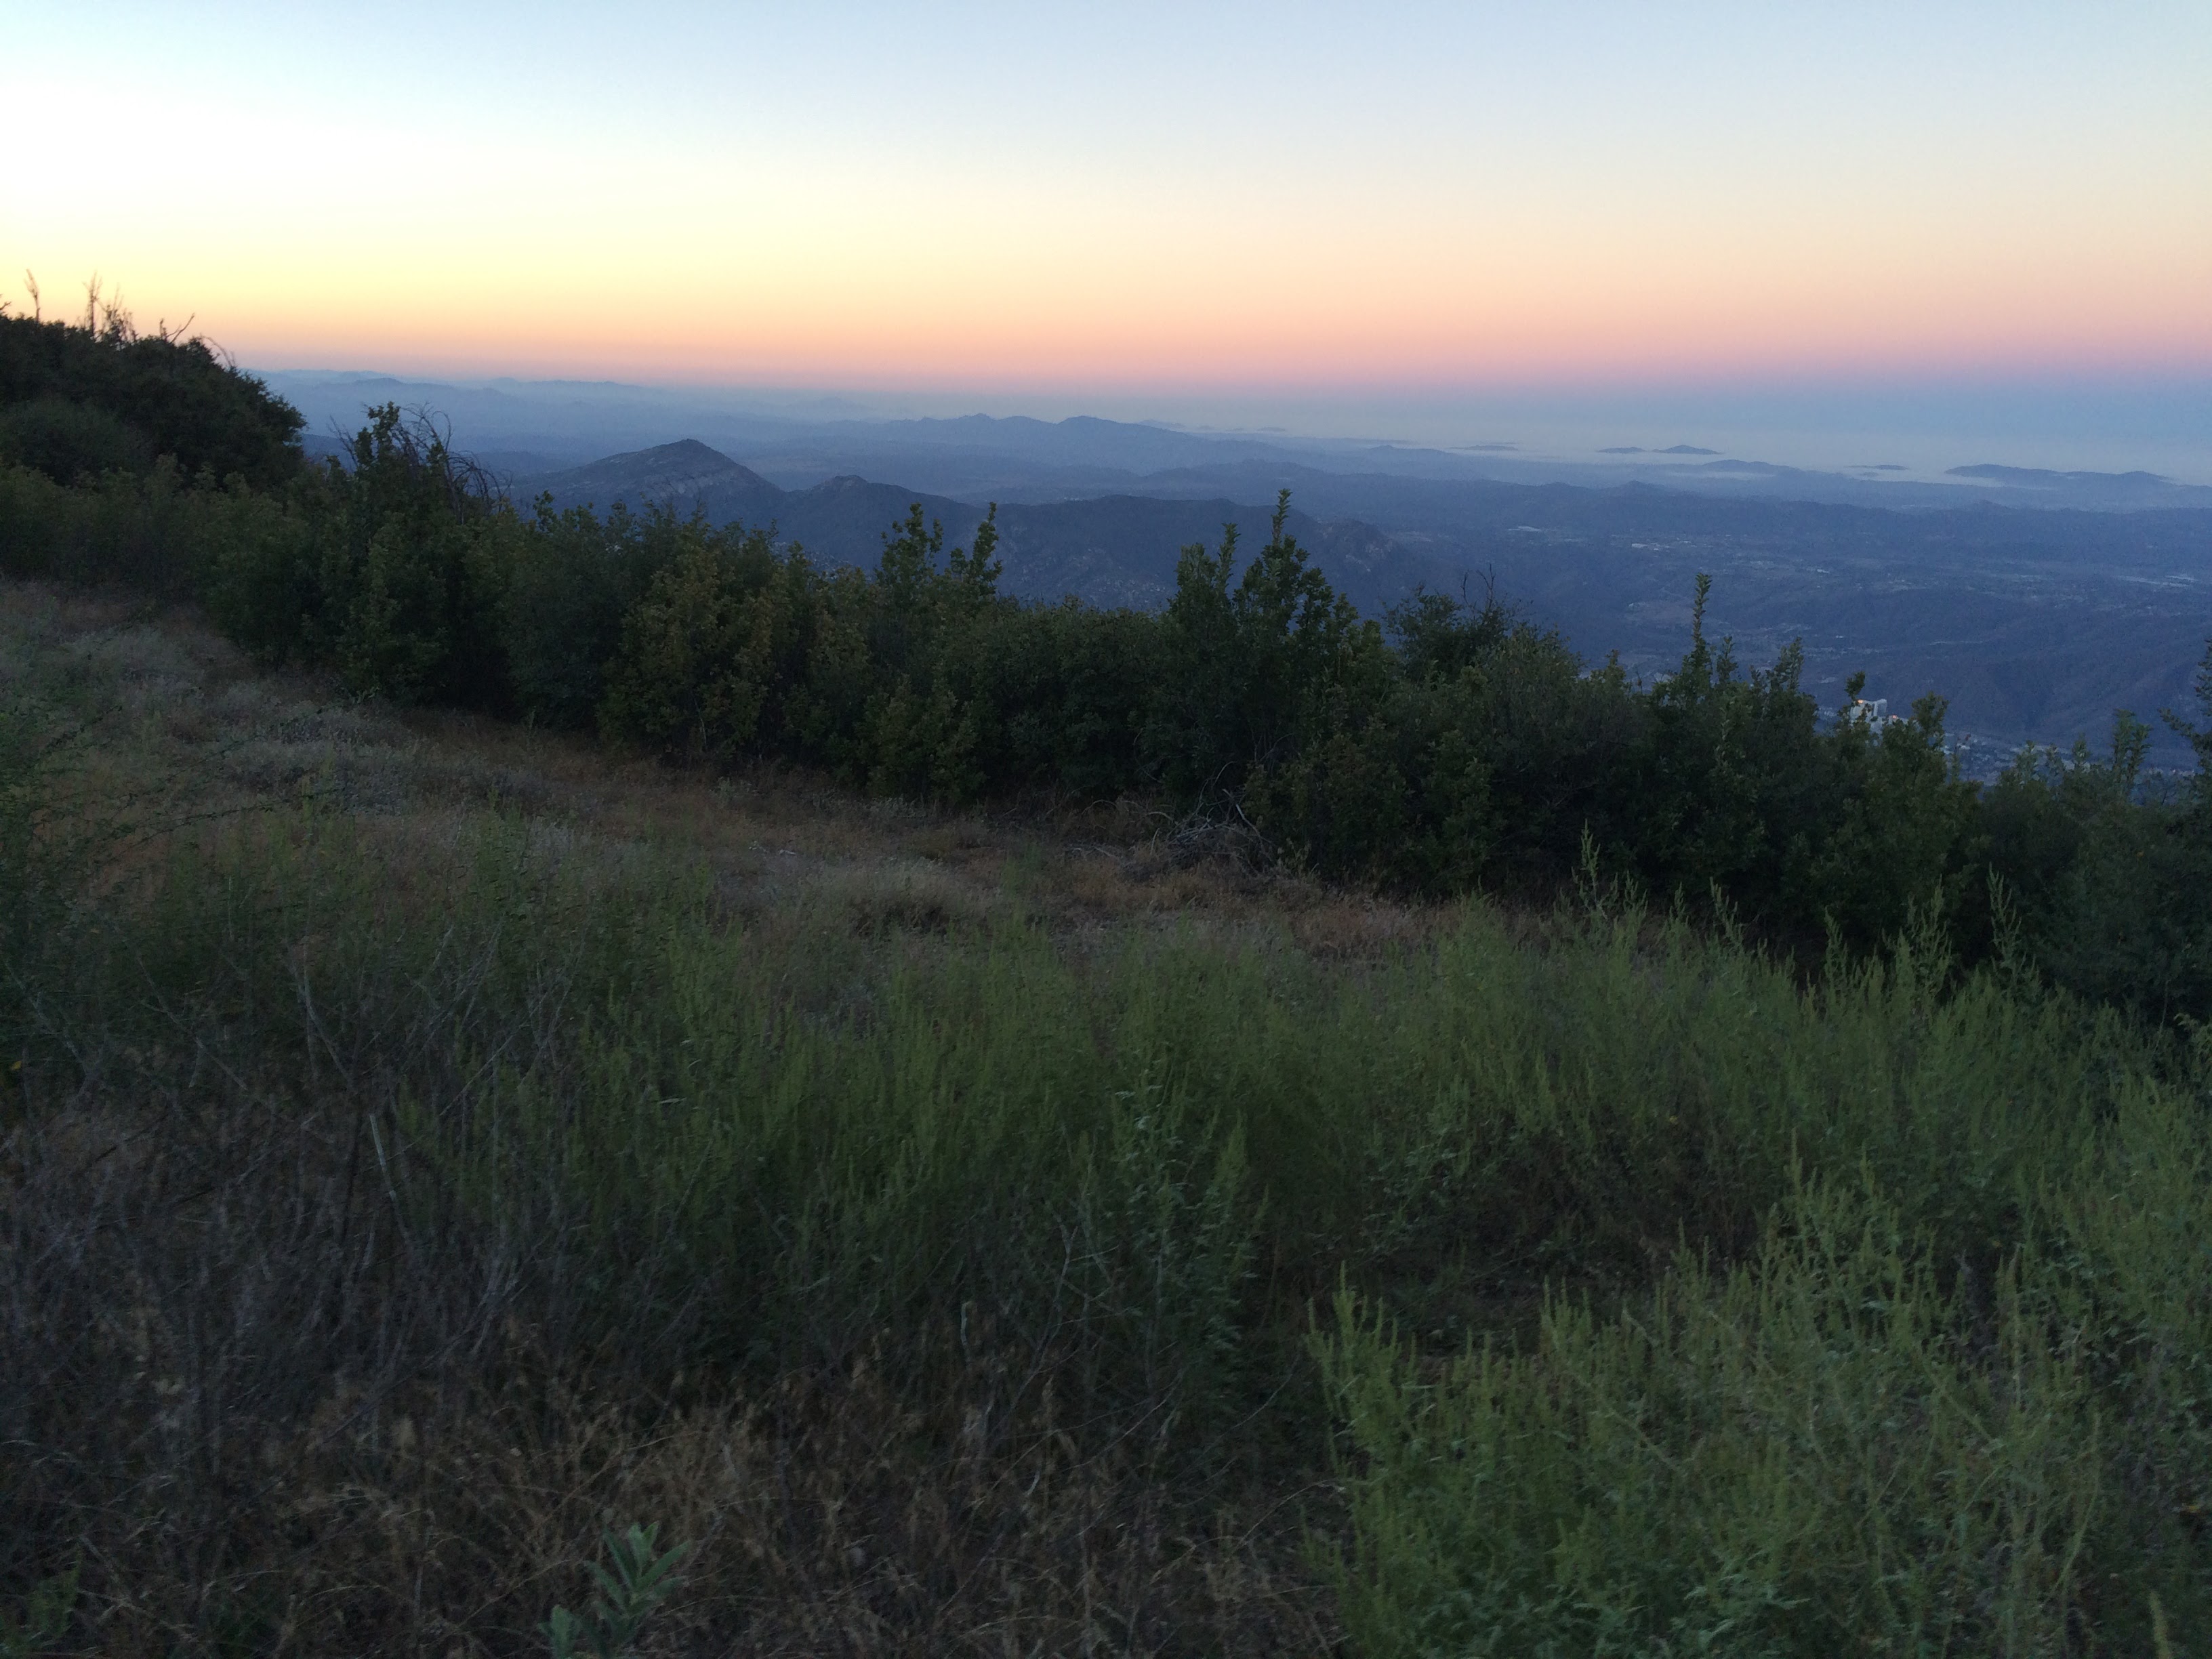
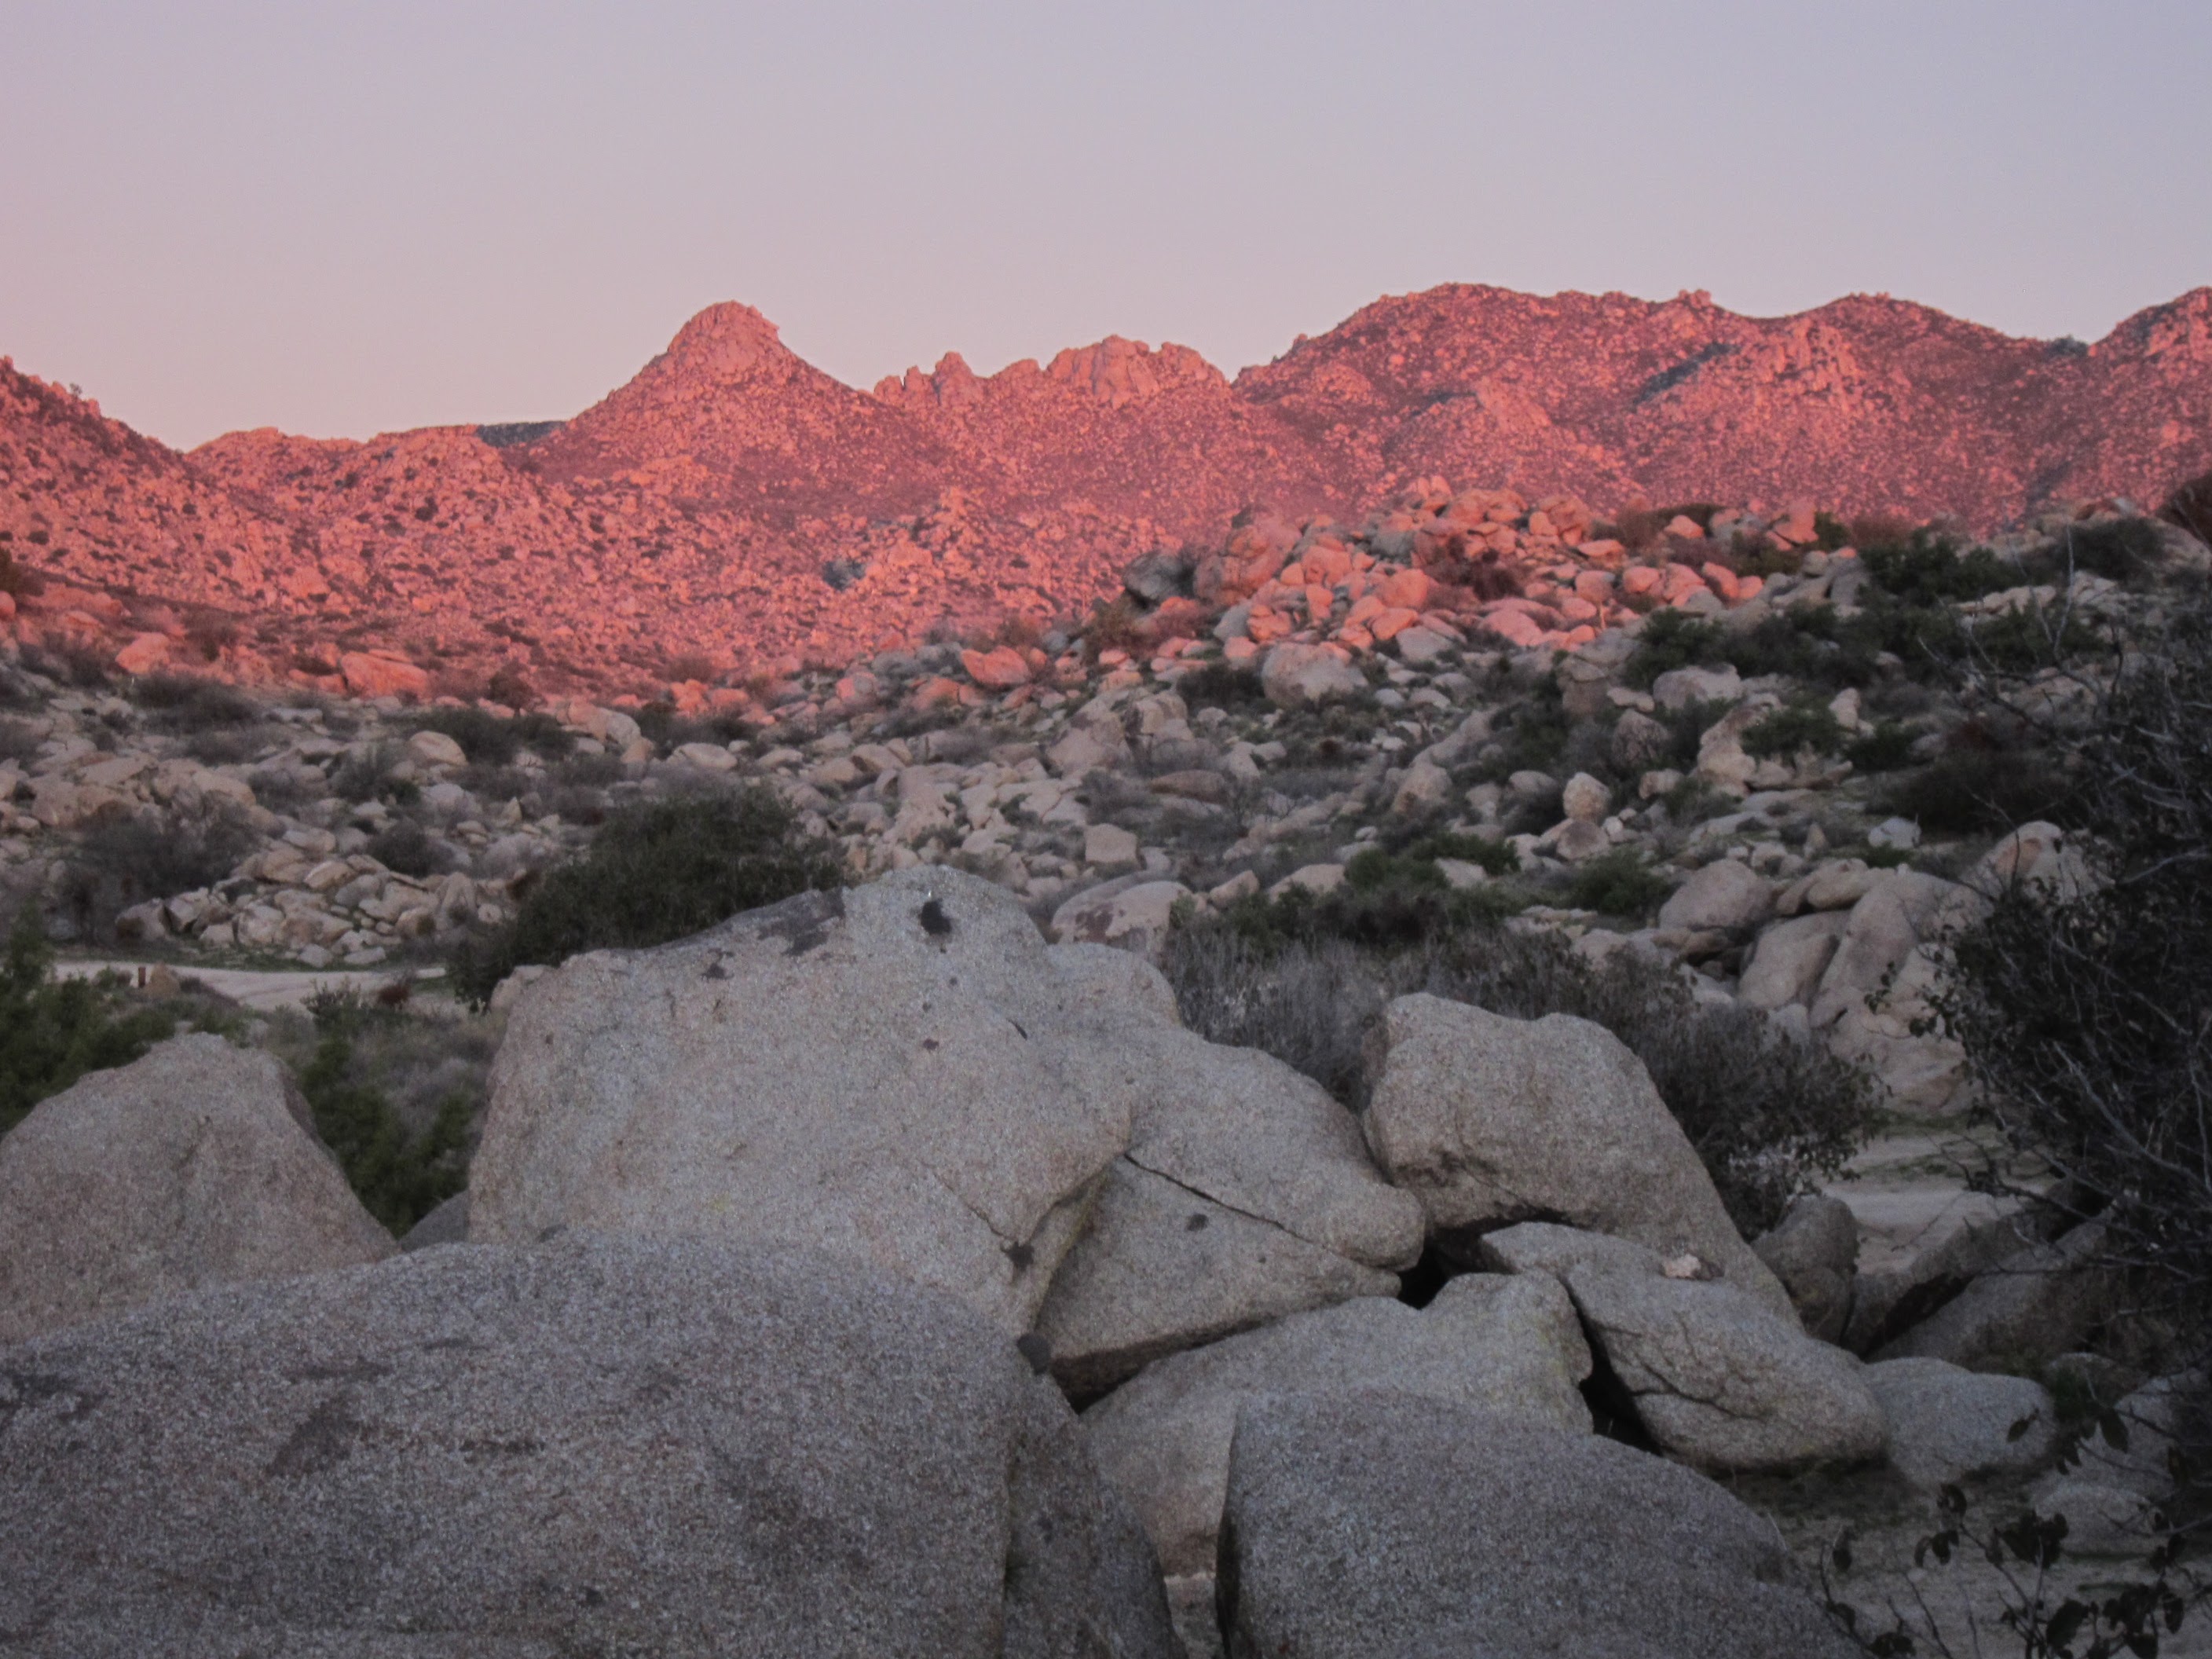
Sunrise on The Thimble and San Ysidro Mountain
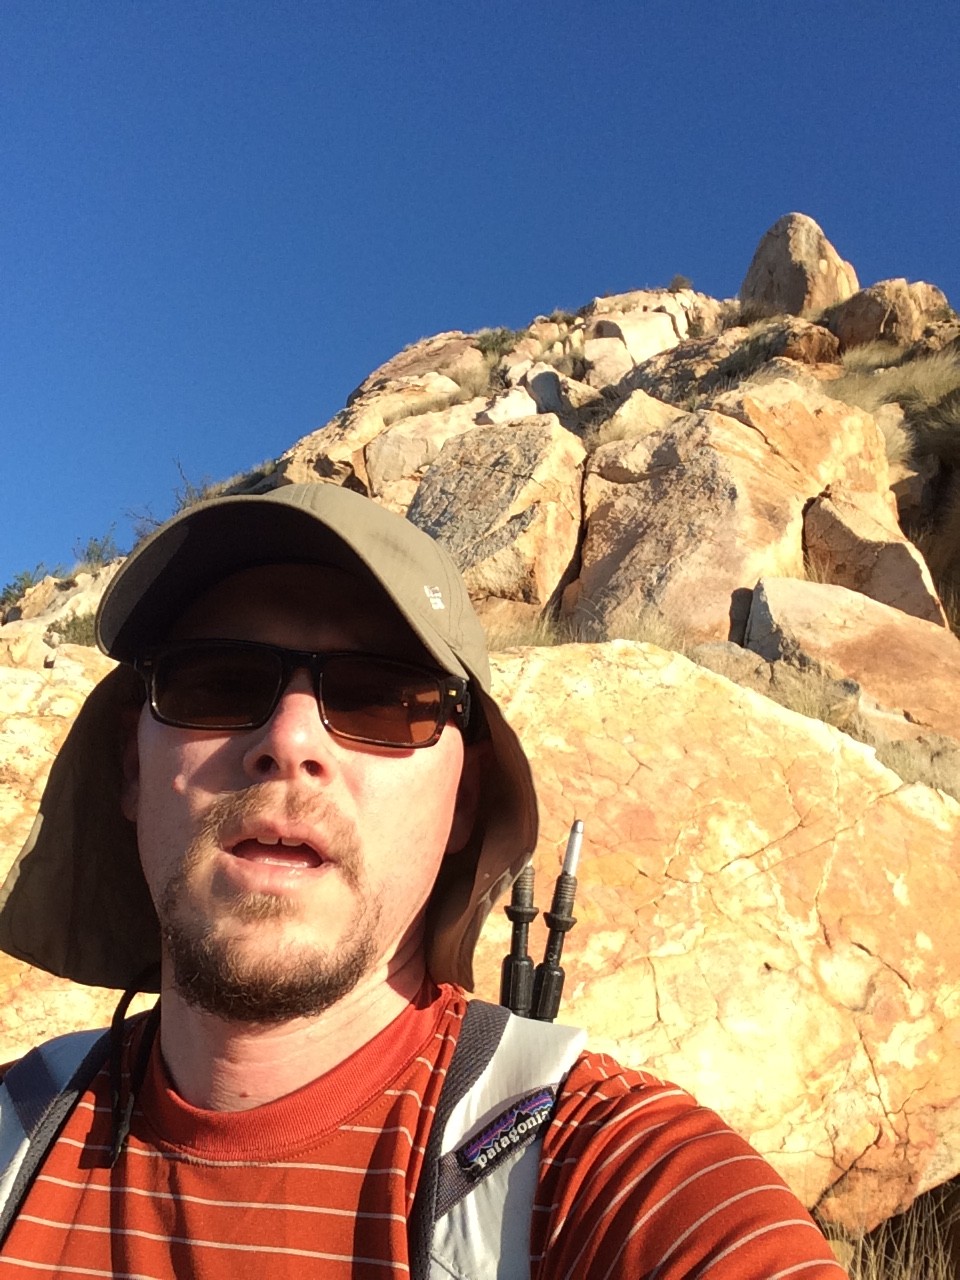
After having previously bagged The Thimble (5779′) and being turned around by high winds at the summit block of Bonny (4574′), I returned to the outskirts of tiny Ranchita, CA on Thursday, Feb 11, 2016. The objective this time was to finally bag Bonny and then skirt The Thimble to ascend San Ysidro Peak (6147′). I camped at the nearby Culp Valley Primitive campground and had the place pretty much to myself. Weather was unseasonably warm with daytime highs in the mid-70s and overnights in the low 50’s. The best part was there was nearly no wind, which in this area is a constant challenge as it is a wind funnel between Volcan Mtn to the south and Hot Springs Mtn to the north.
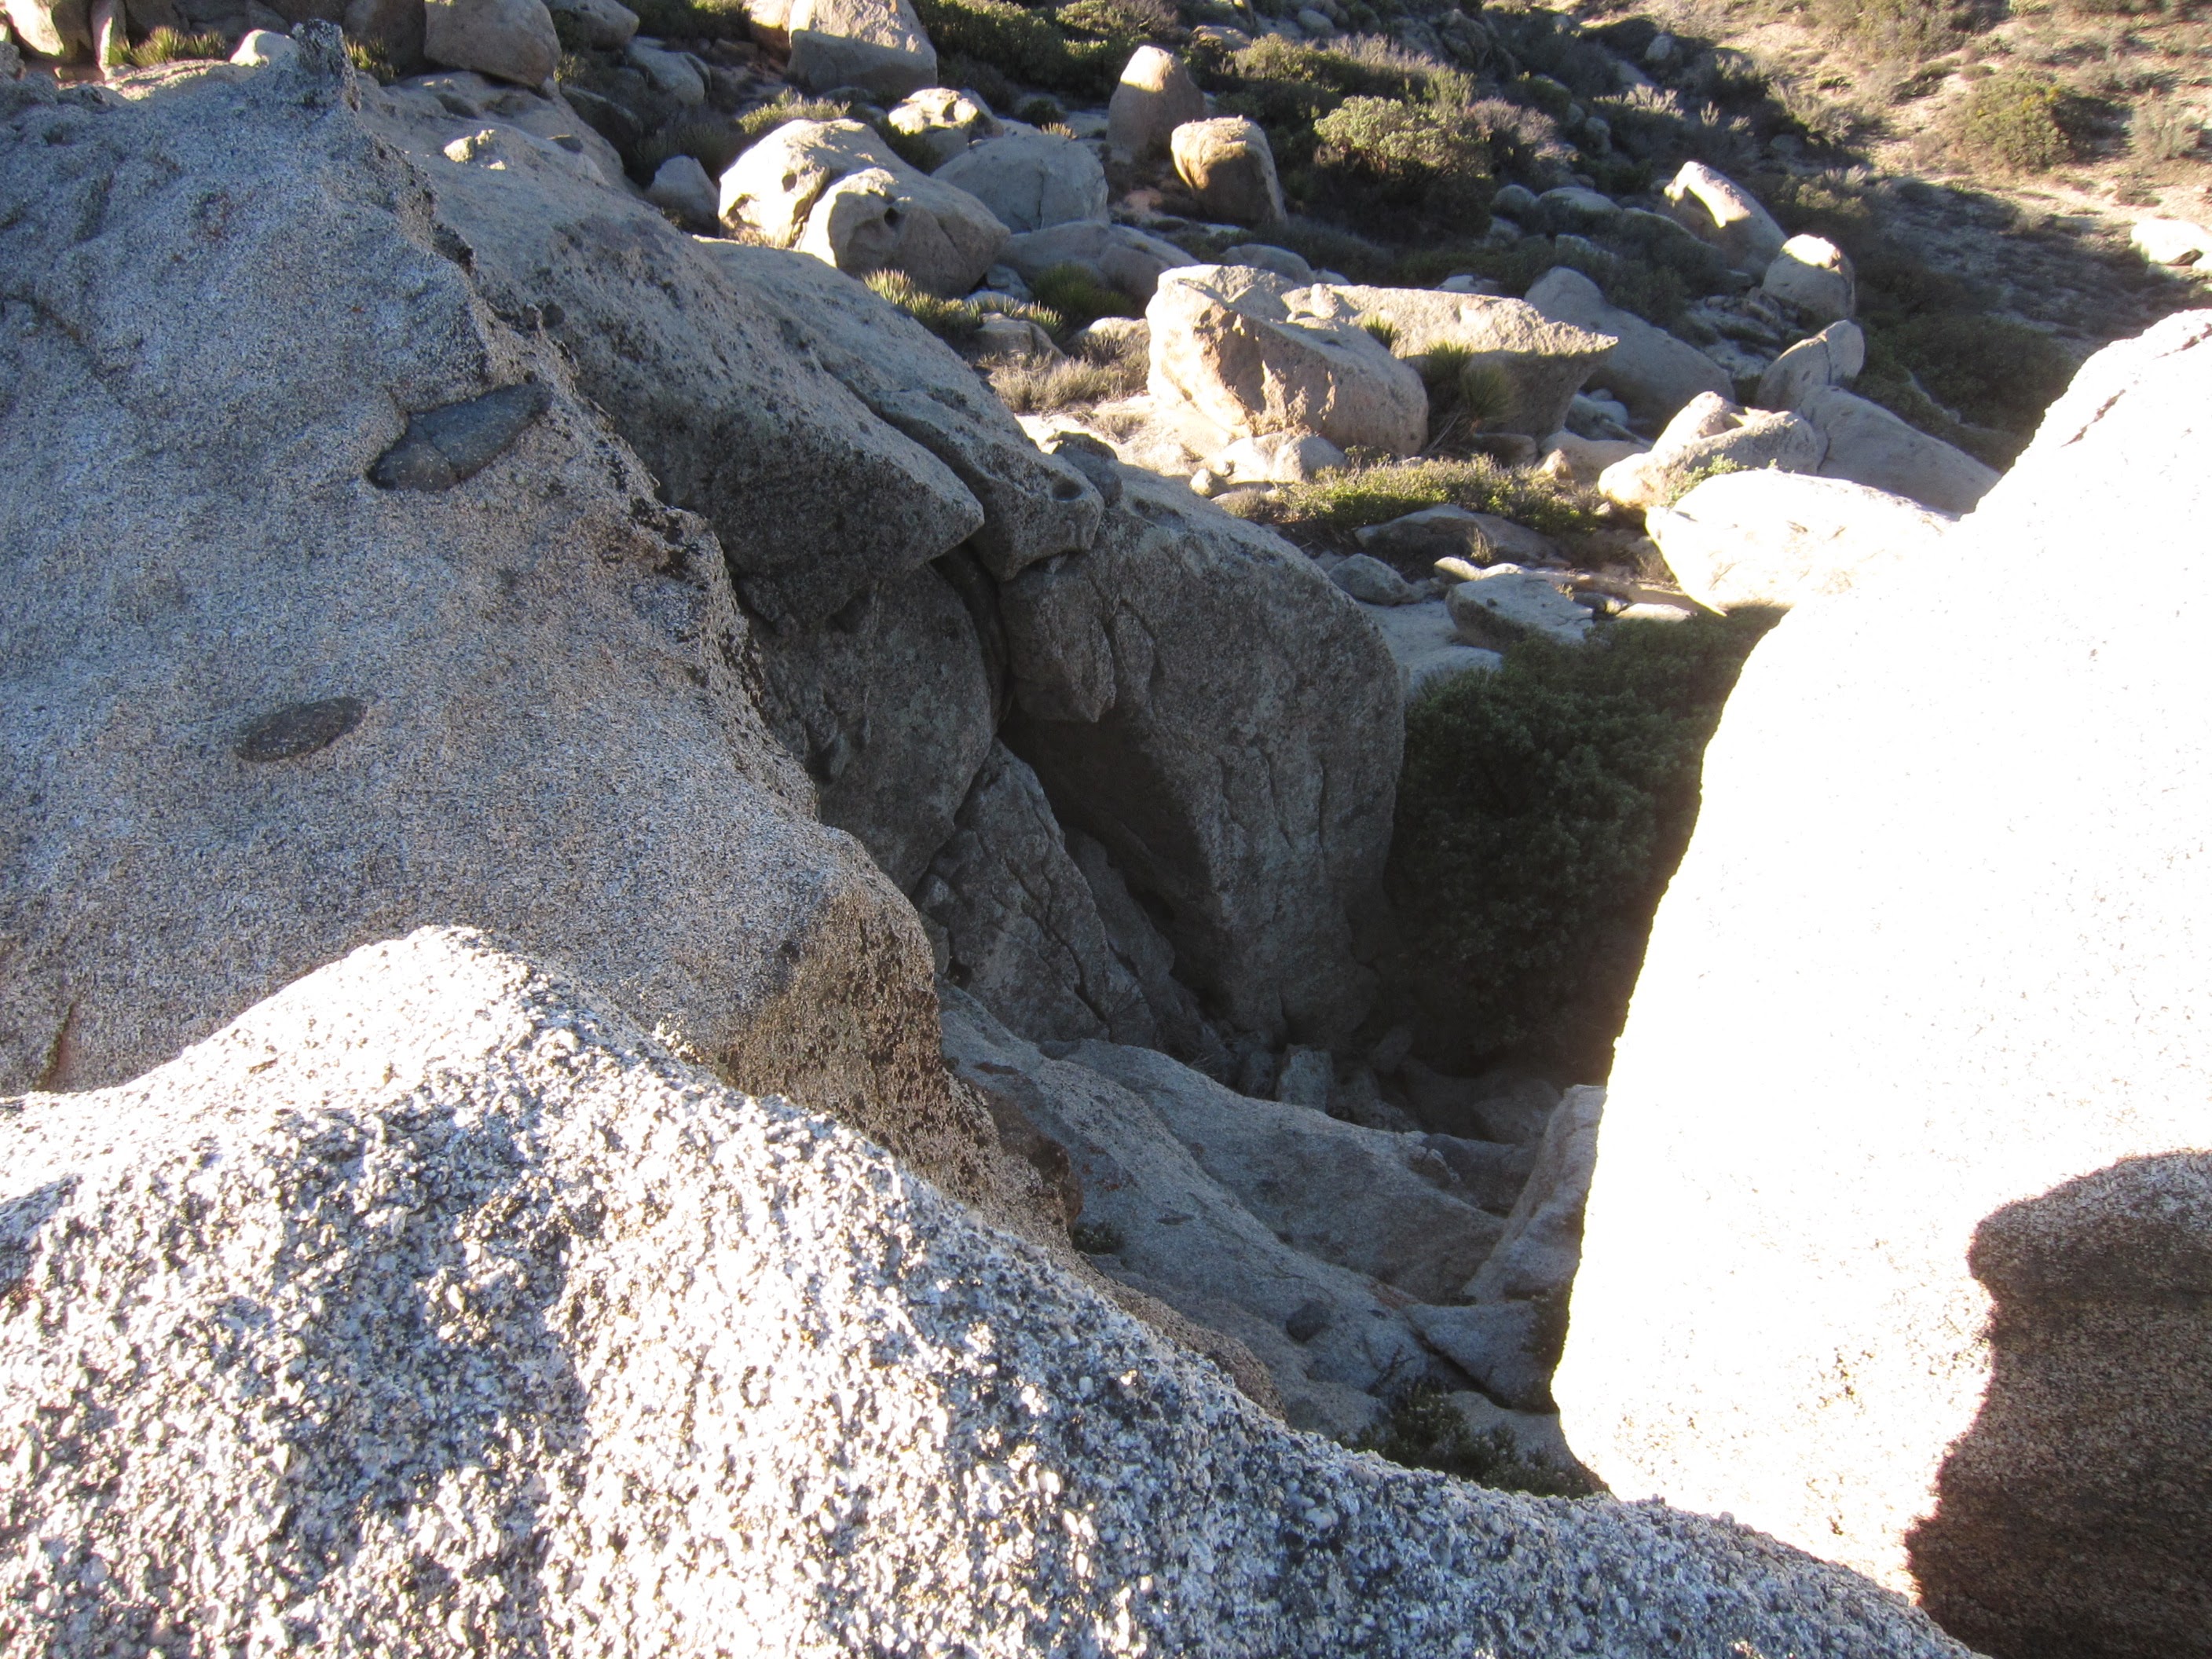
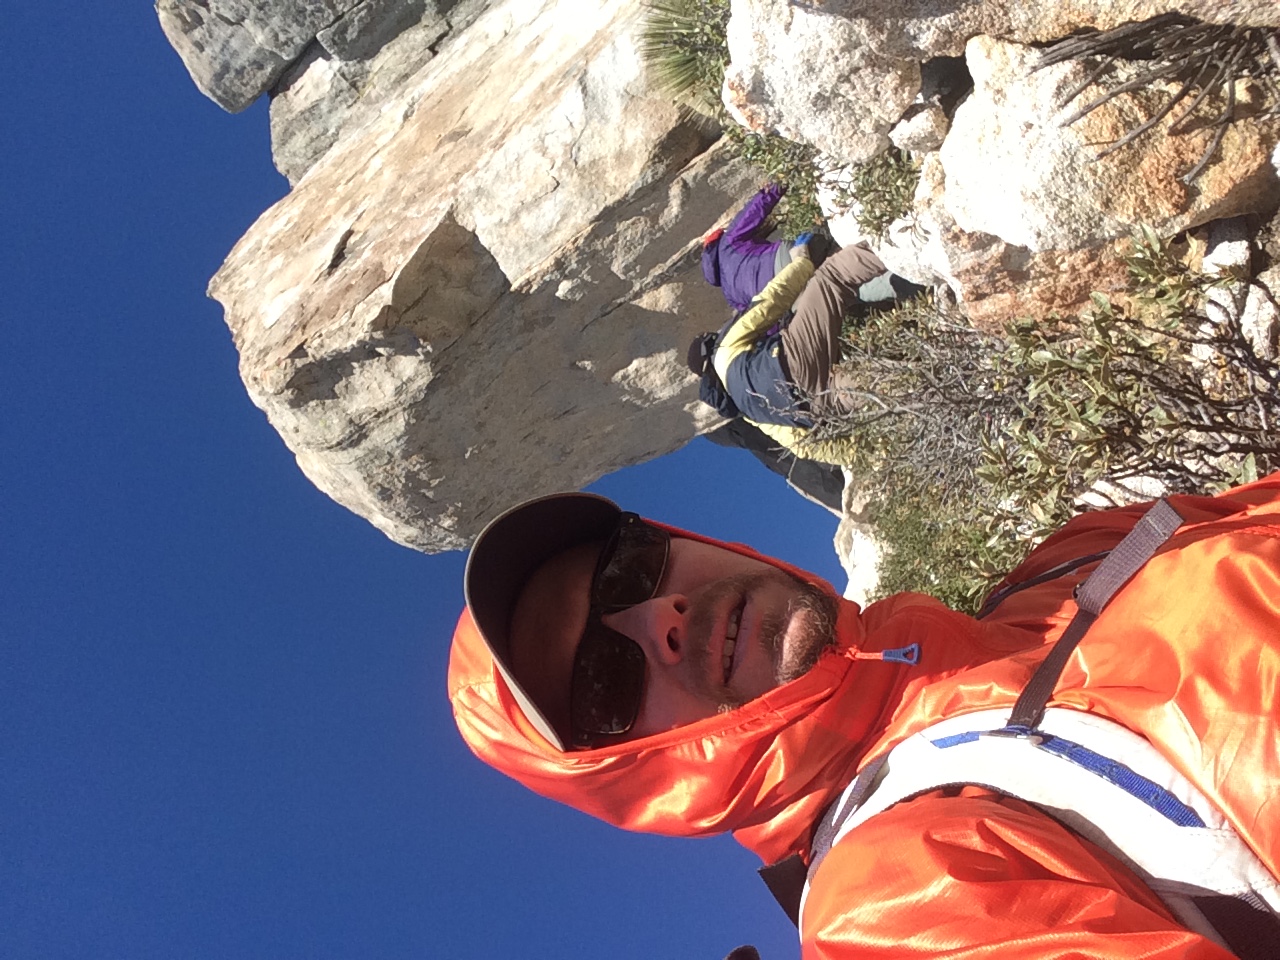
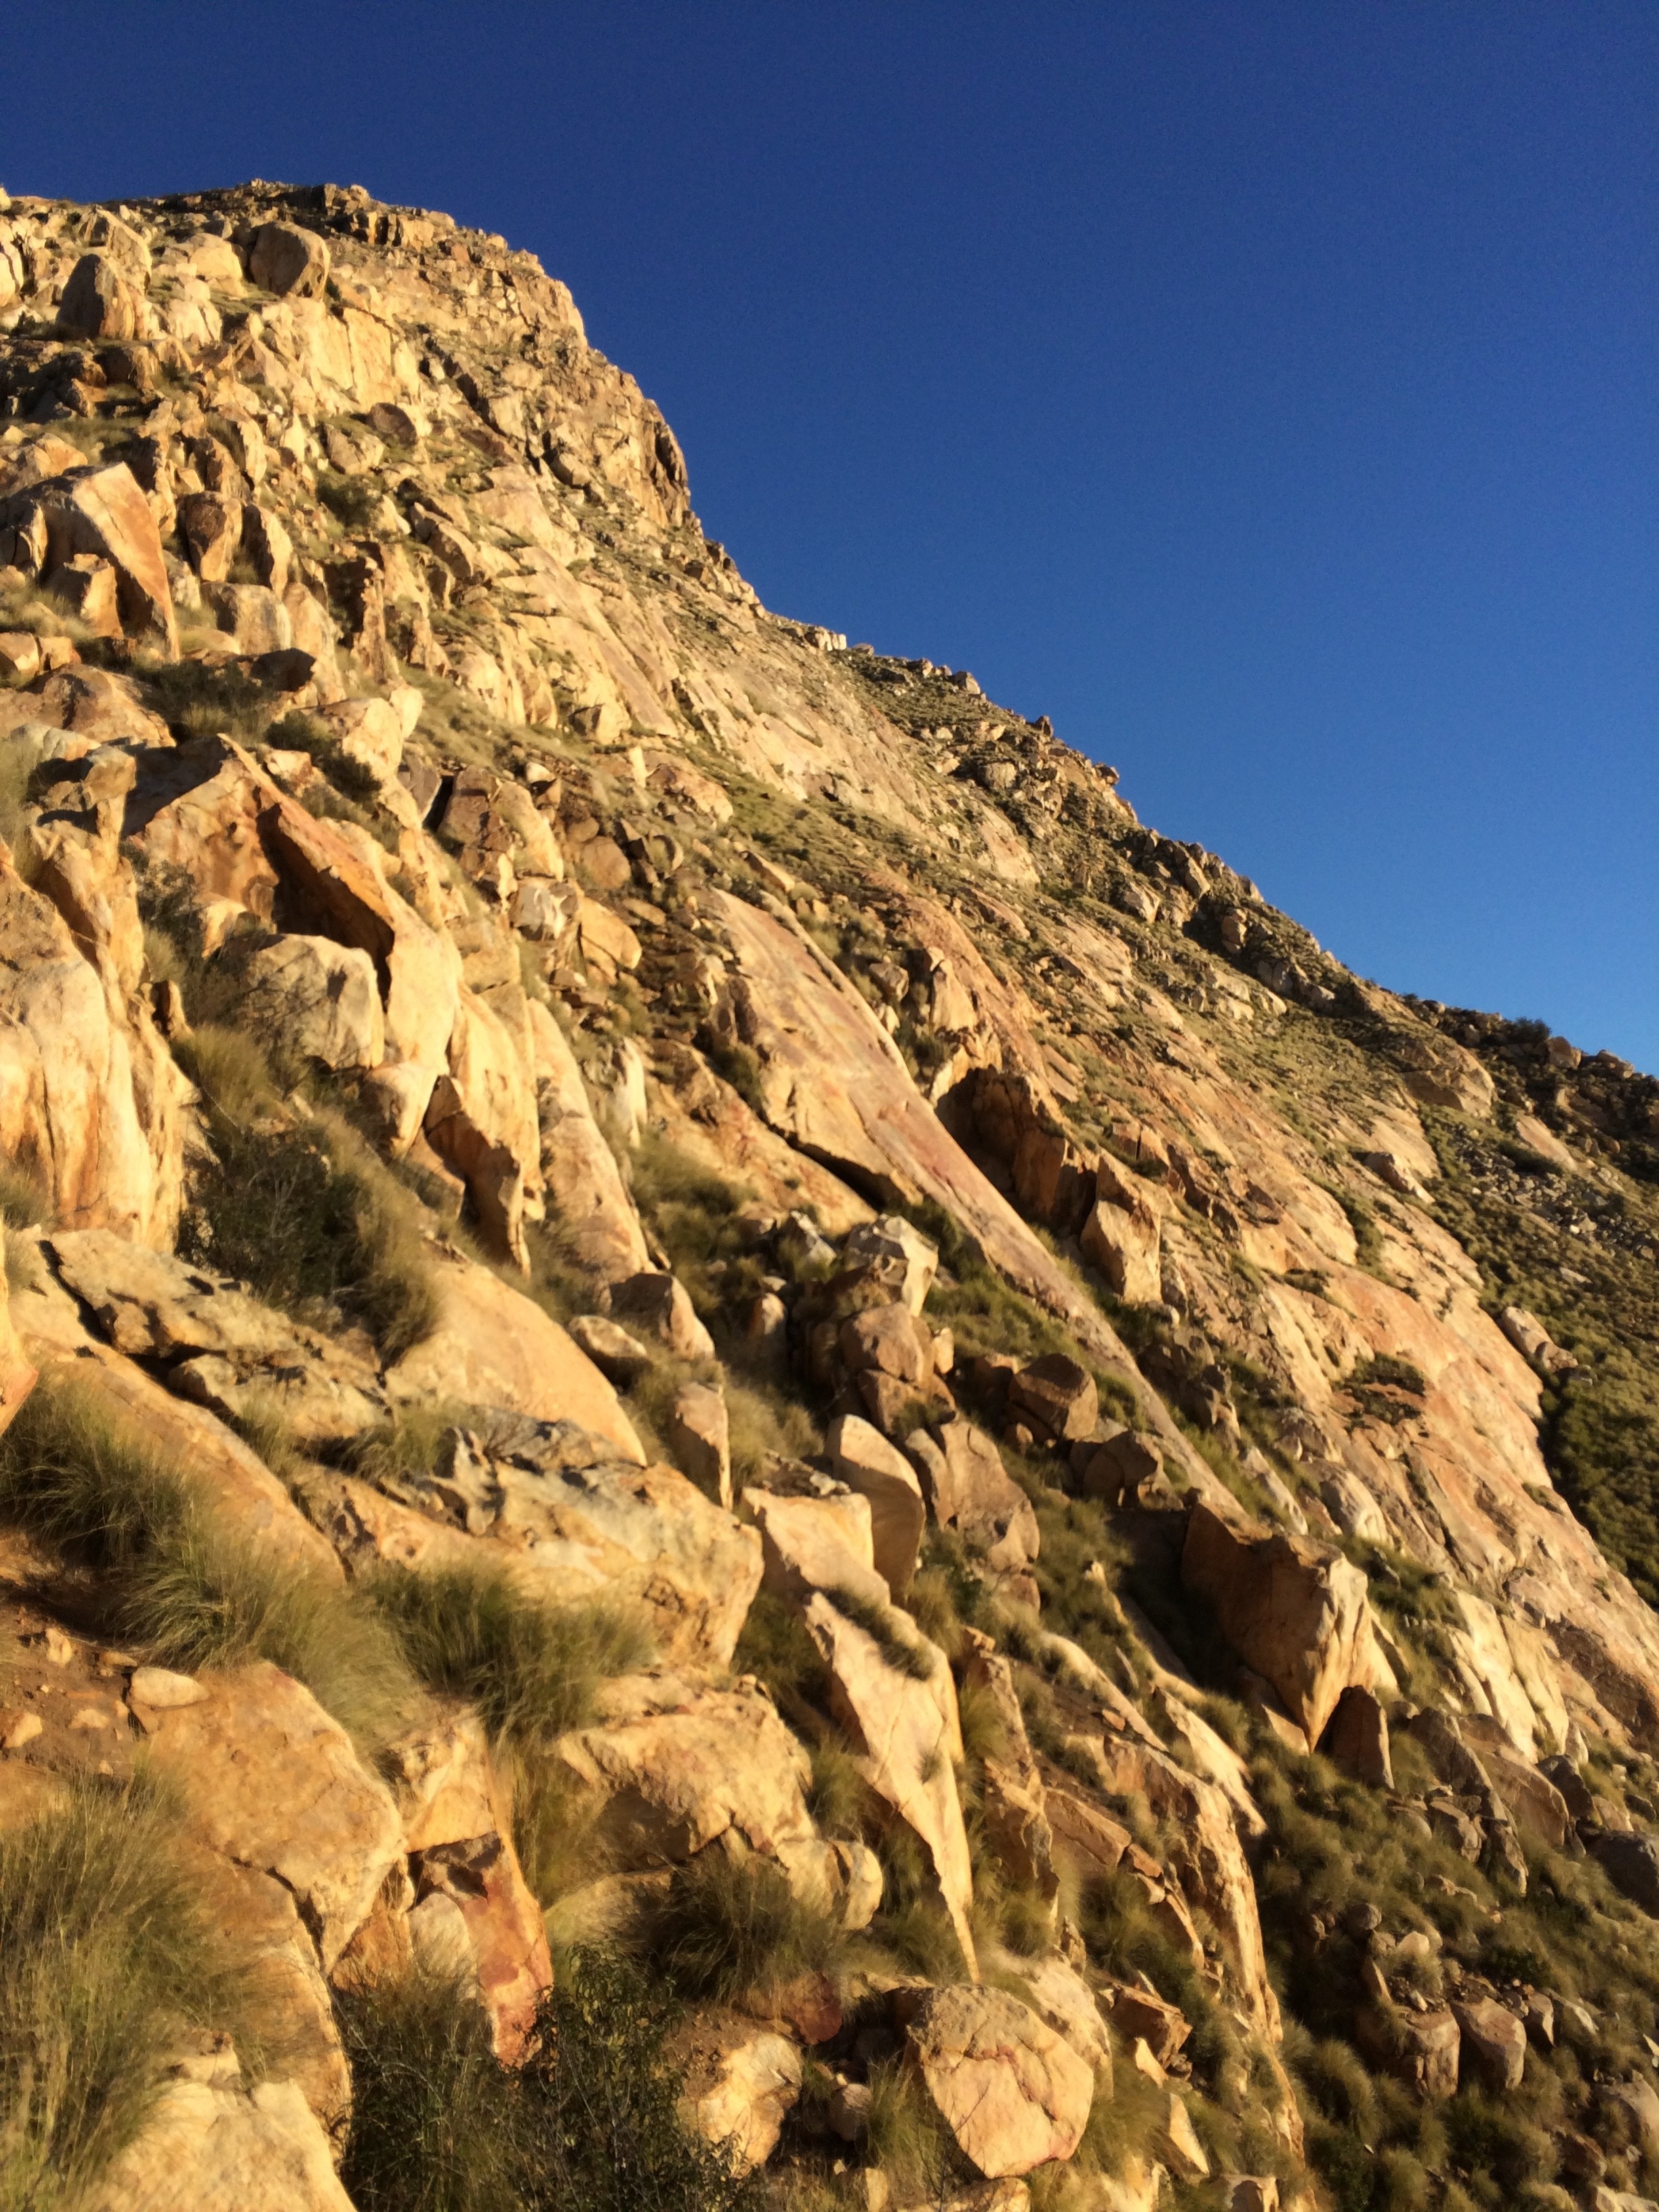
Exposure on the summit block of Bonny
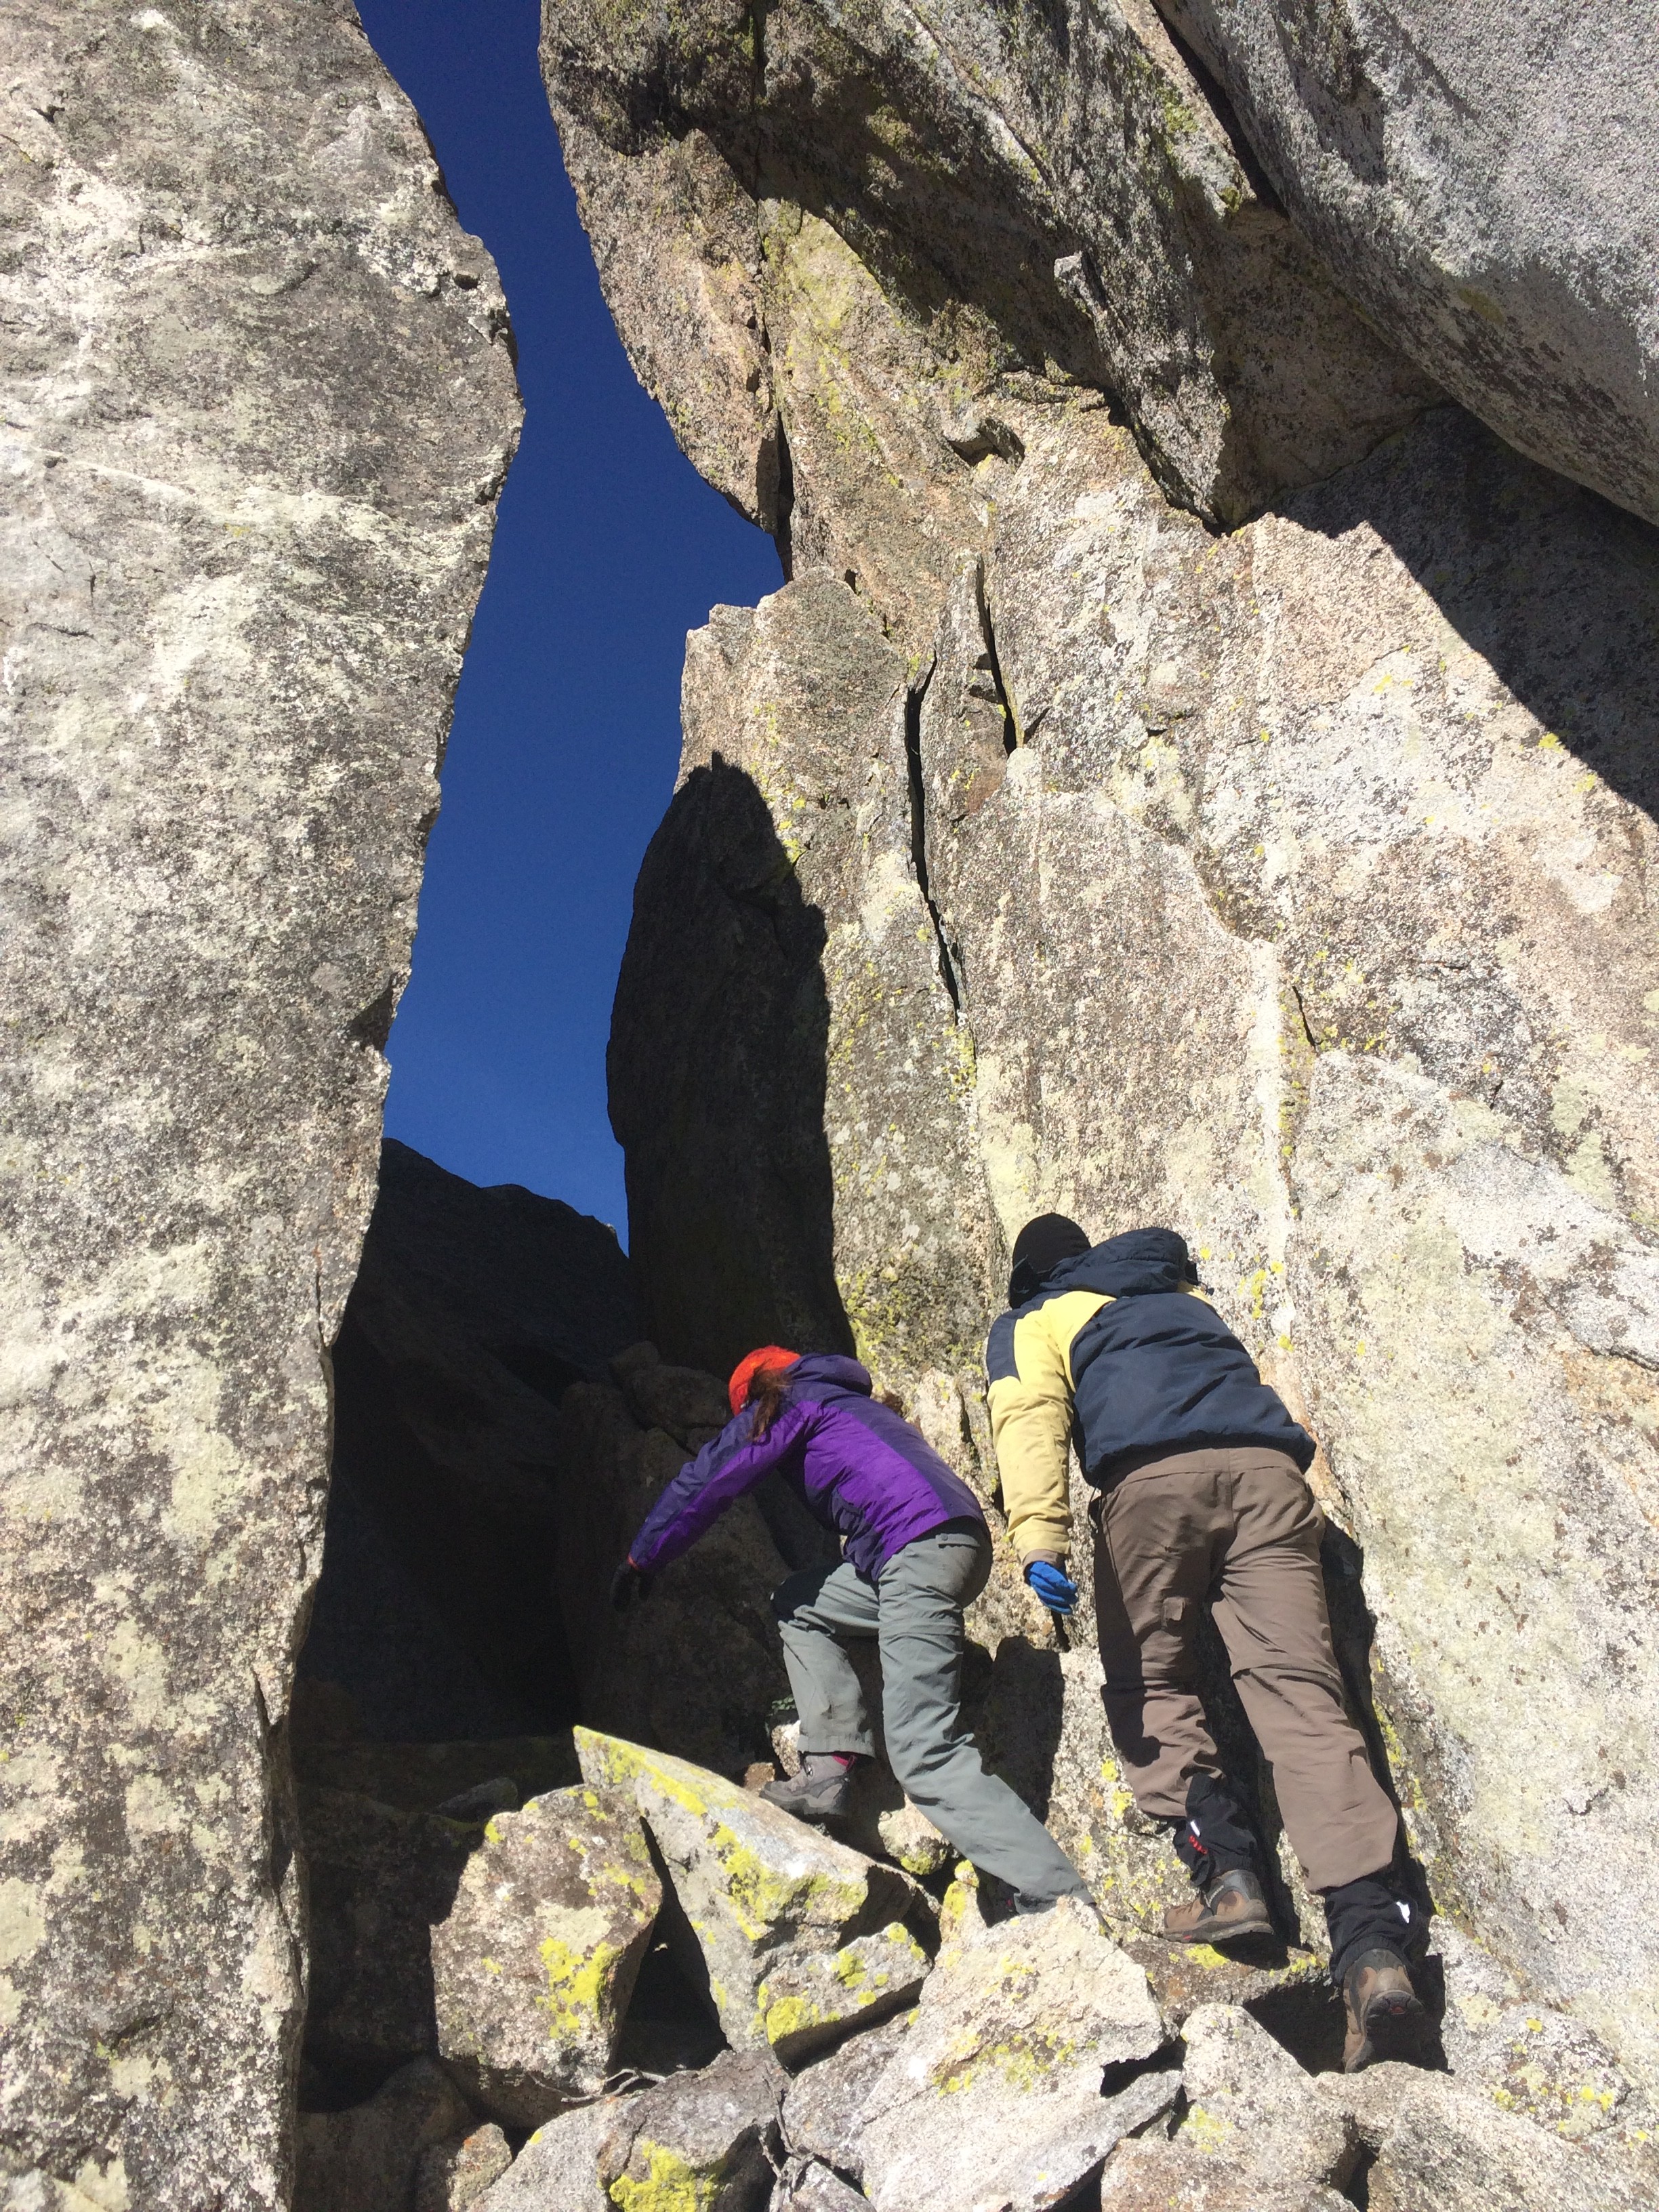
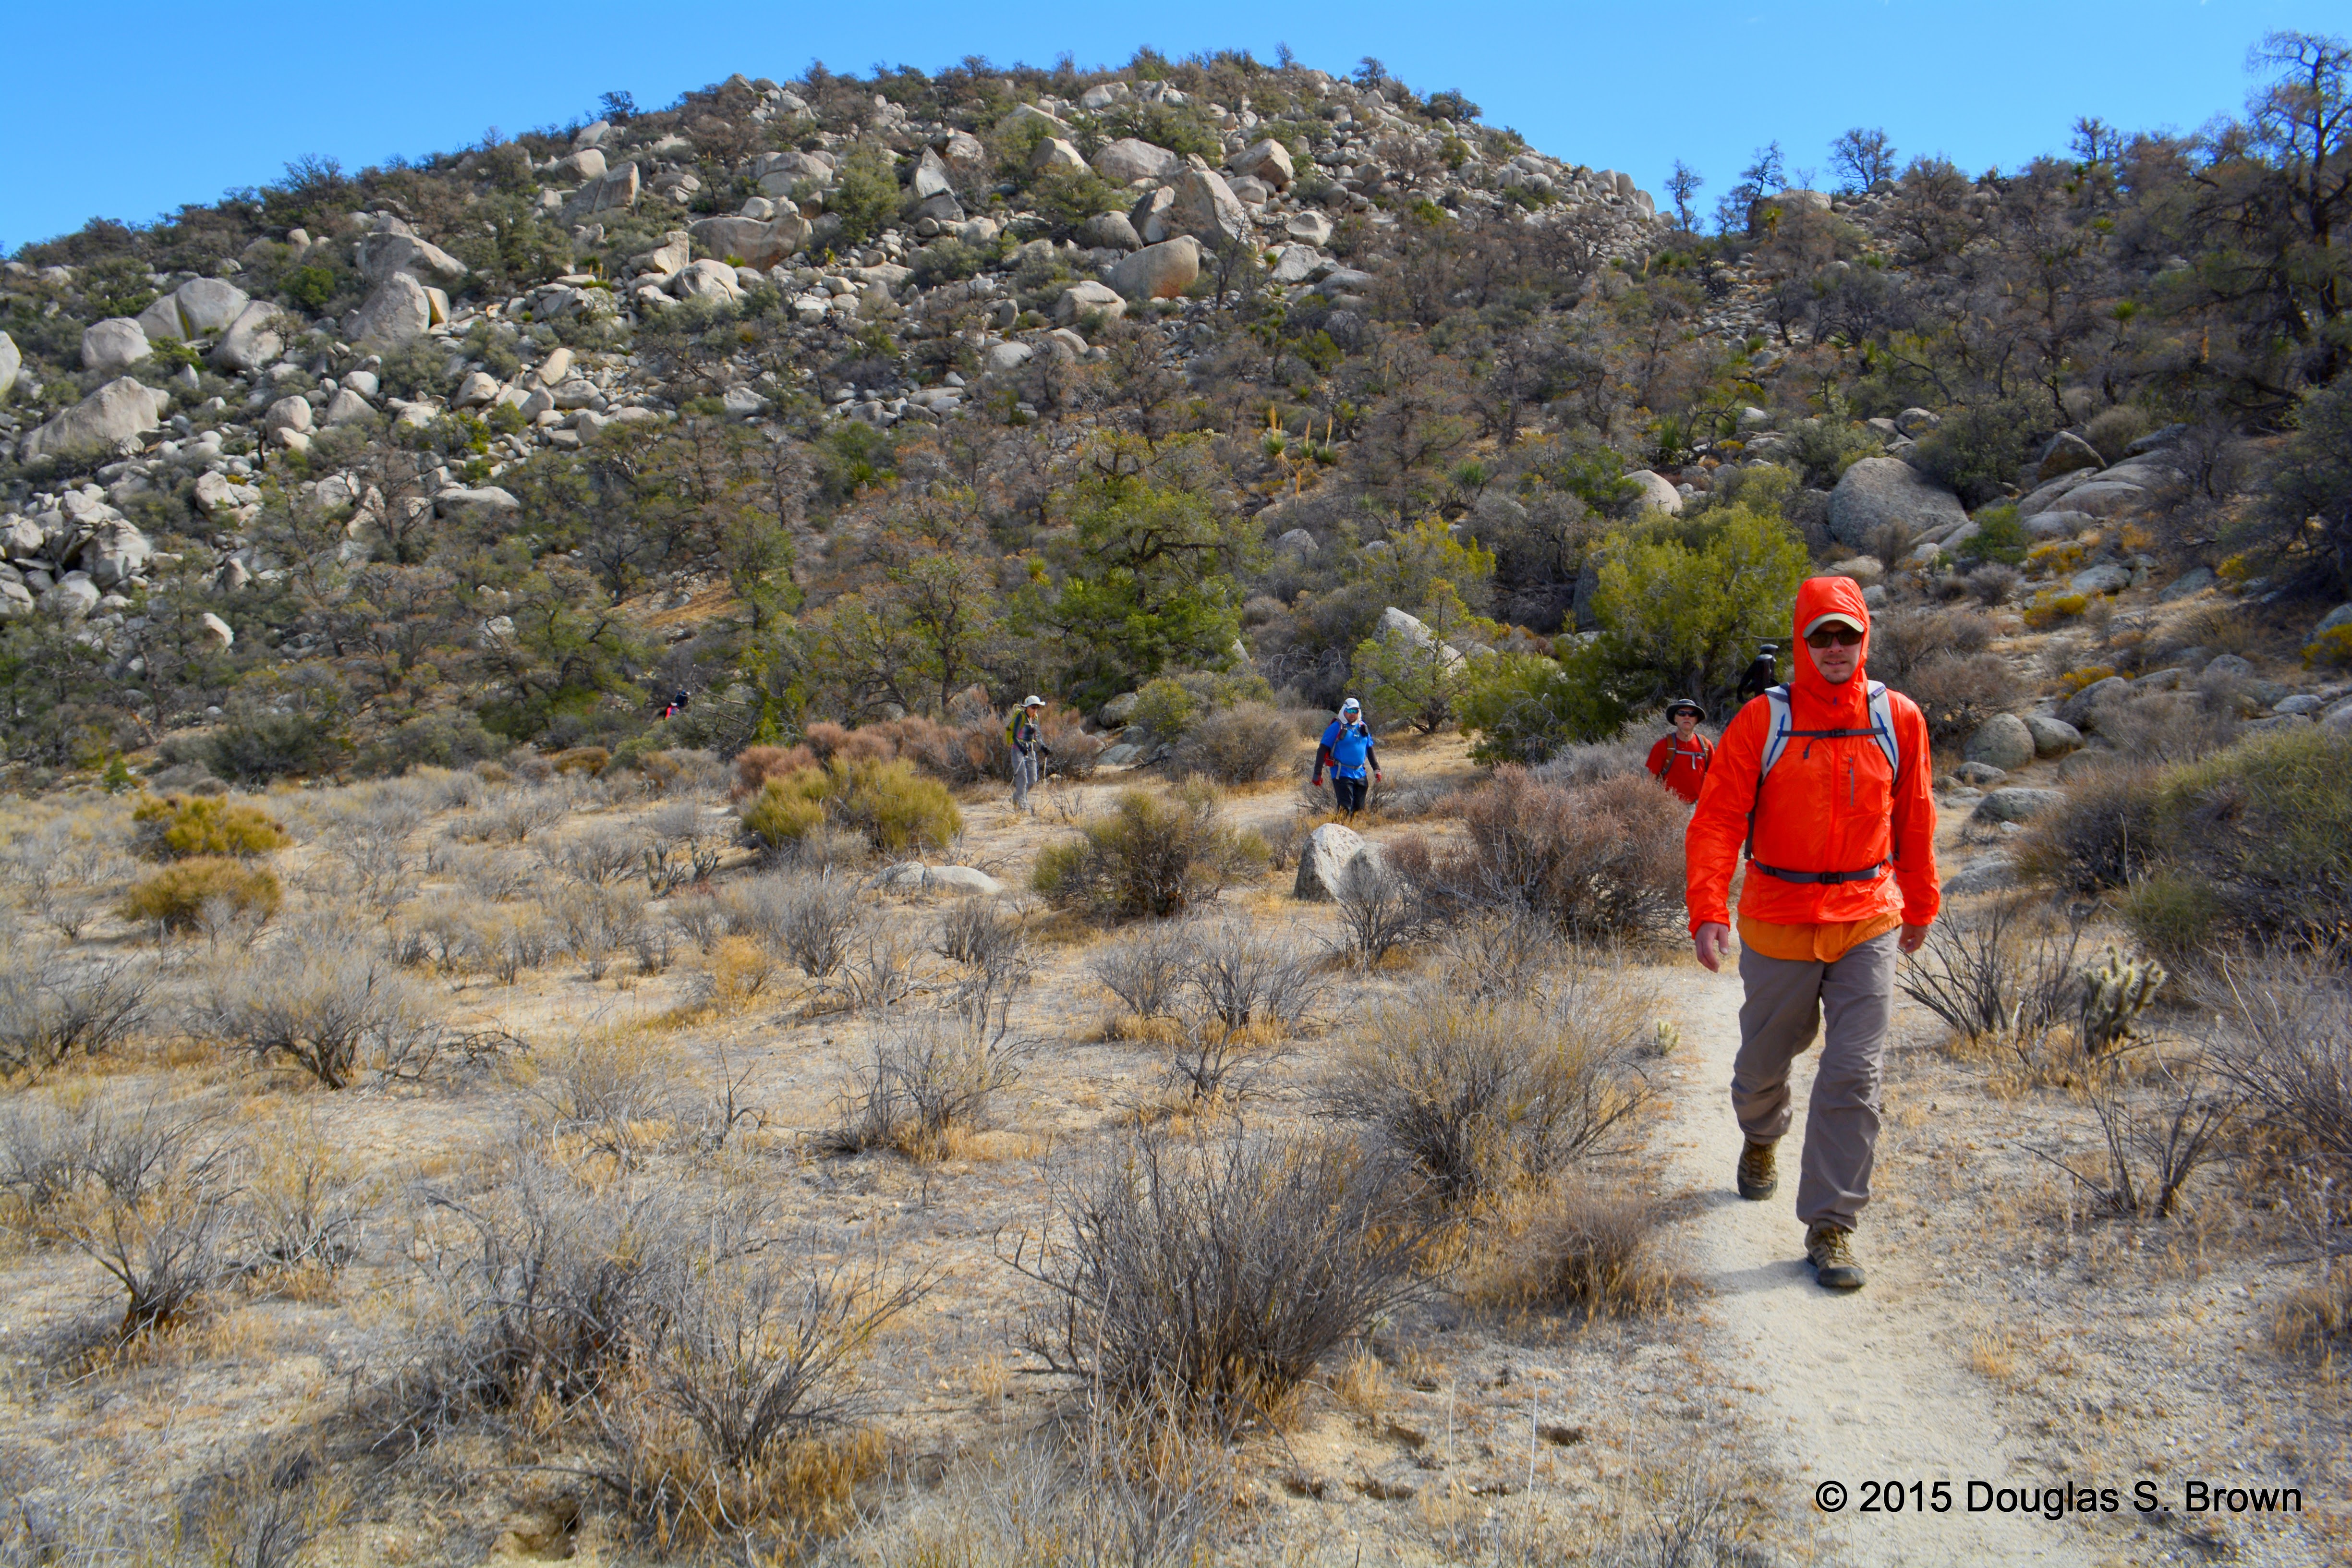
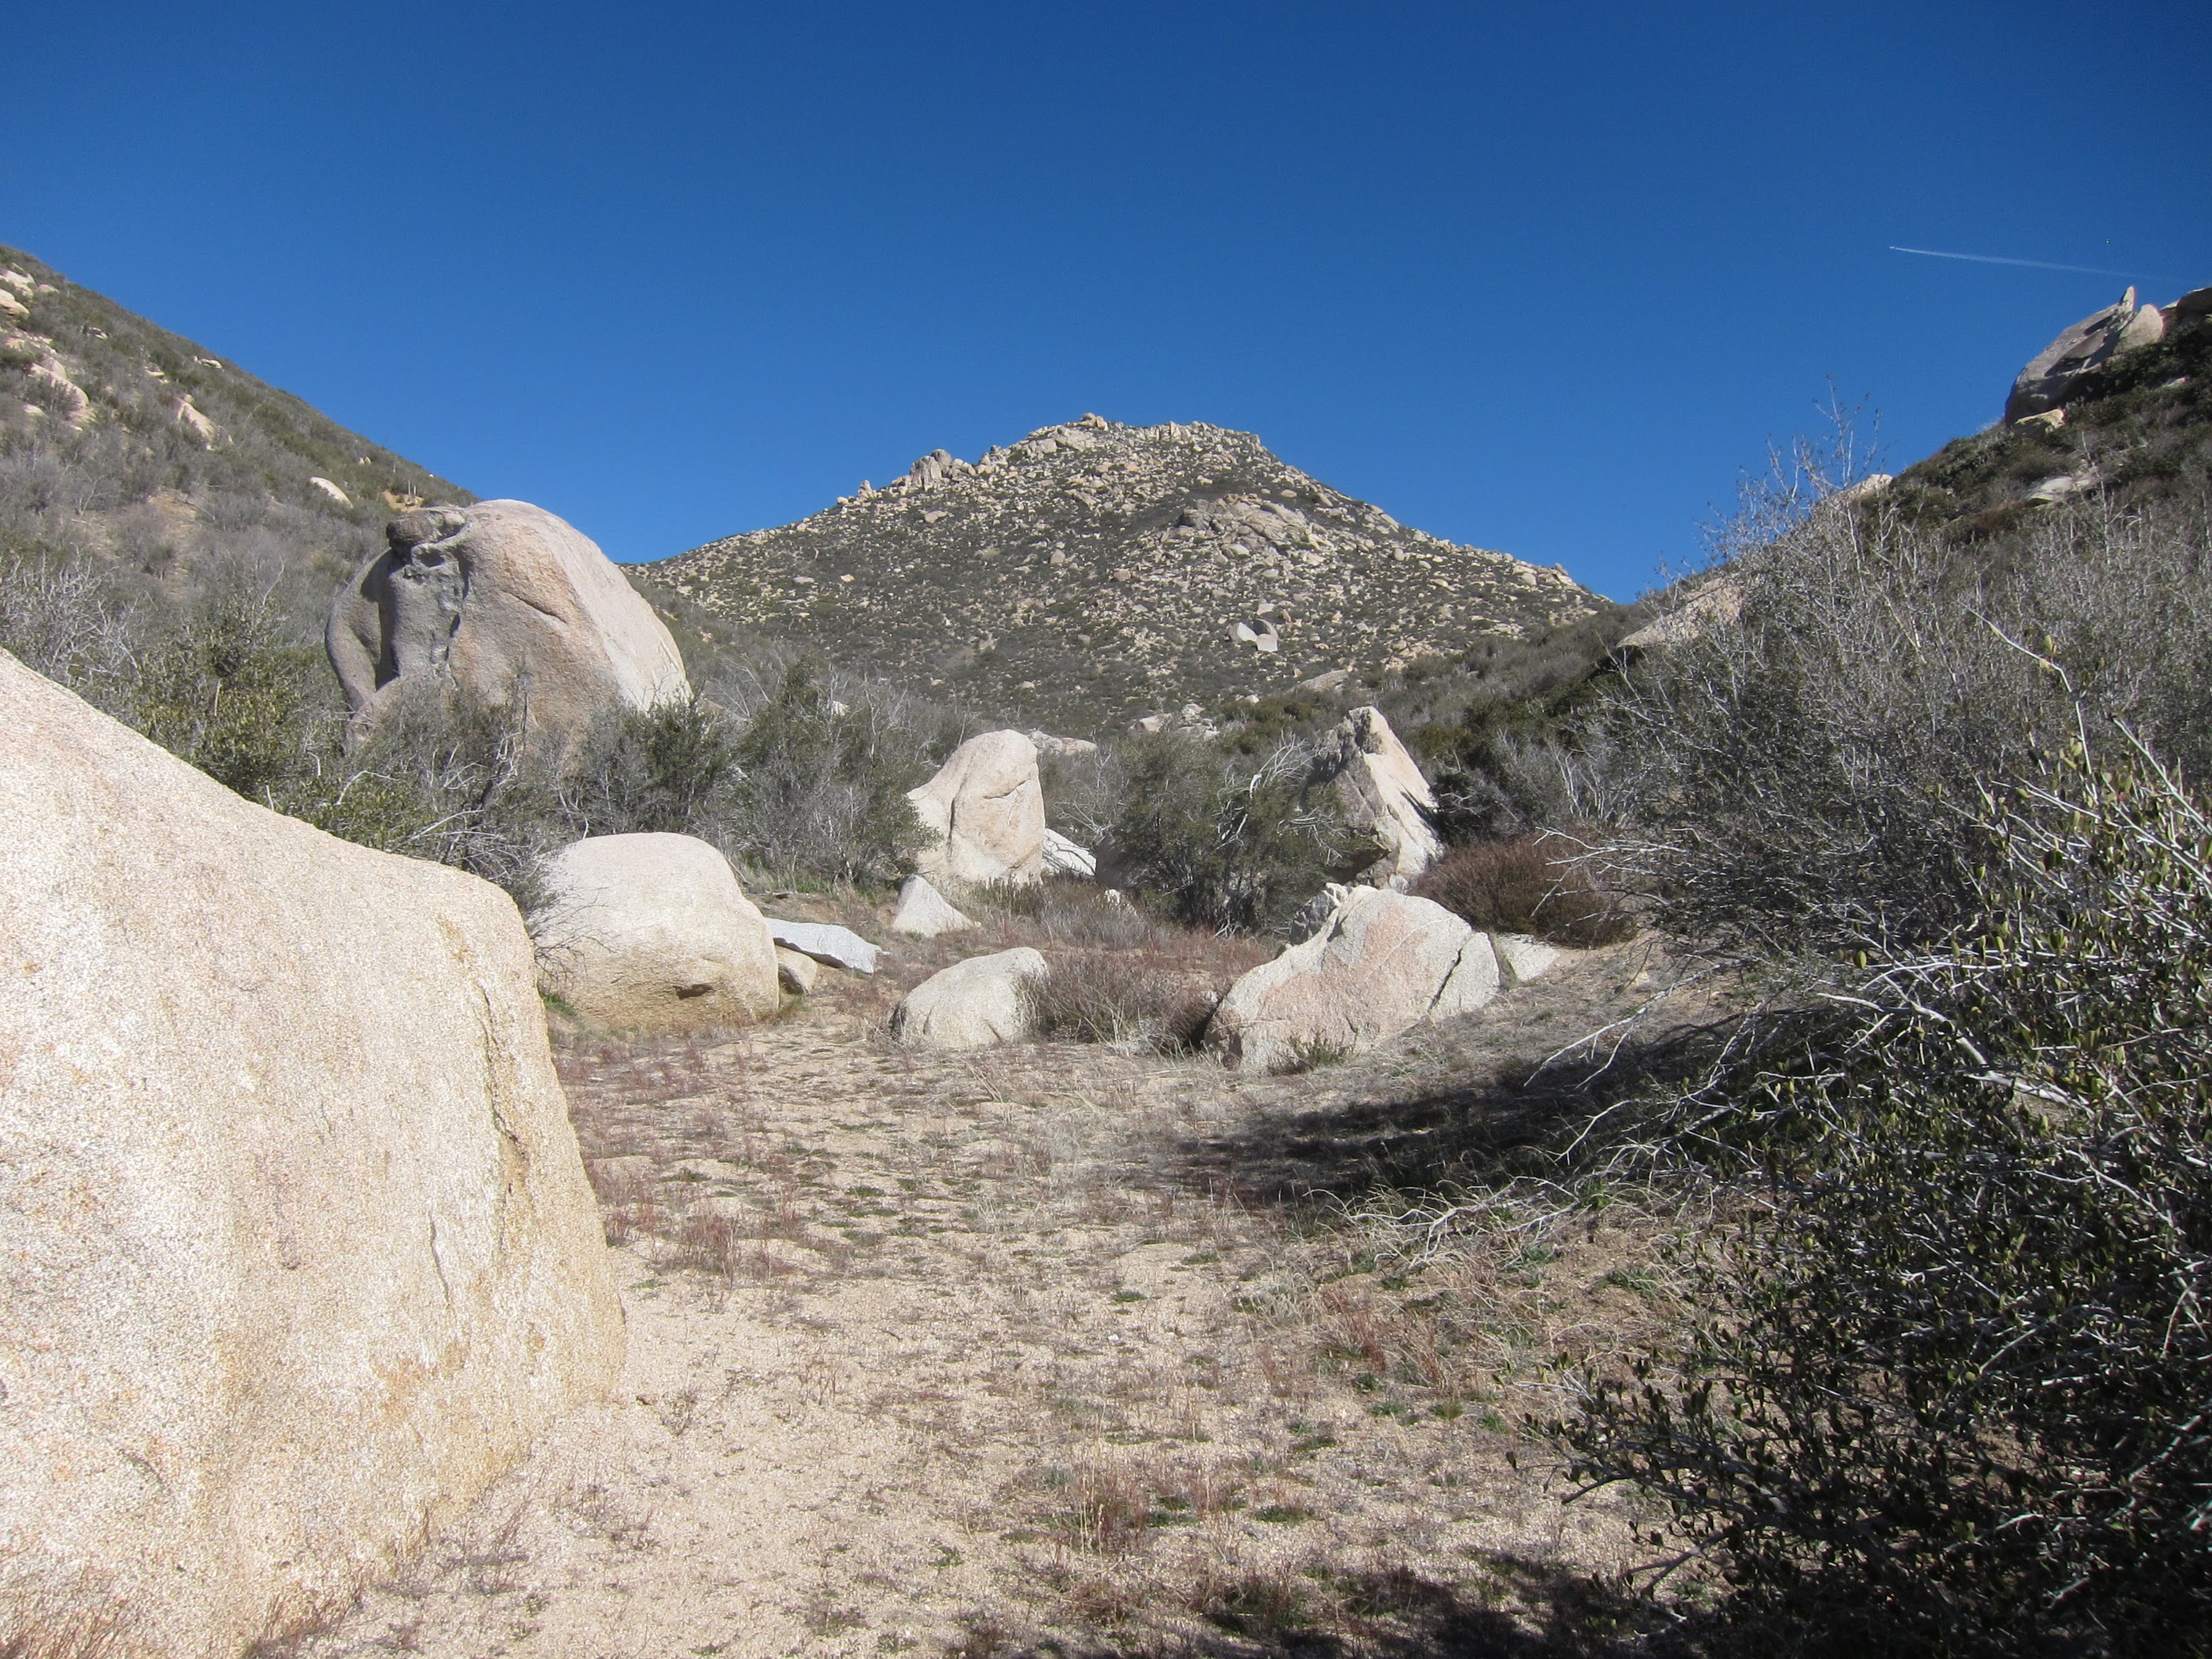
Despite my commitment to an alpine start I didn’t get on the turnout on Montezuma Highway until 7:30. The route takes you immediately north, cross country, climbing consistently from the cholla-choked lower slopes, Gain the hill immediately from the road and then Bonny is easily recognizable as a big pile of rocks about 100 feet high. If you want to bypass Bonny there is a broad wash to the west. Otherwise skirt it from the southeast, and on the north side and you will see an obvious path up. Trend back around the base of the summit block southwest and you will see an 18″ wide ramp next to a head-high block with a 40-foot drop below. There are ample handholds above the ledge, and as long as there is no 40mph wind gusts, this is the only class 3 move, the summit is directly above. I was up and down in about 15 minutes.
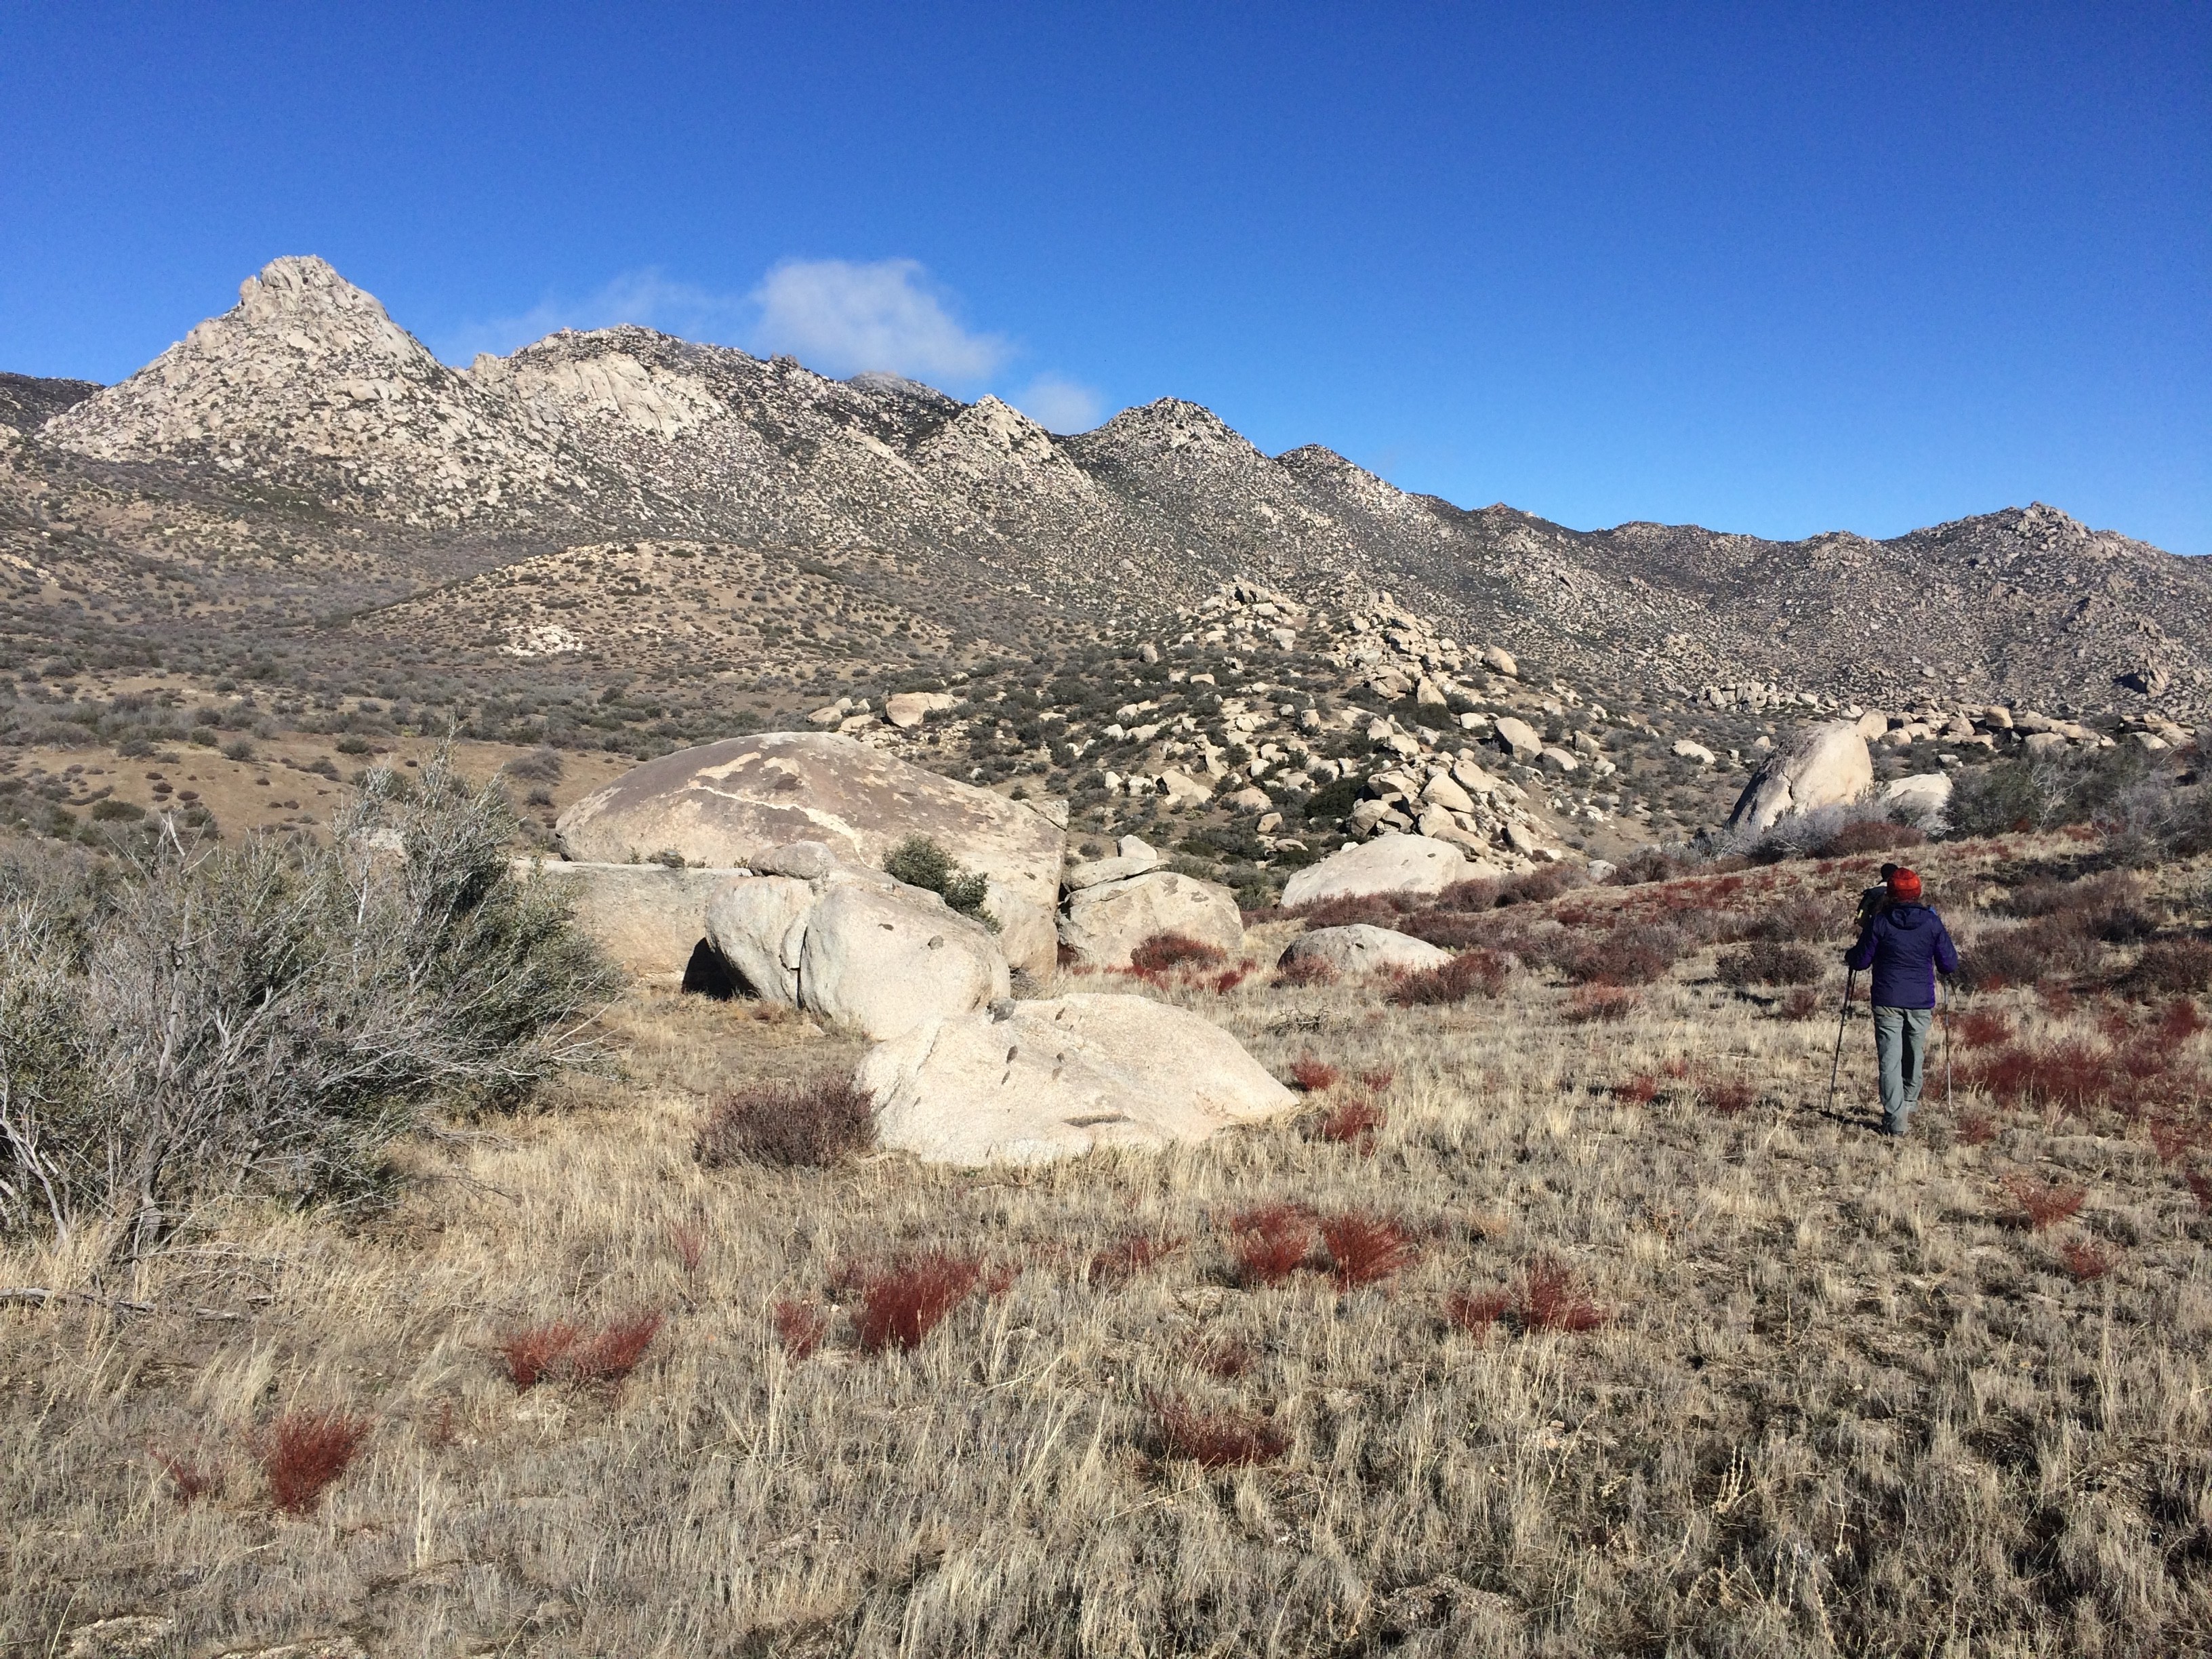
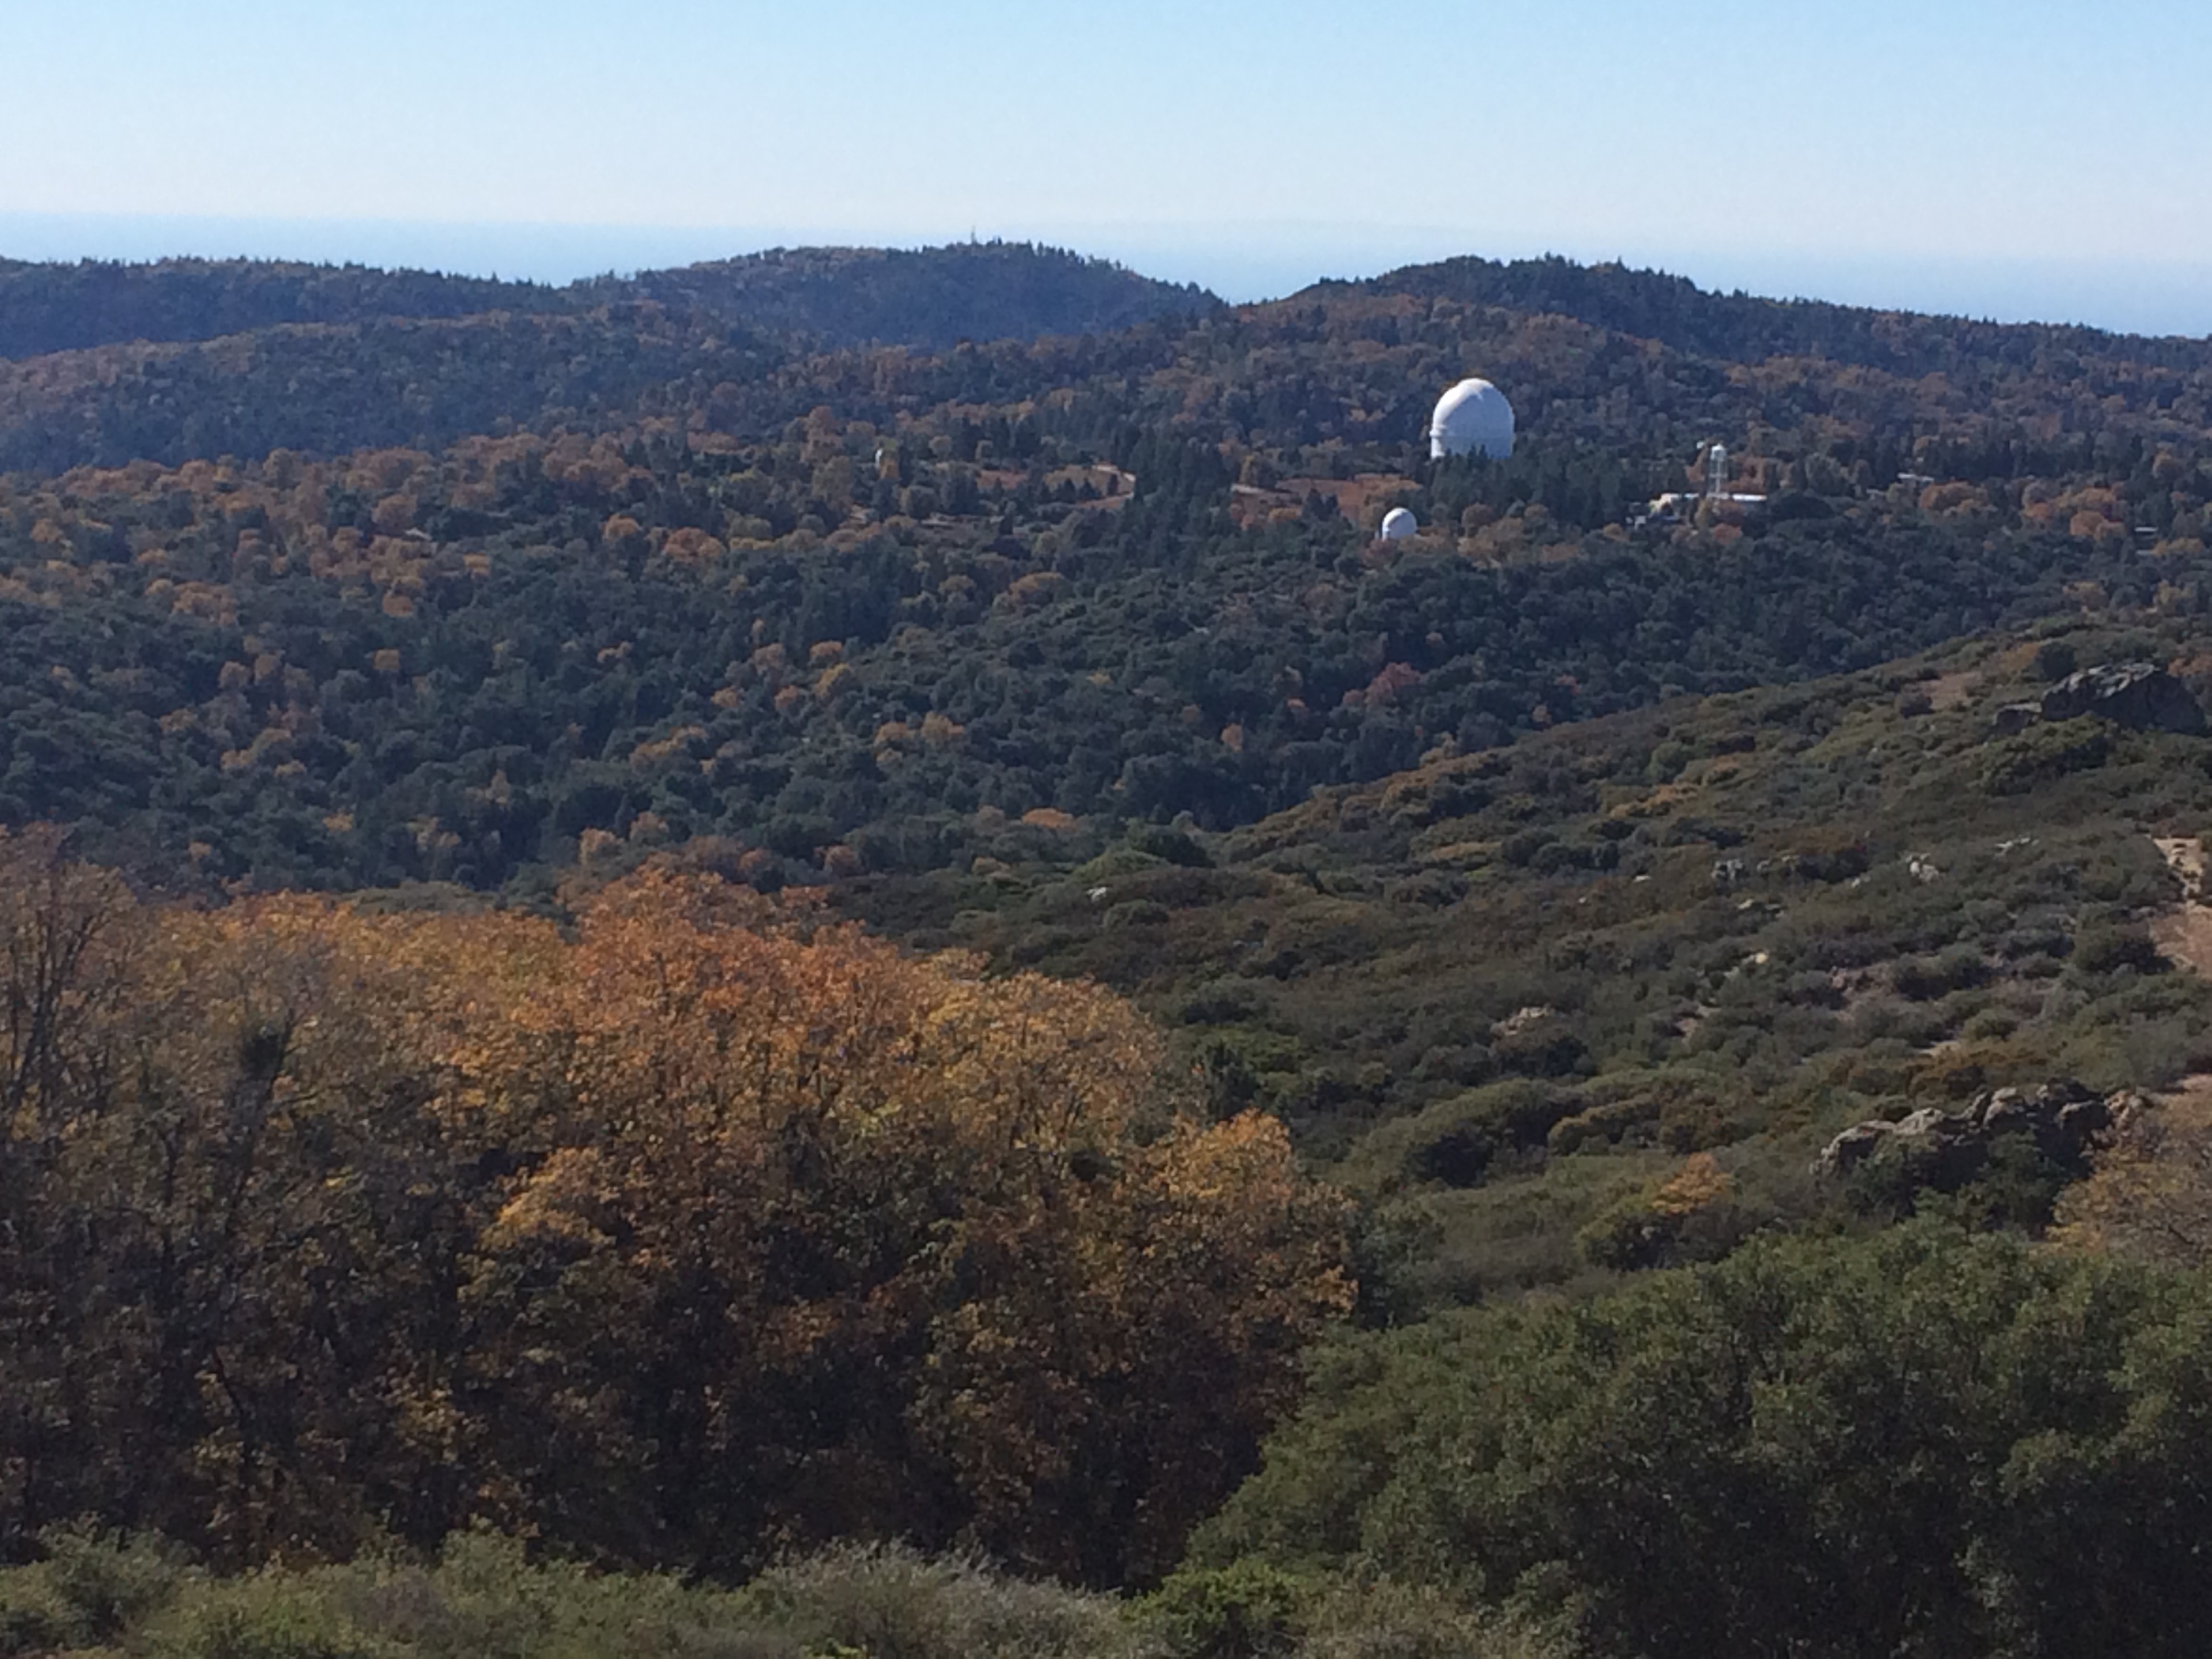
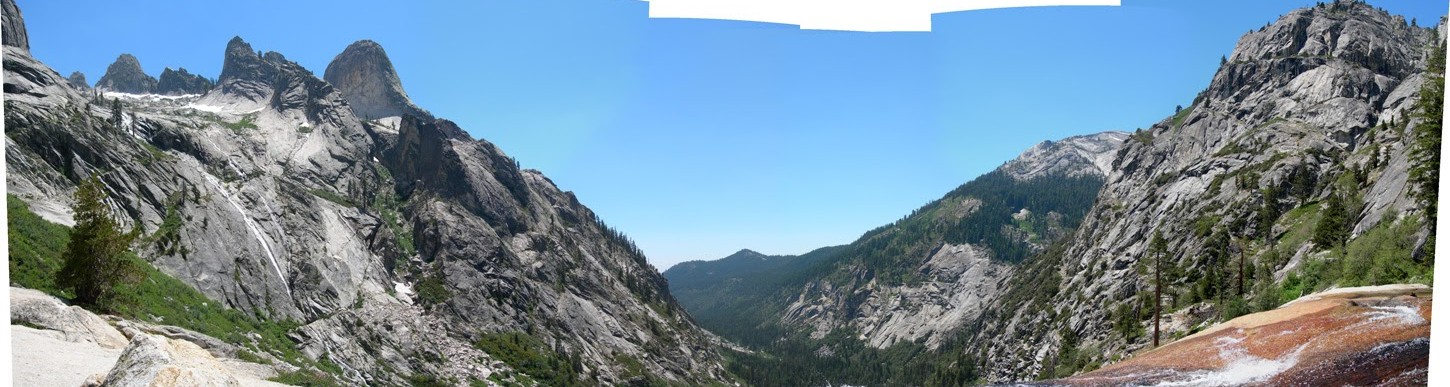
San Ysidro Ridge and the Thmble seen from White BM
After Bonny, descend the wash ahead, and trend west along increasingly well-tread footpath towards obviously-named Chief rock or Chimney Rock. At this point you’ll encounter one the biggest route-finding obstacle of this trip – the barbed-wire fence which marks private property to the west. It’s almost impossible to completely avoid trespassing on this trip, but you will need to go east around White BM to avoid the private roads and homes below. If you follow the HPS Route #1 you appear to be tresspassing although given the number of signatures on White BM vs San Ysidro, my guess is a lot of people do it. The difference is significant, as the most direct route is on well graded roads and would cut a 2-hour approach in half. The route I chose takes you as close as possible to avoiding all private property.

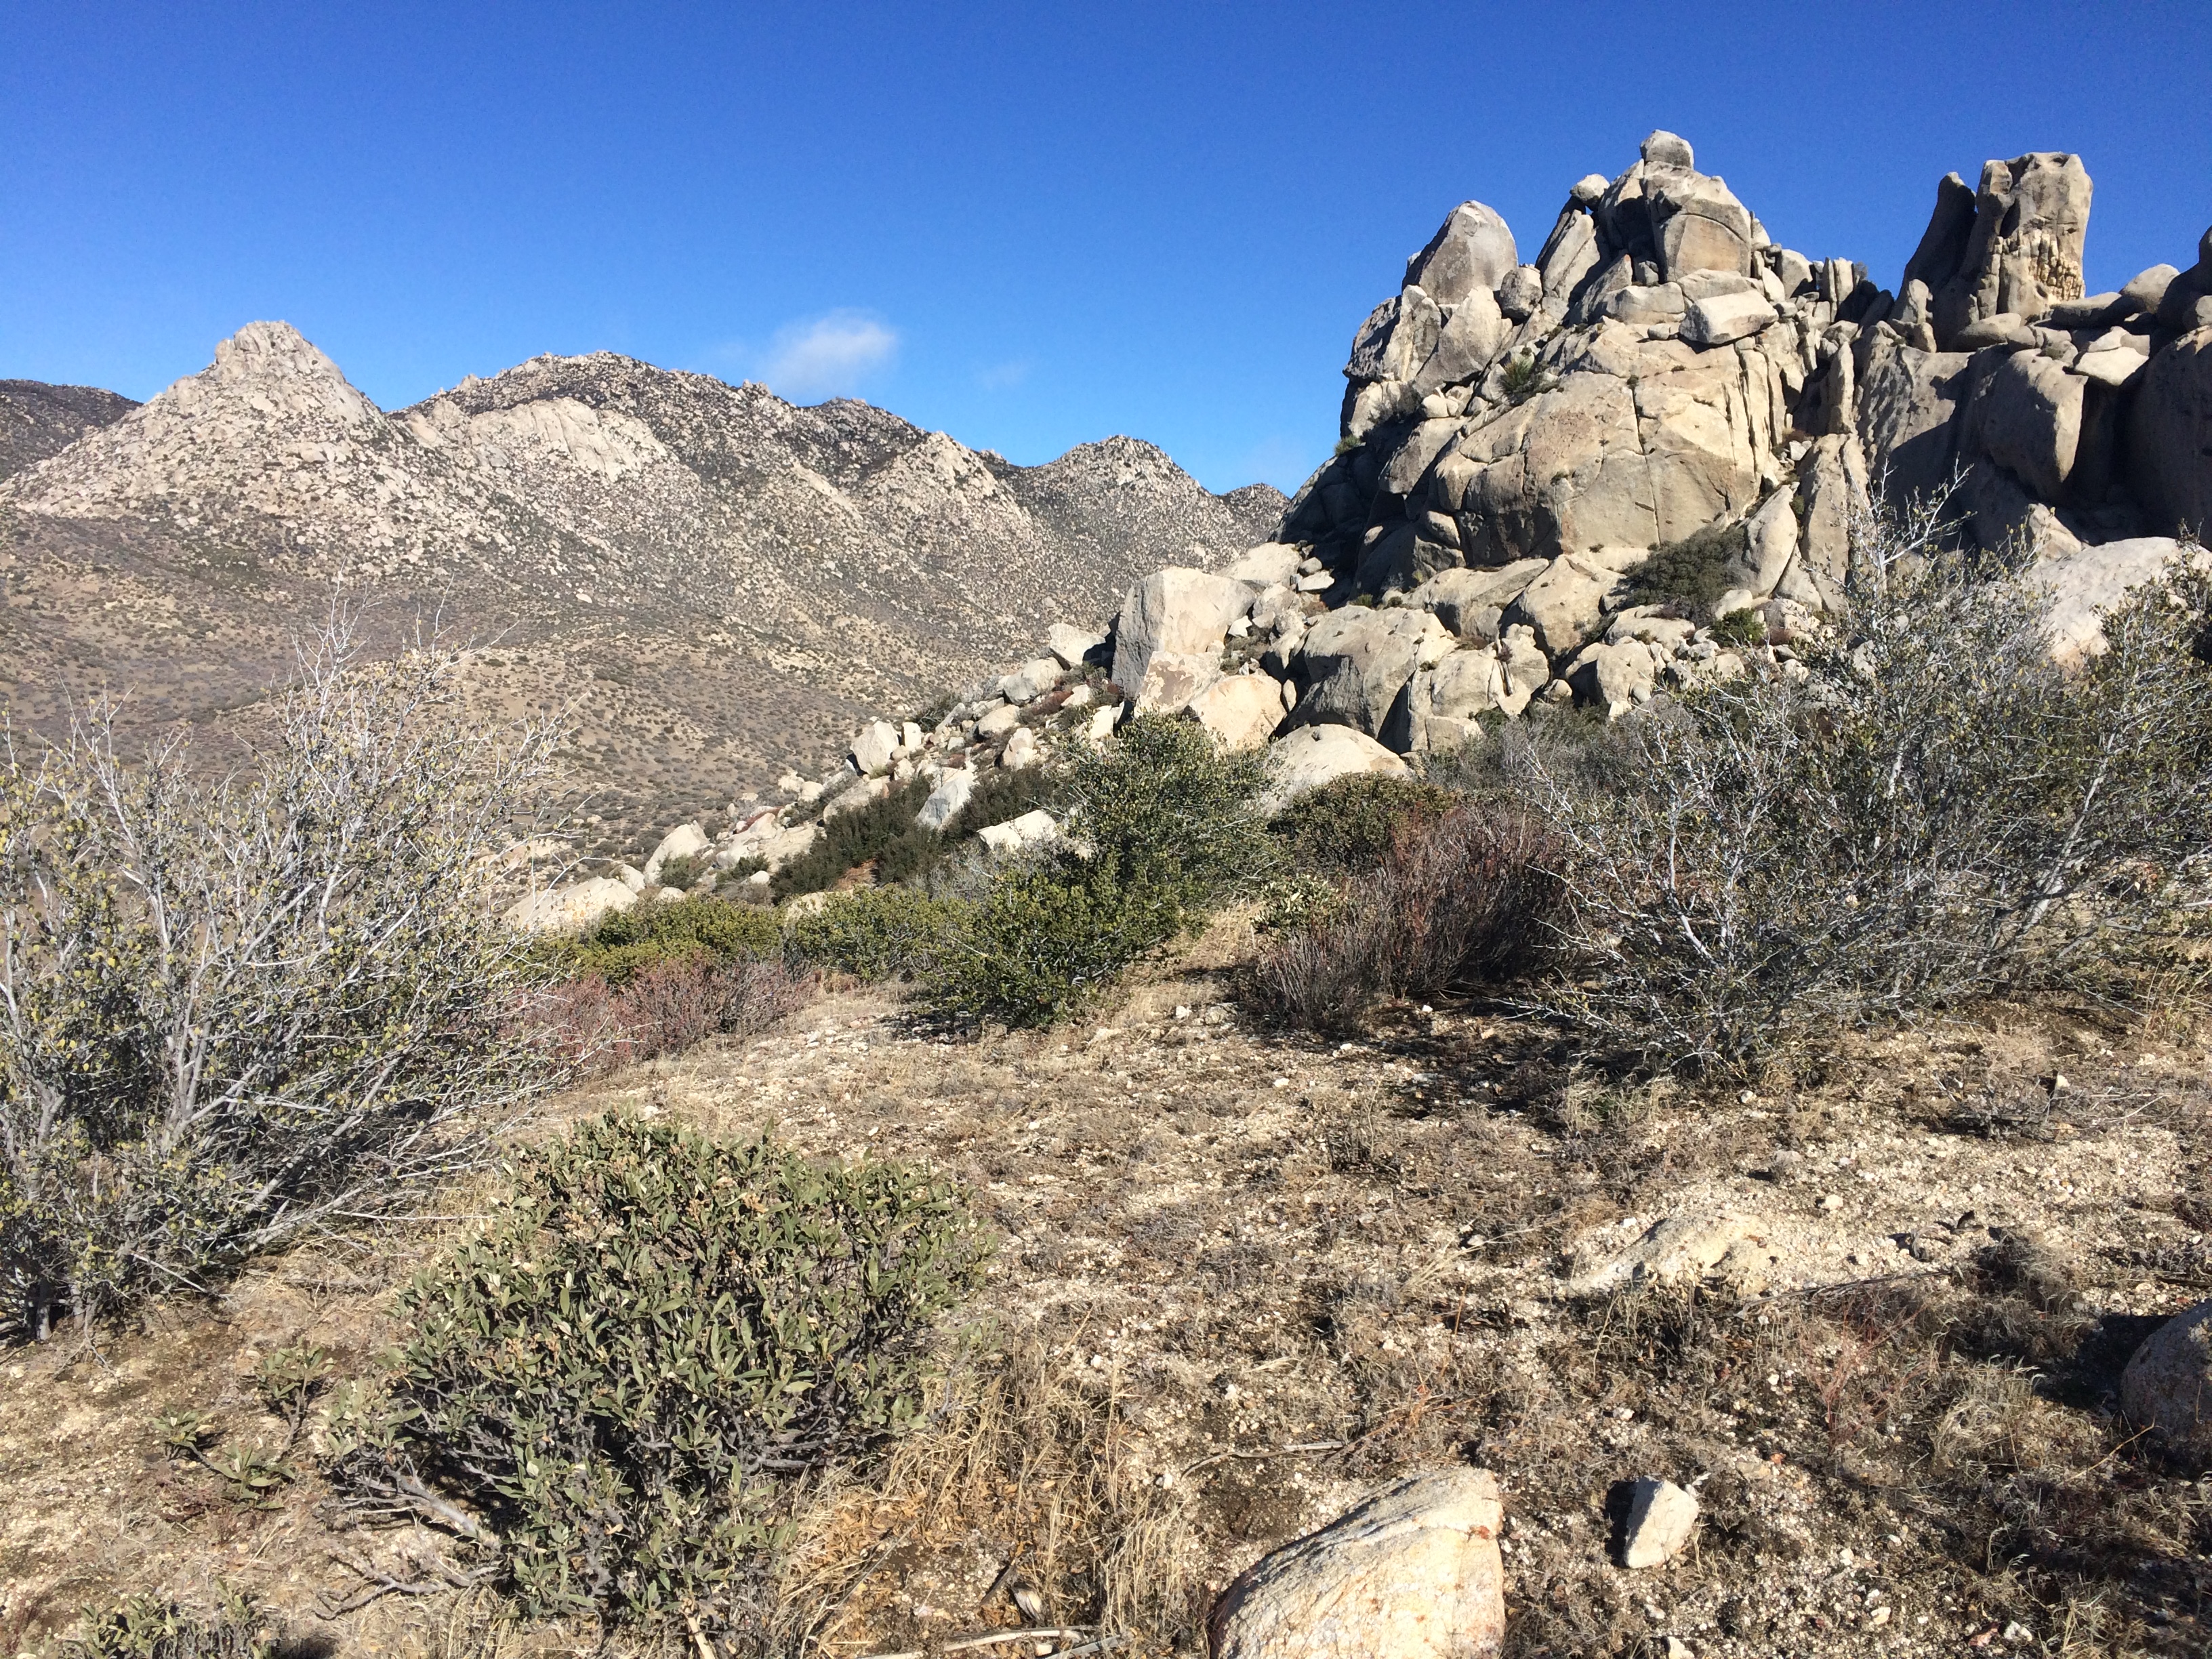
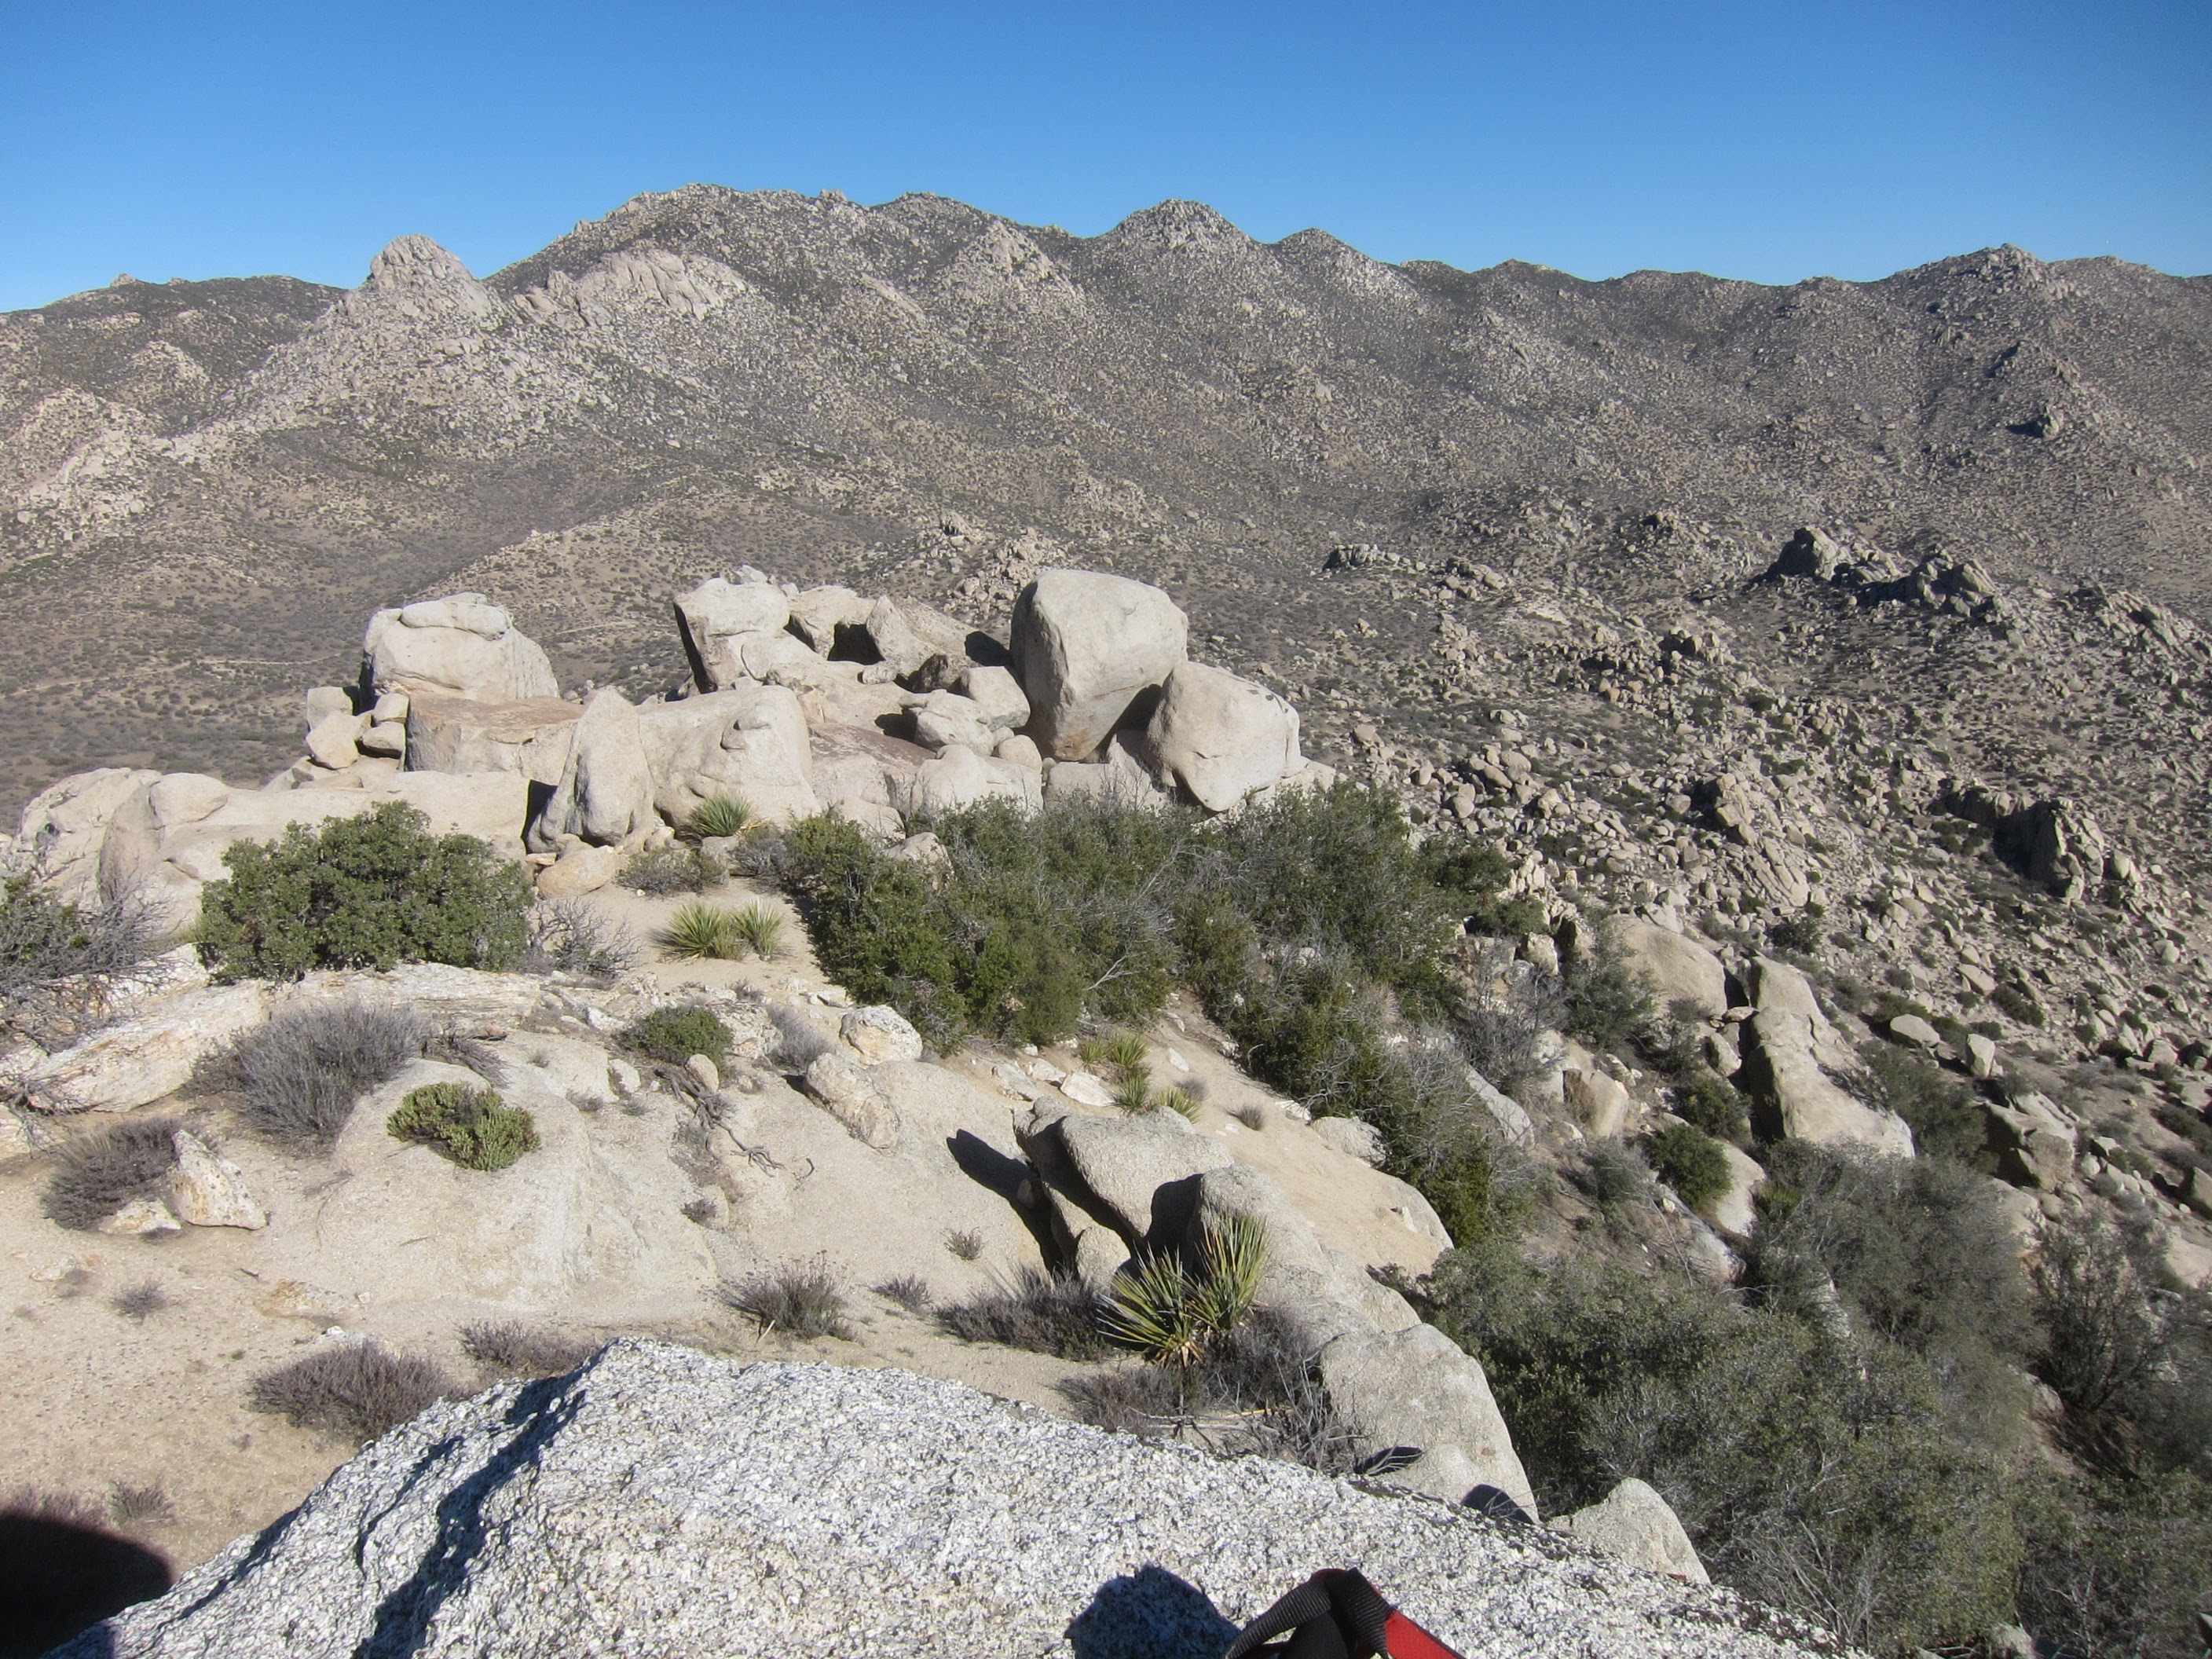
The Thimble
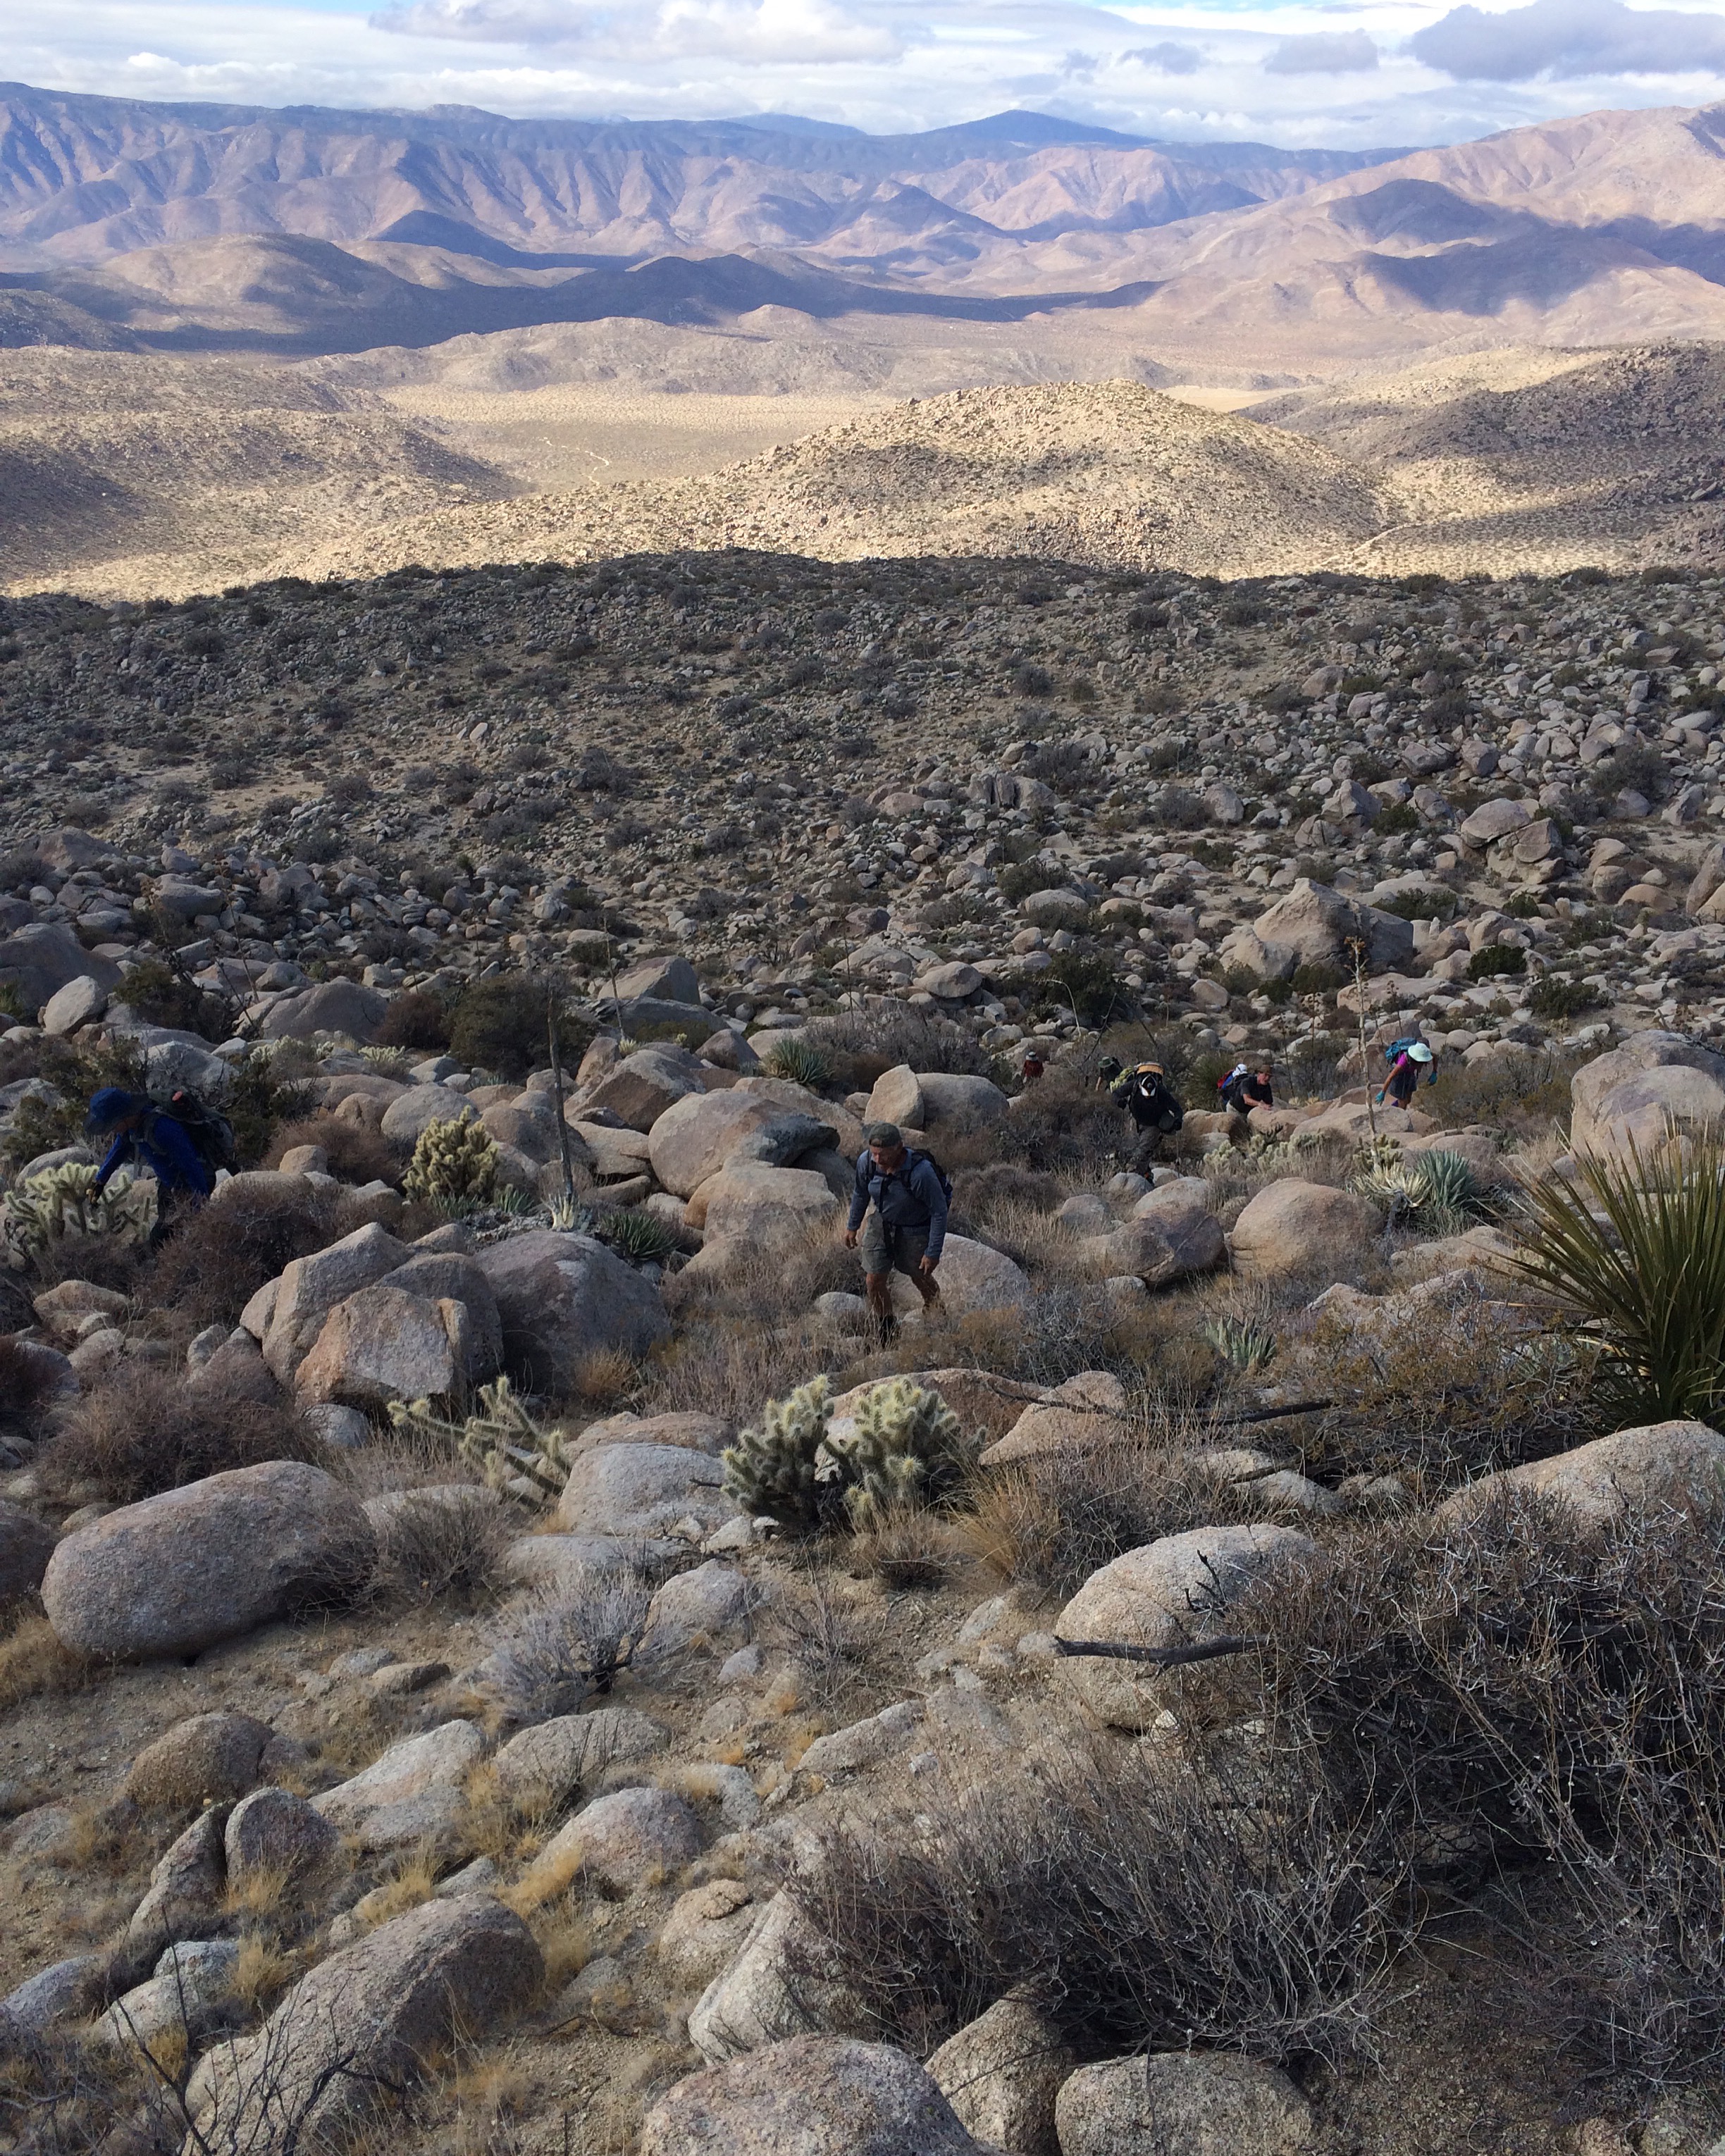
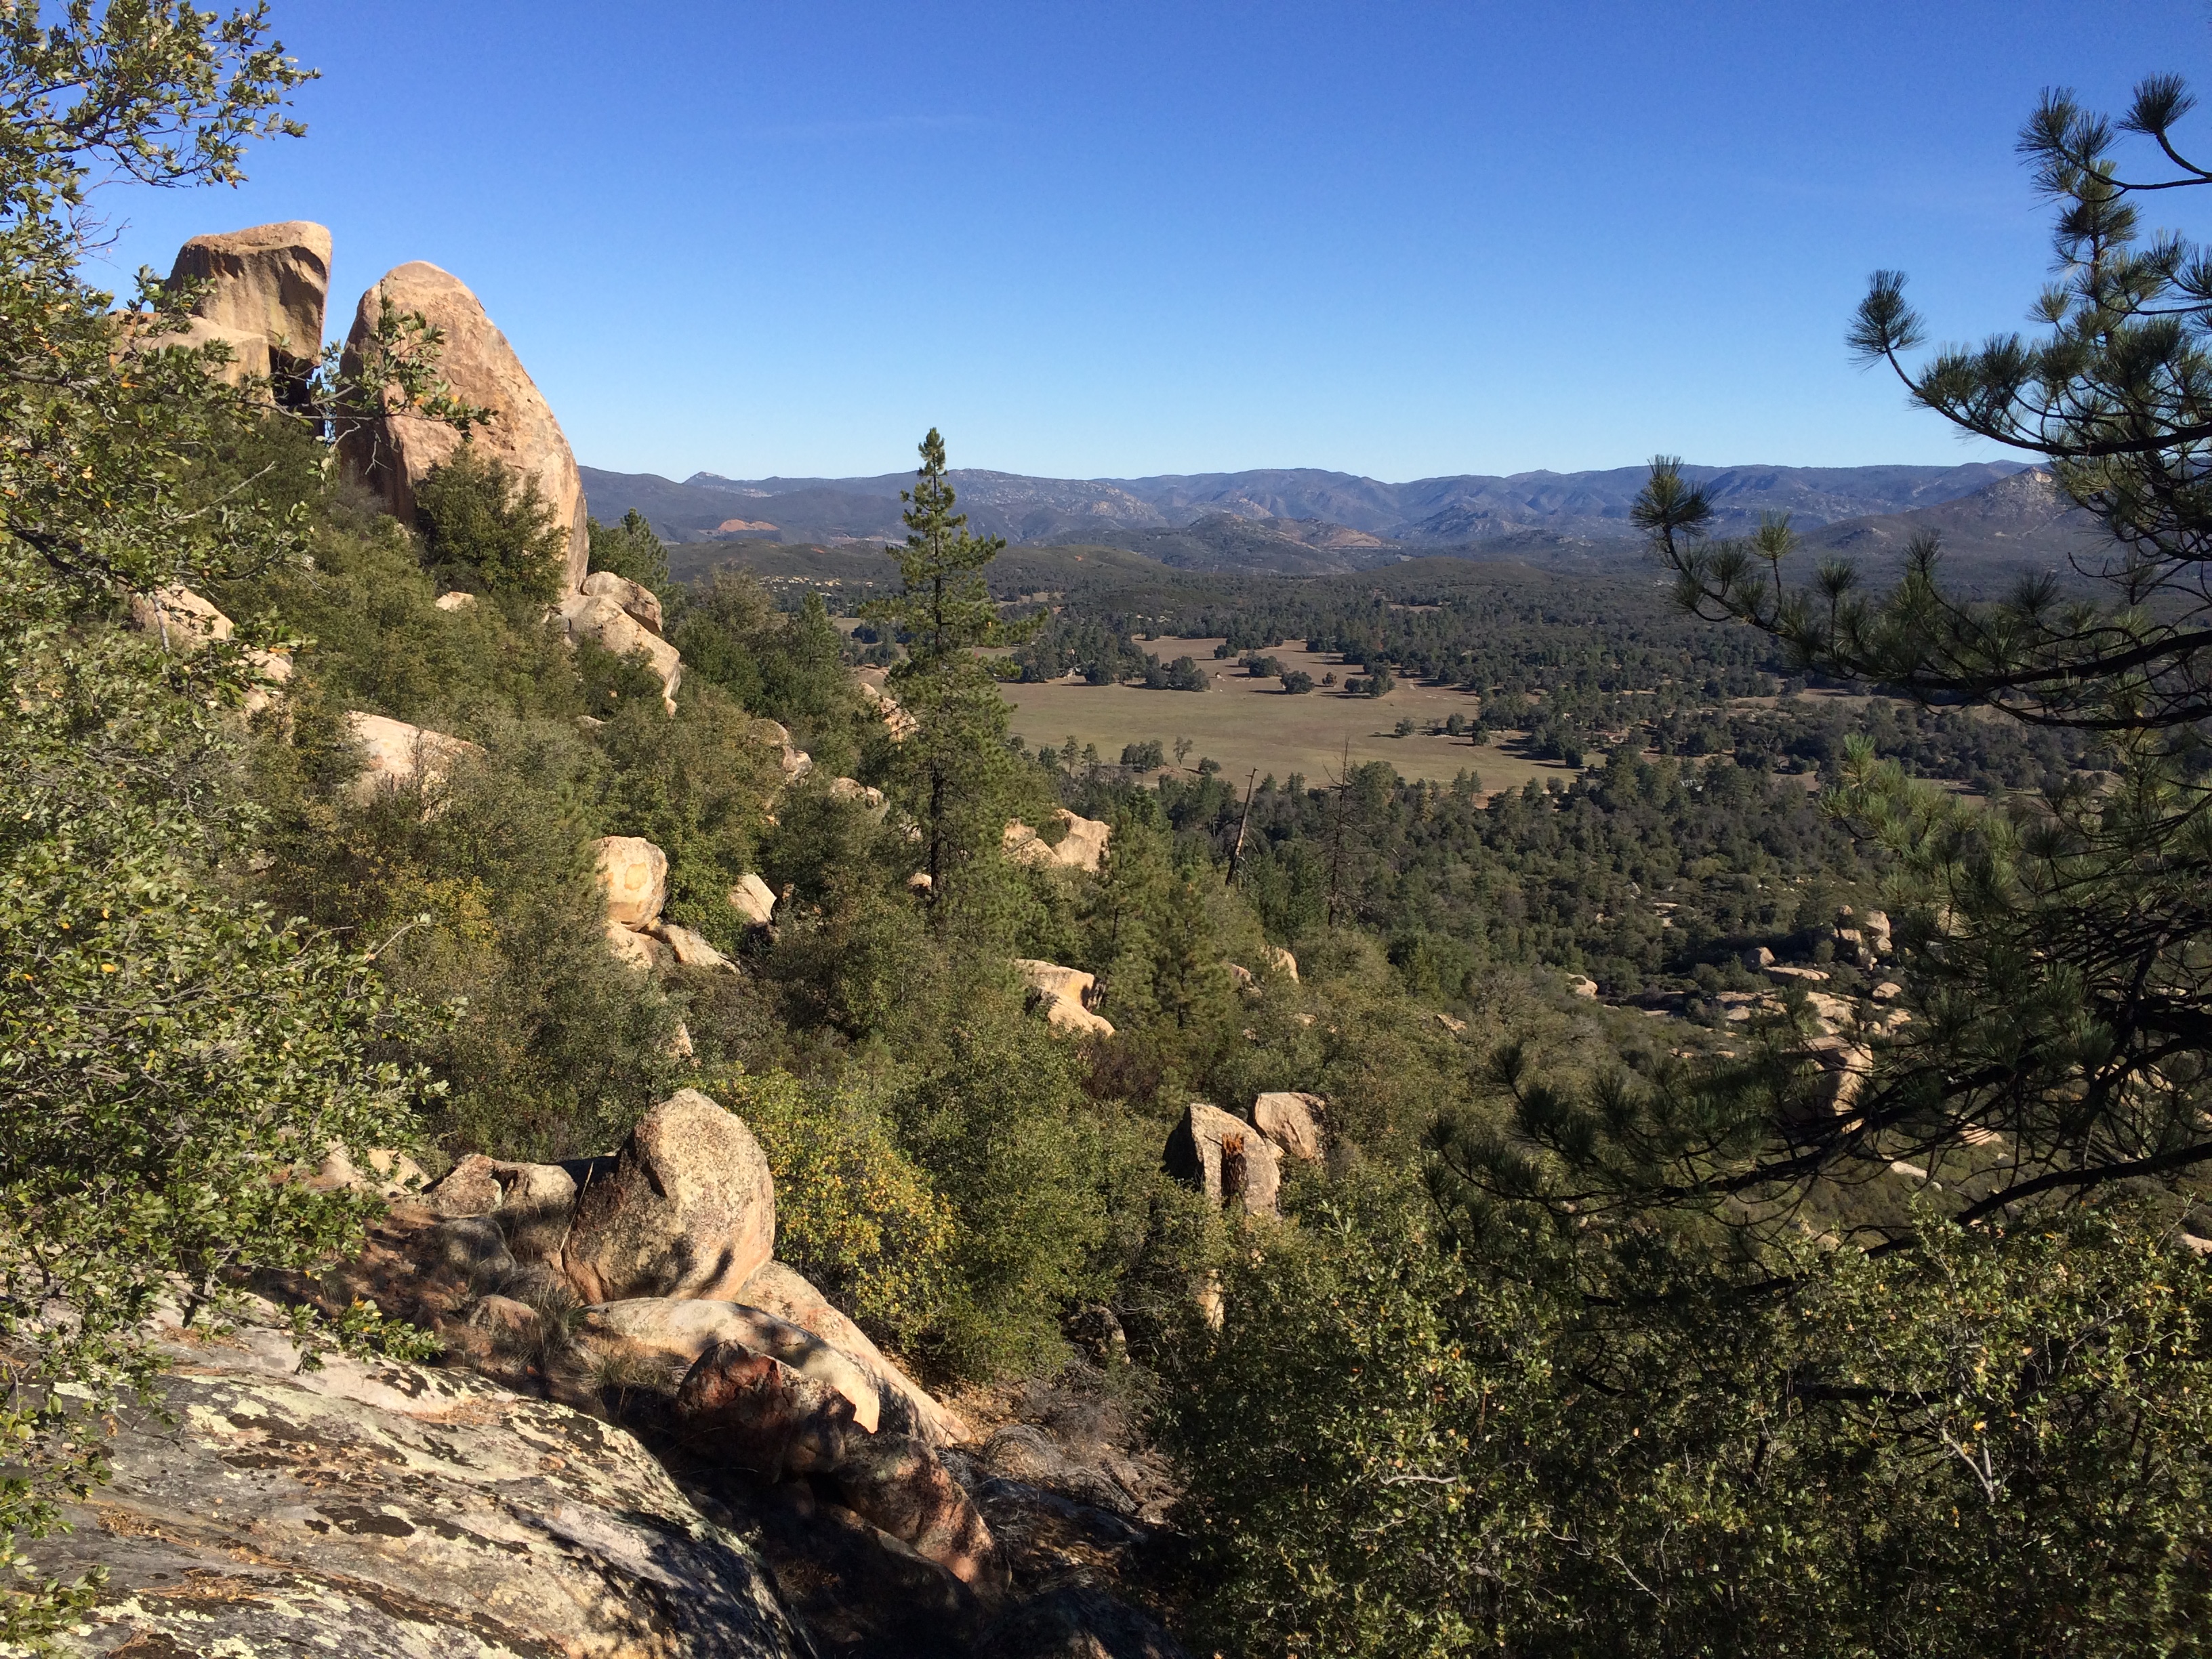
Gain the ridge above Chimney Rock and follow the fence, ascending a broad, sandy ridge towards White BM. The views just continually astound and open up in all directions, with views of the desert floor below all the way to Salton Sea. Continue to climb the occasionally steep ridge to the rock-cropped White BM from the southeast. The summit of White is easy to bag from here, a walk-up to a simple class 3 scramble. However navigating the descent, and subsequent re-ascent from the north, is much more difficult.
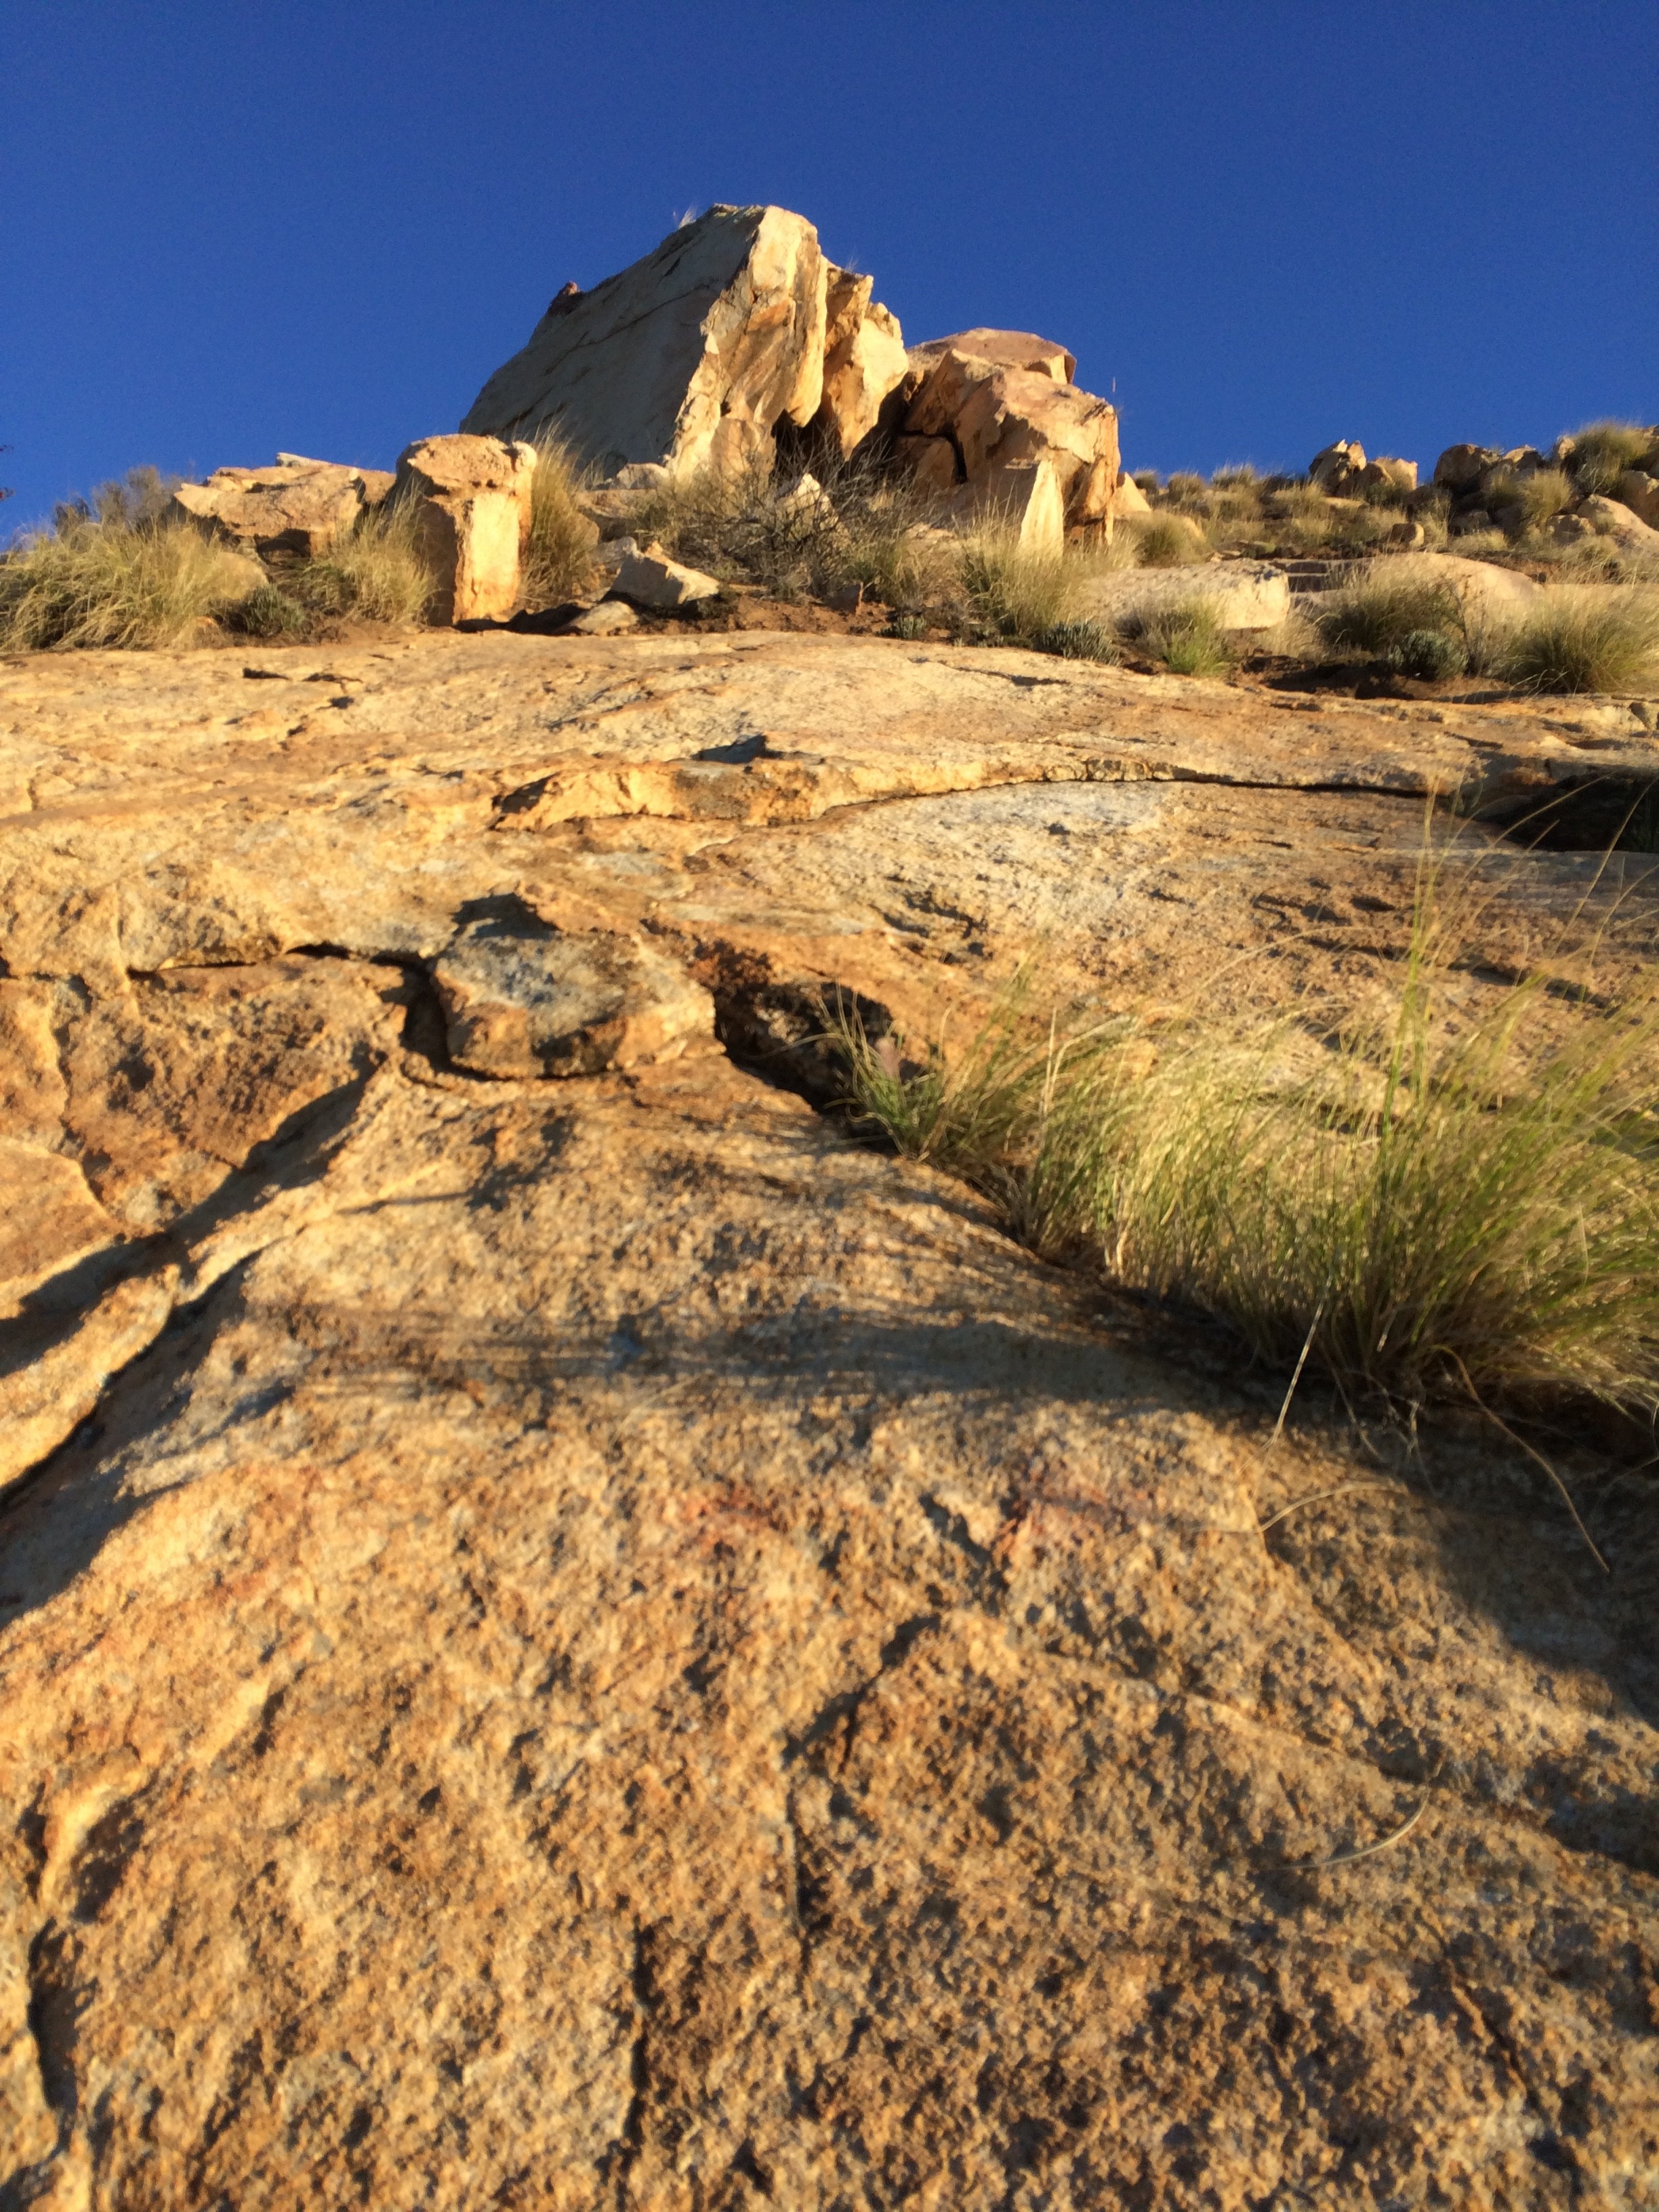
The only reasonably safe descent of White is to the north. From the summit, descend directly north, picking your way through brush, for about 100 feet, then trending back around to the west to reach the saddle between one of two rocky sub-peaks below White. Descend between the two horns of rock through occasionally brushy terrain to a low wash. Cross the wash and stay north, eventually you will reach a dirt road and the barbed wire fence. Gain a steep, sandy ridge here, and follow it along the fenceline to the base of the Thimble. The kitty-litter textured sand and lack of vegetation makes you feel like you’re ascending a glacier.
From here there are two ways to proceed. You can bypass the thimble via one of the saddles to the North or South, enduring a fairly brutal bushwack on the brushy north and west-facing slopes, which will drop you into the high point of the wash below. Alternatively, follow the fenceline over the lower, south spur below the Thimble, down into the broad meadow below. This route is easier travel but will you will lose more elevation and have to gain a couple hundred feet back to the high point of the wash.
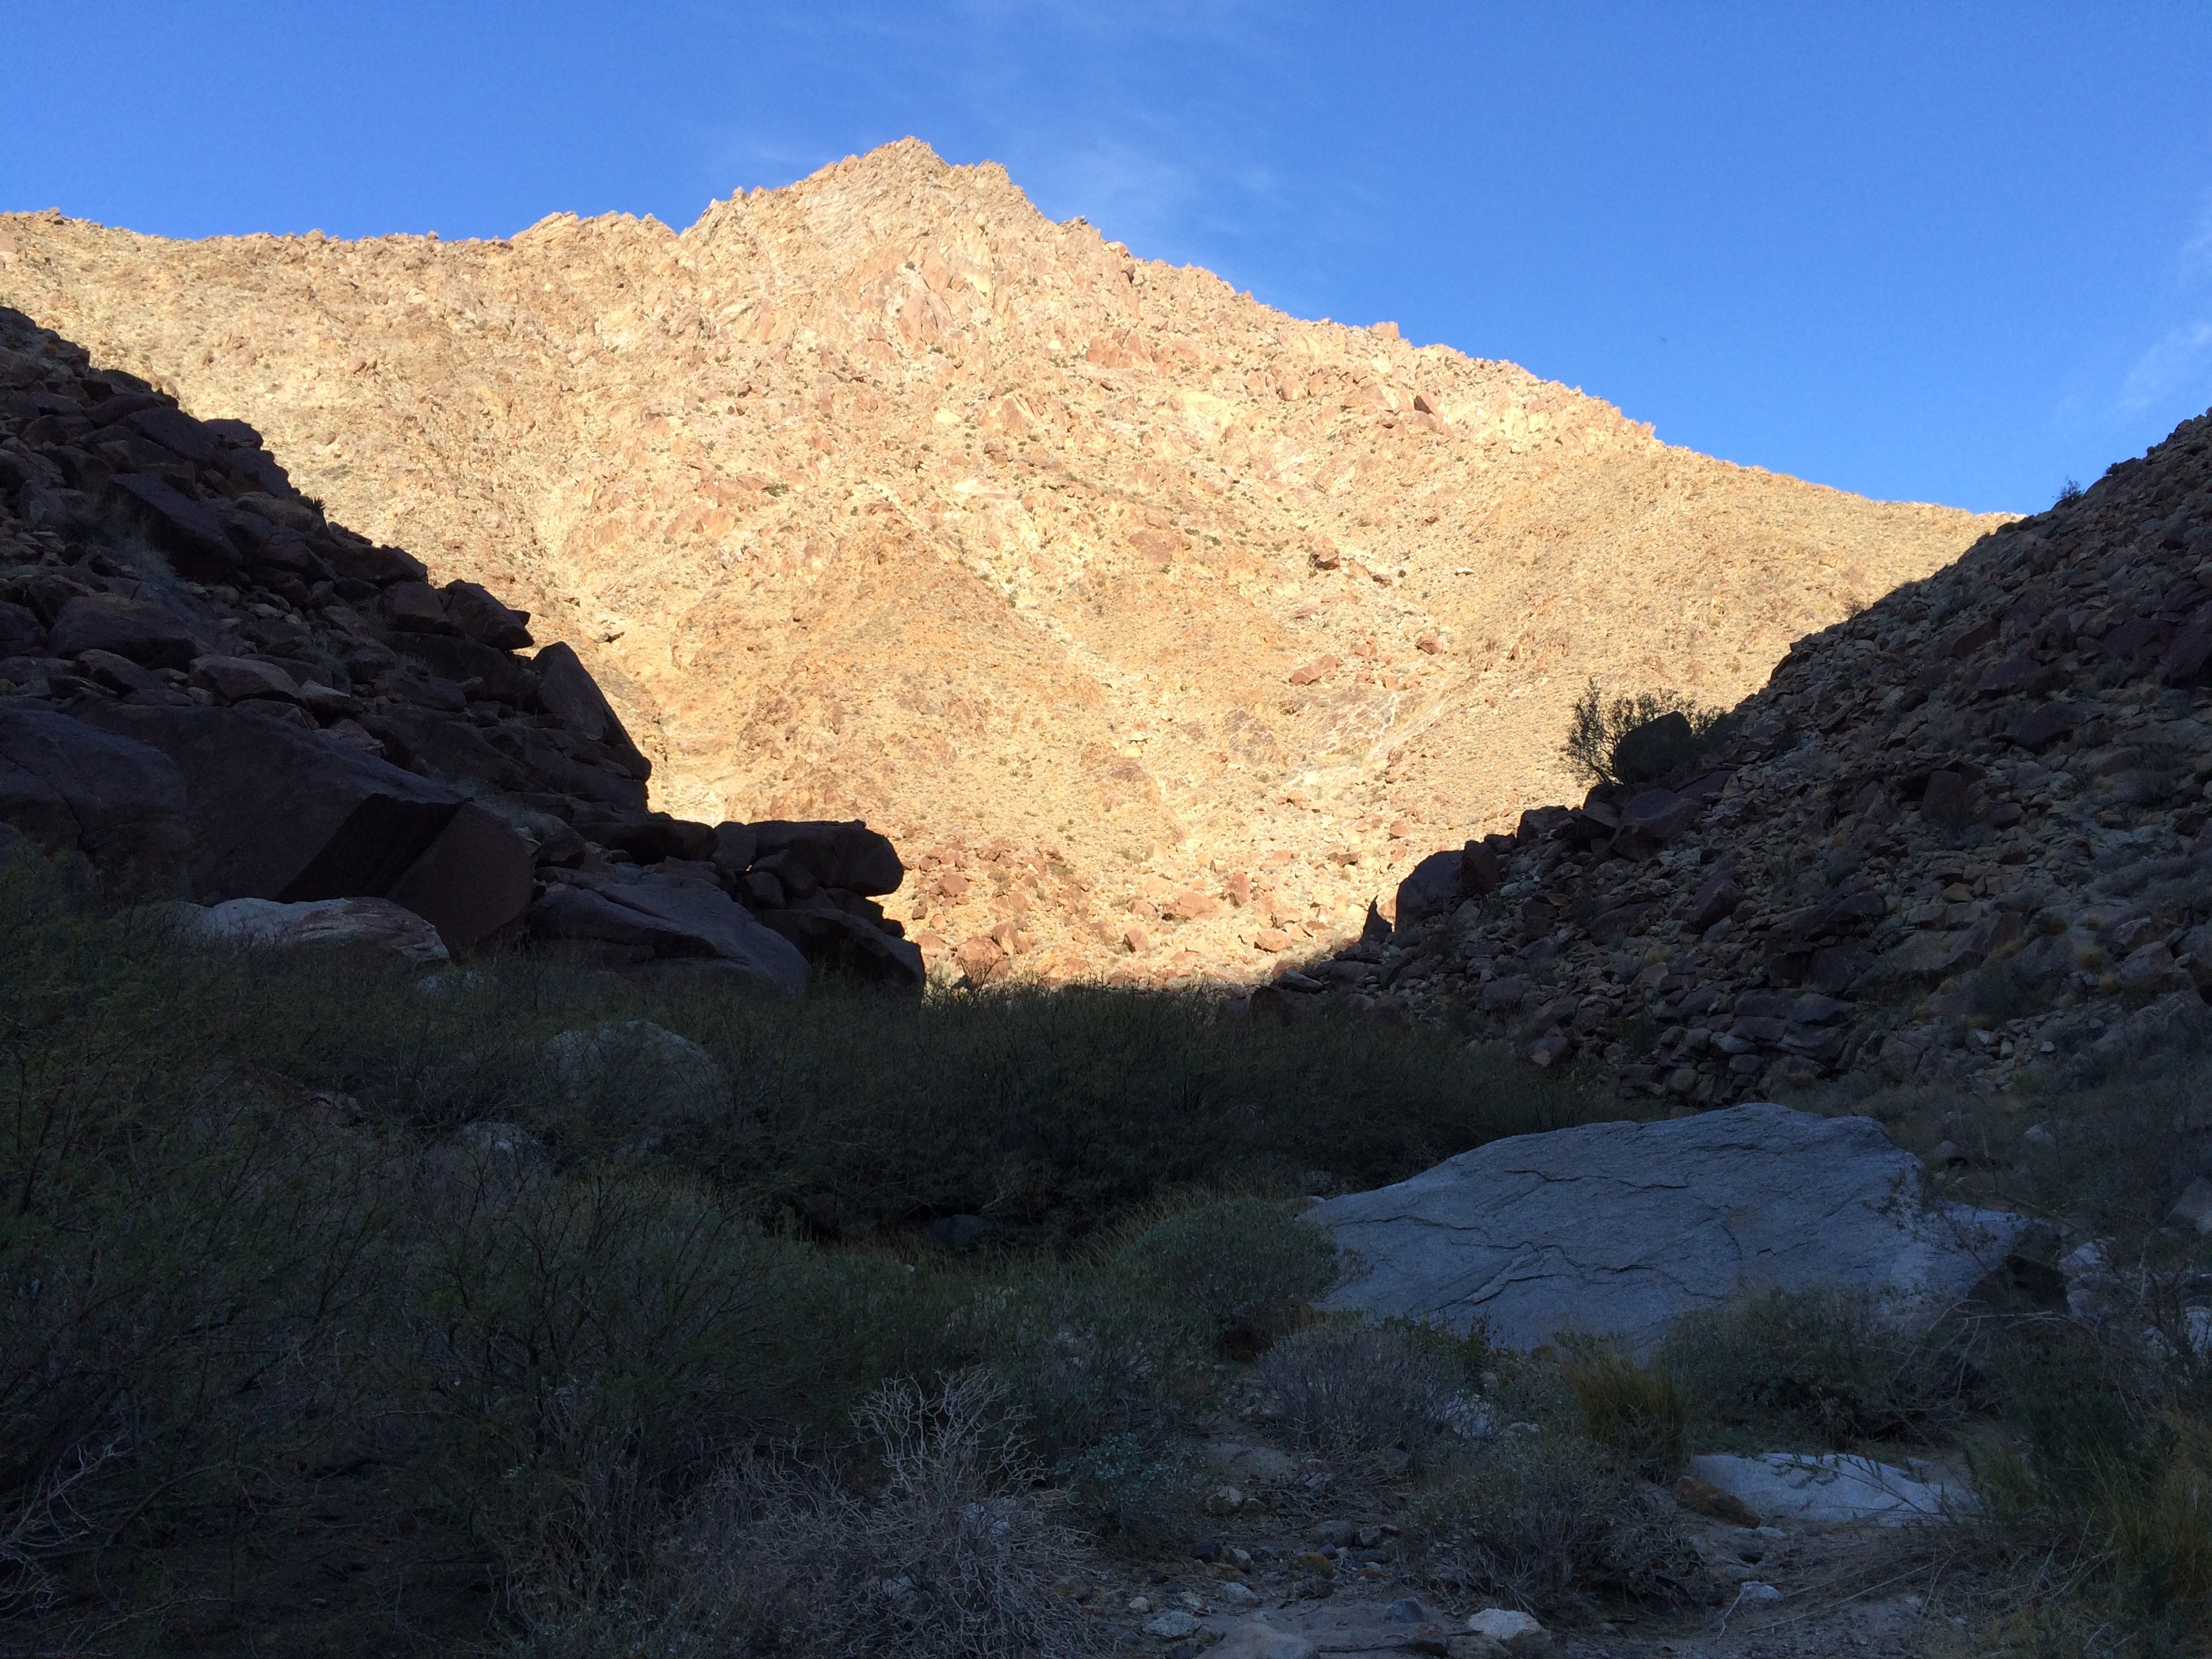
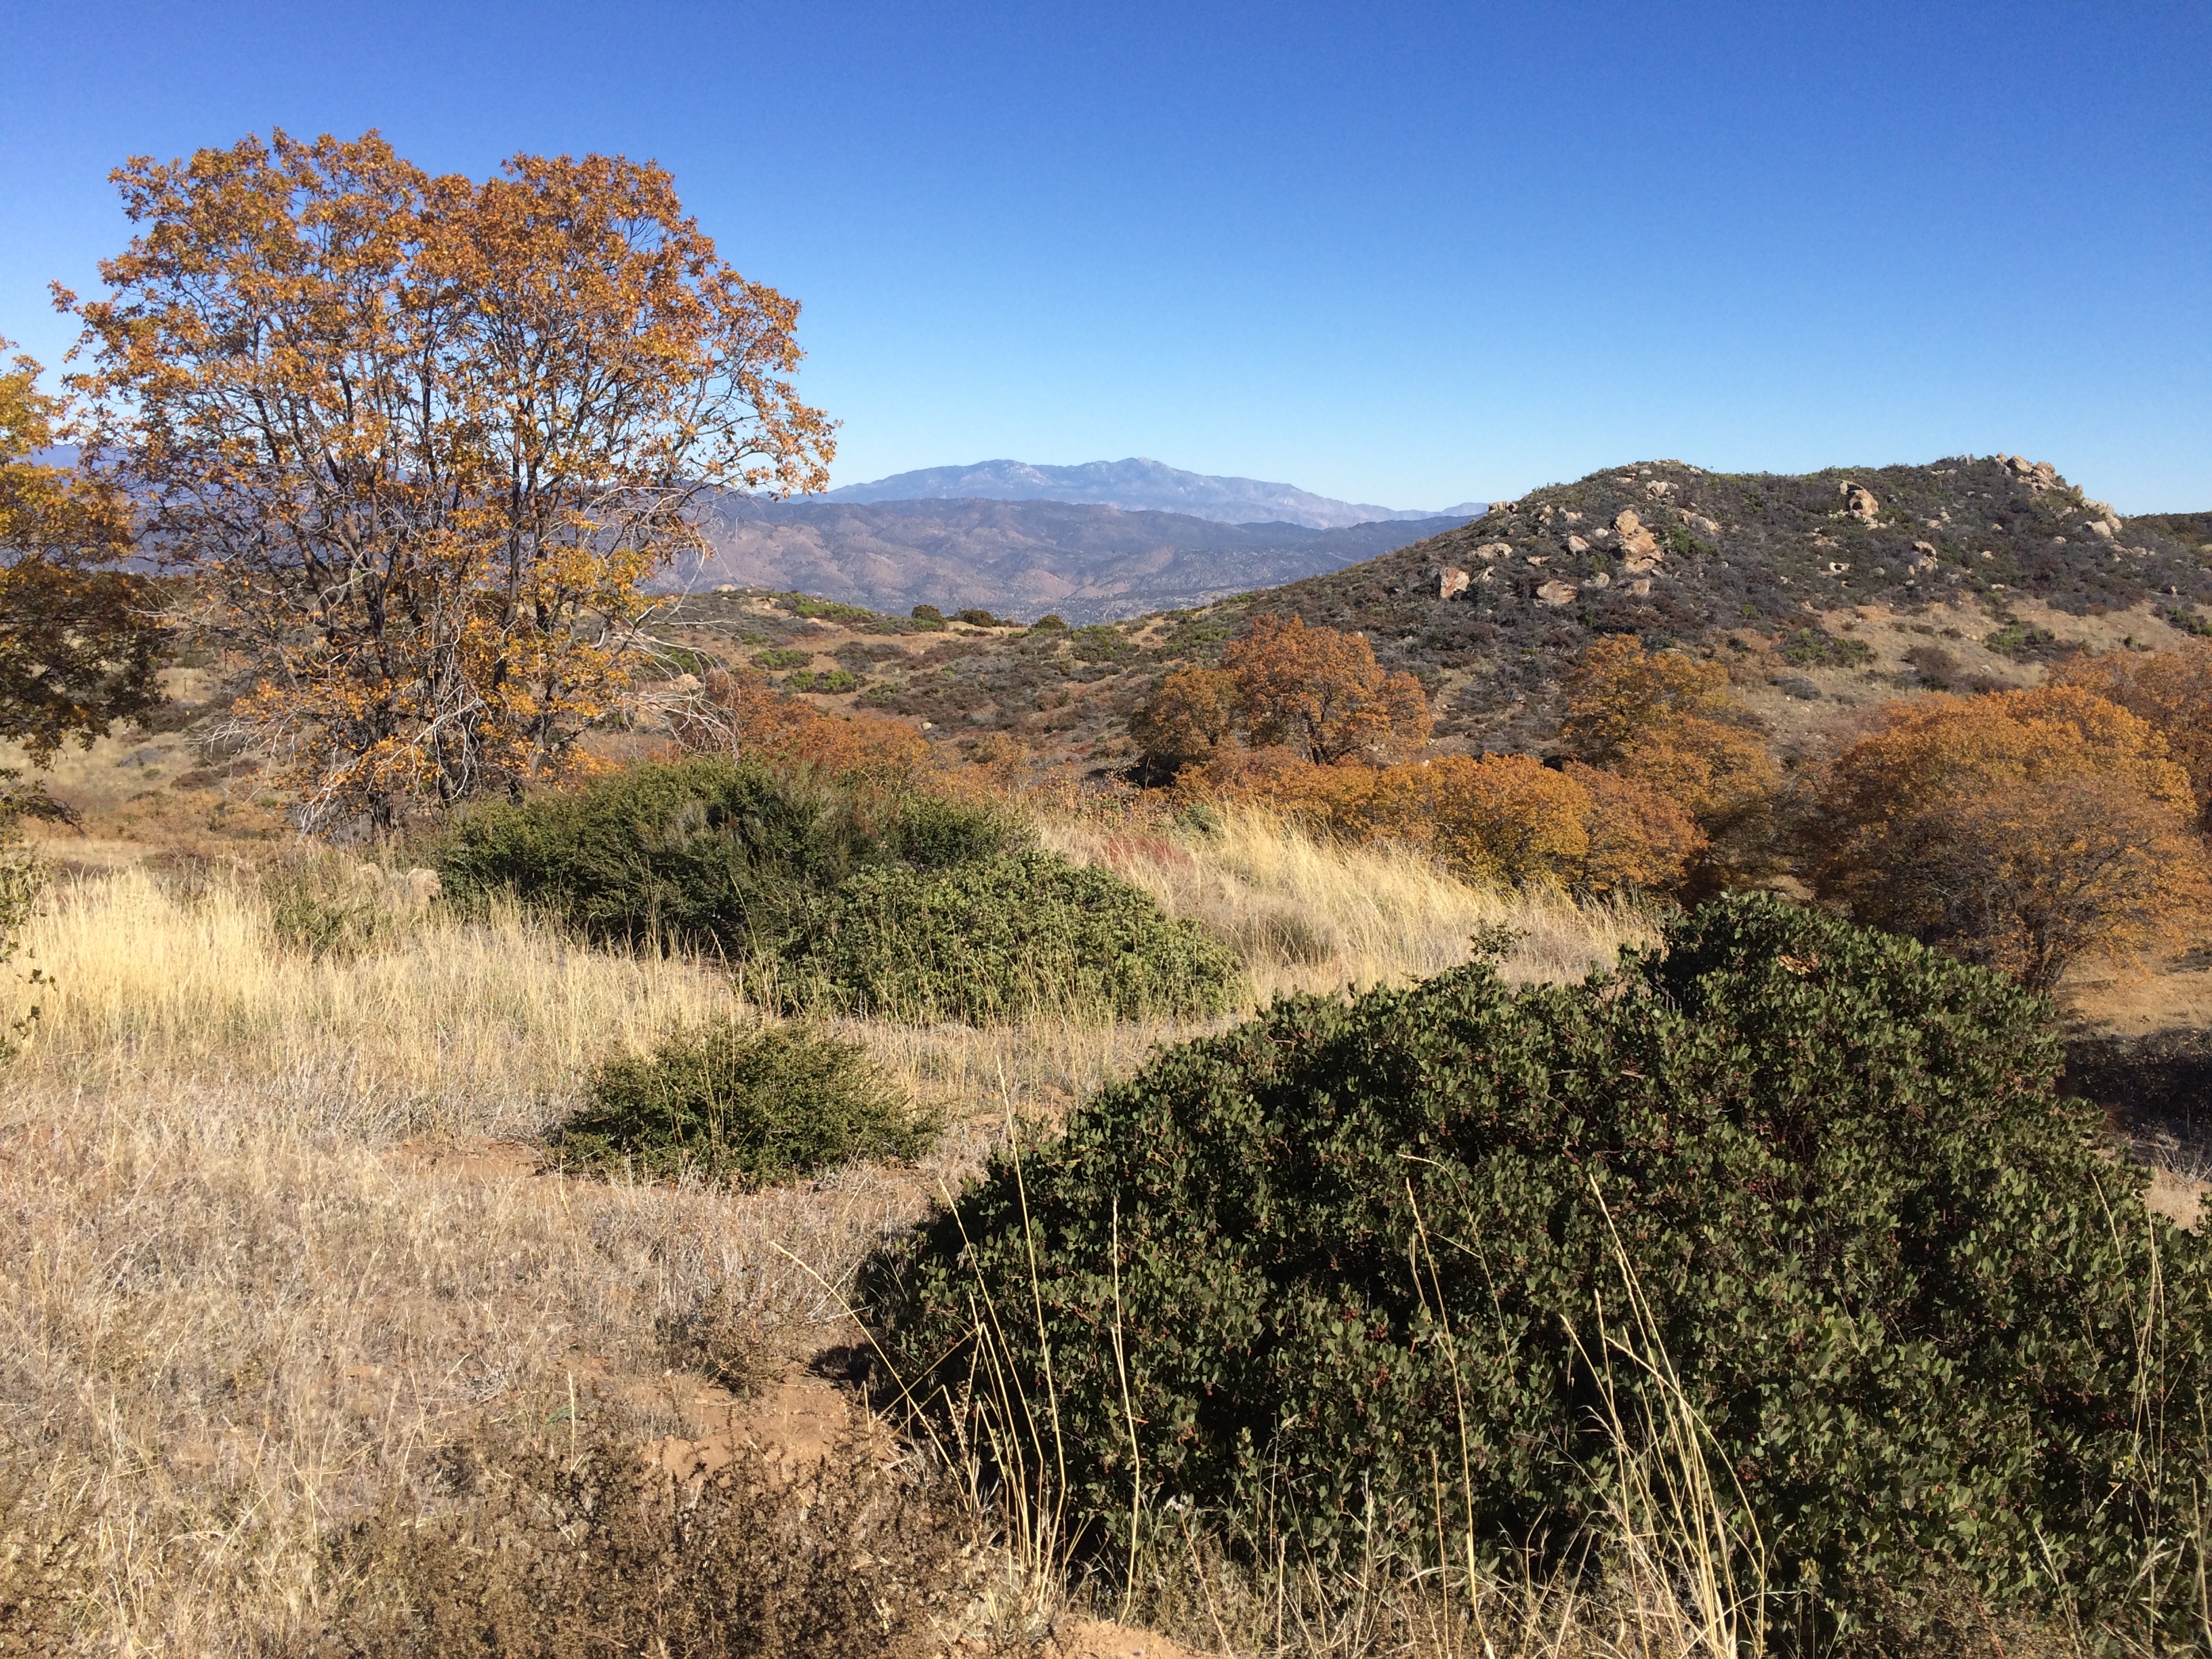
San Ysidro Mountain seen from just below the Thimble
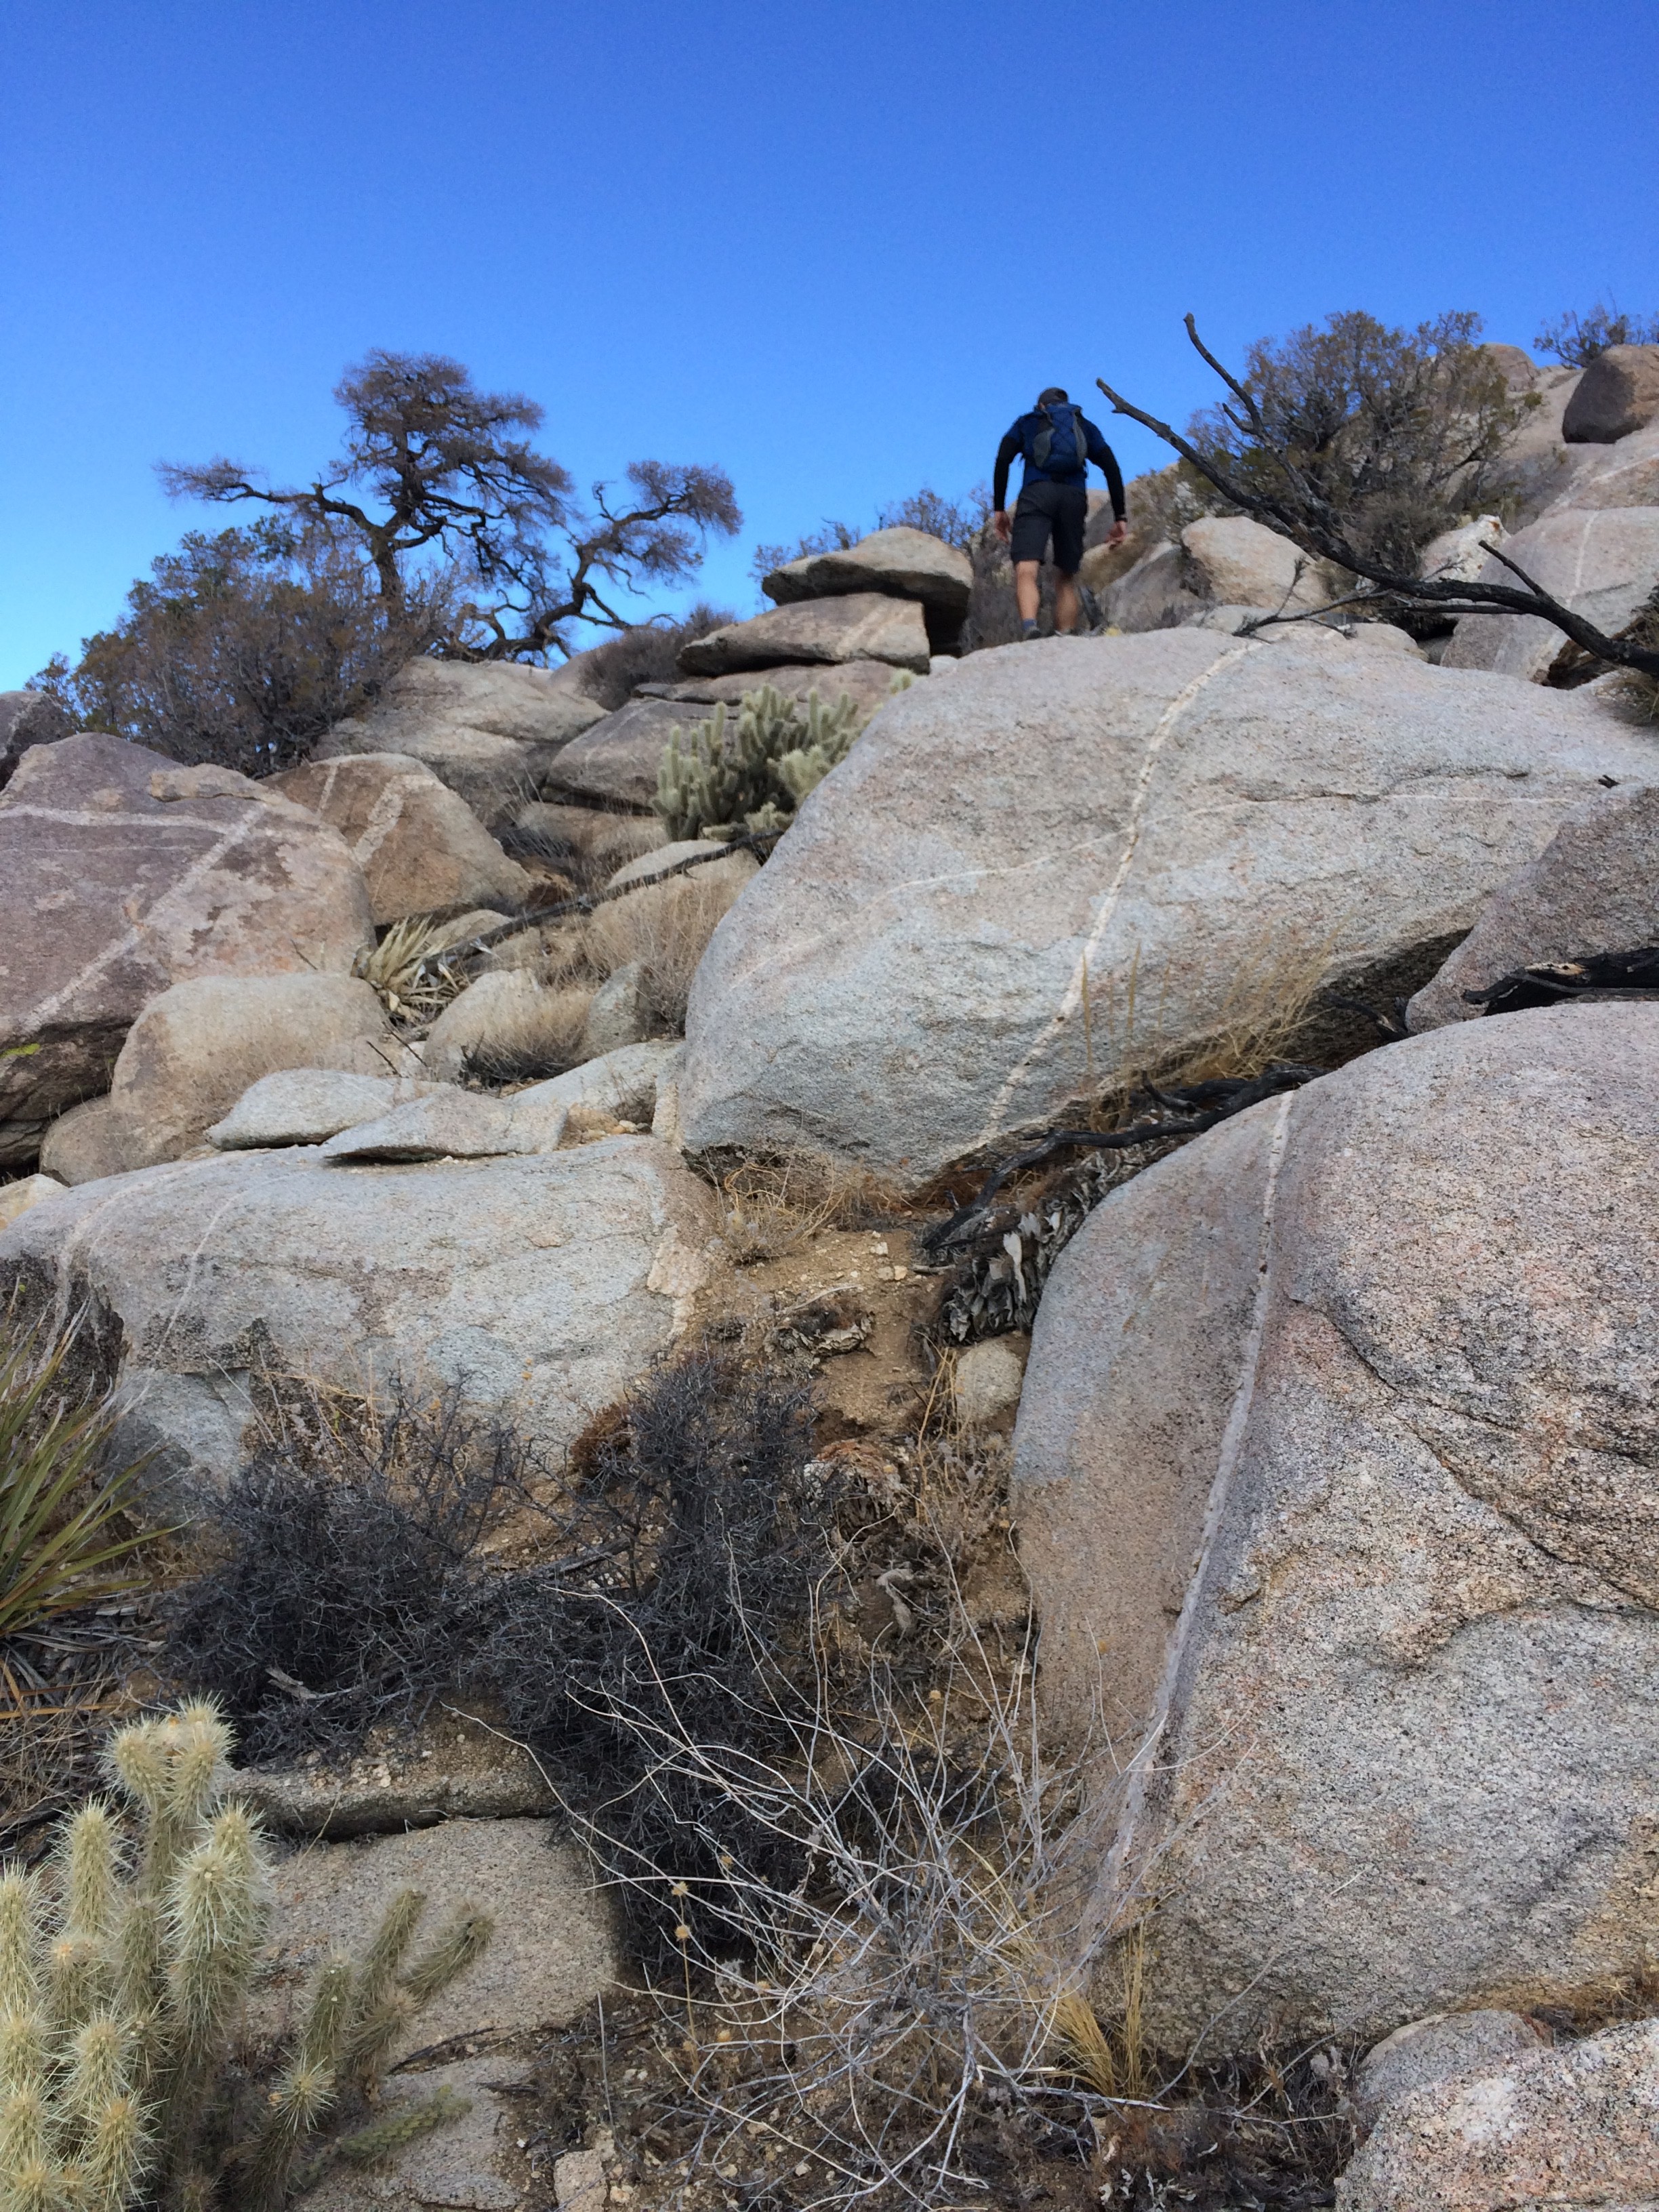
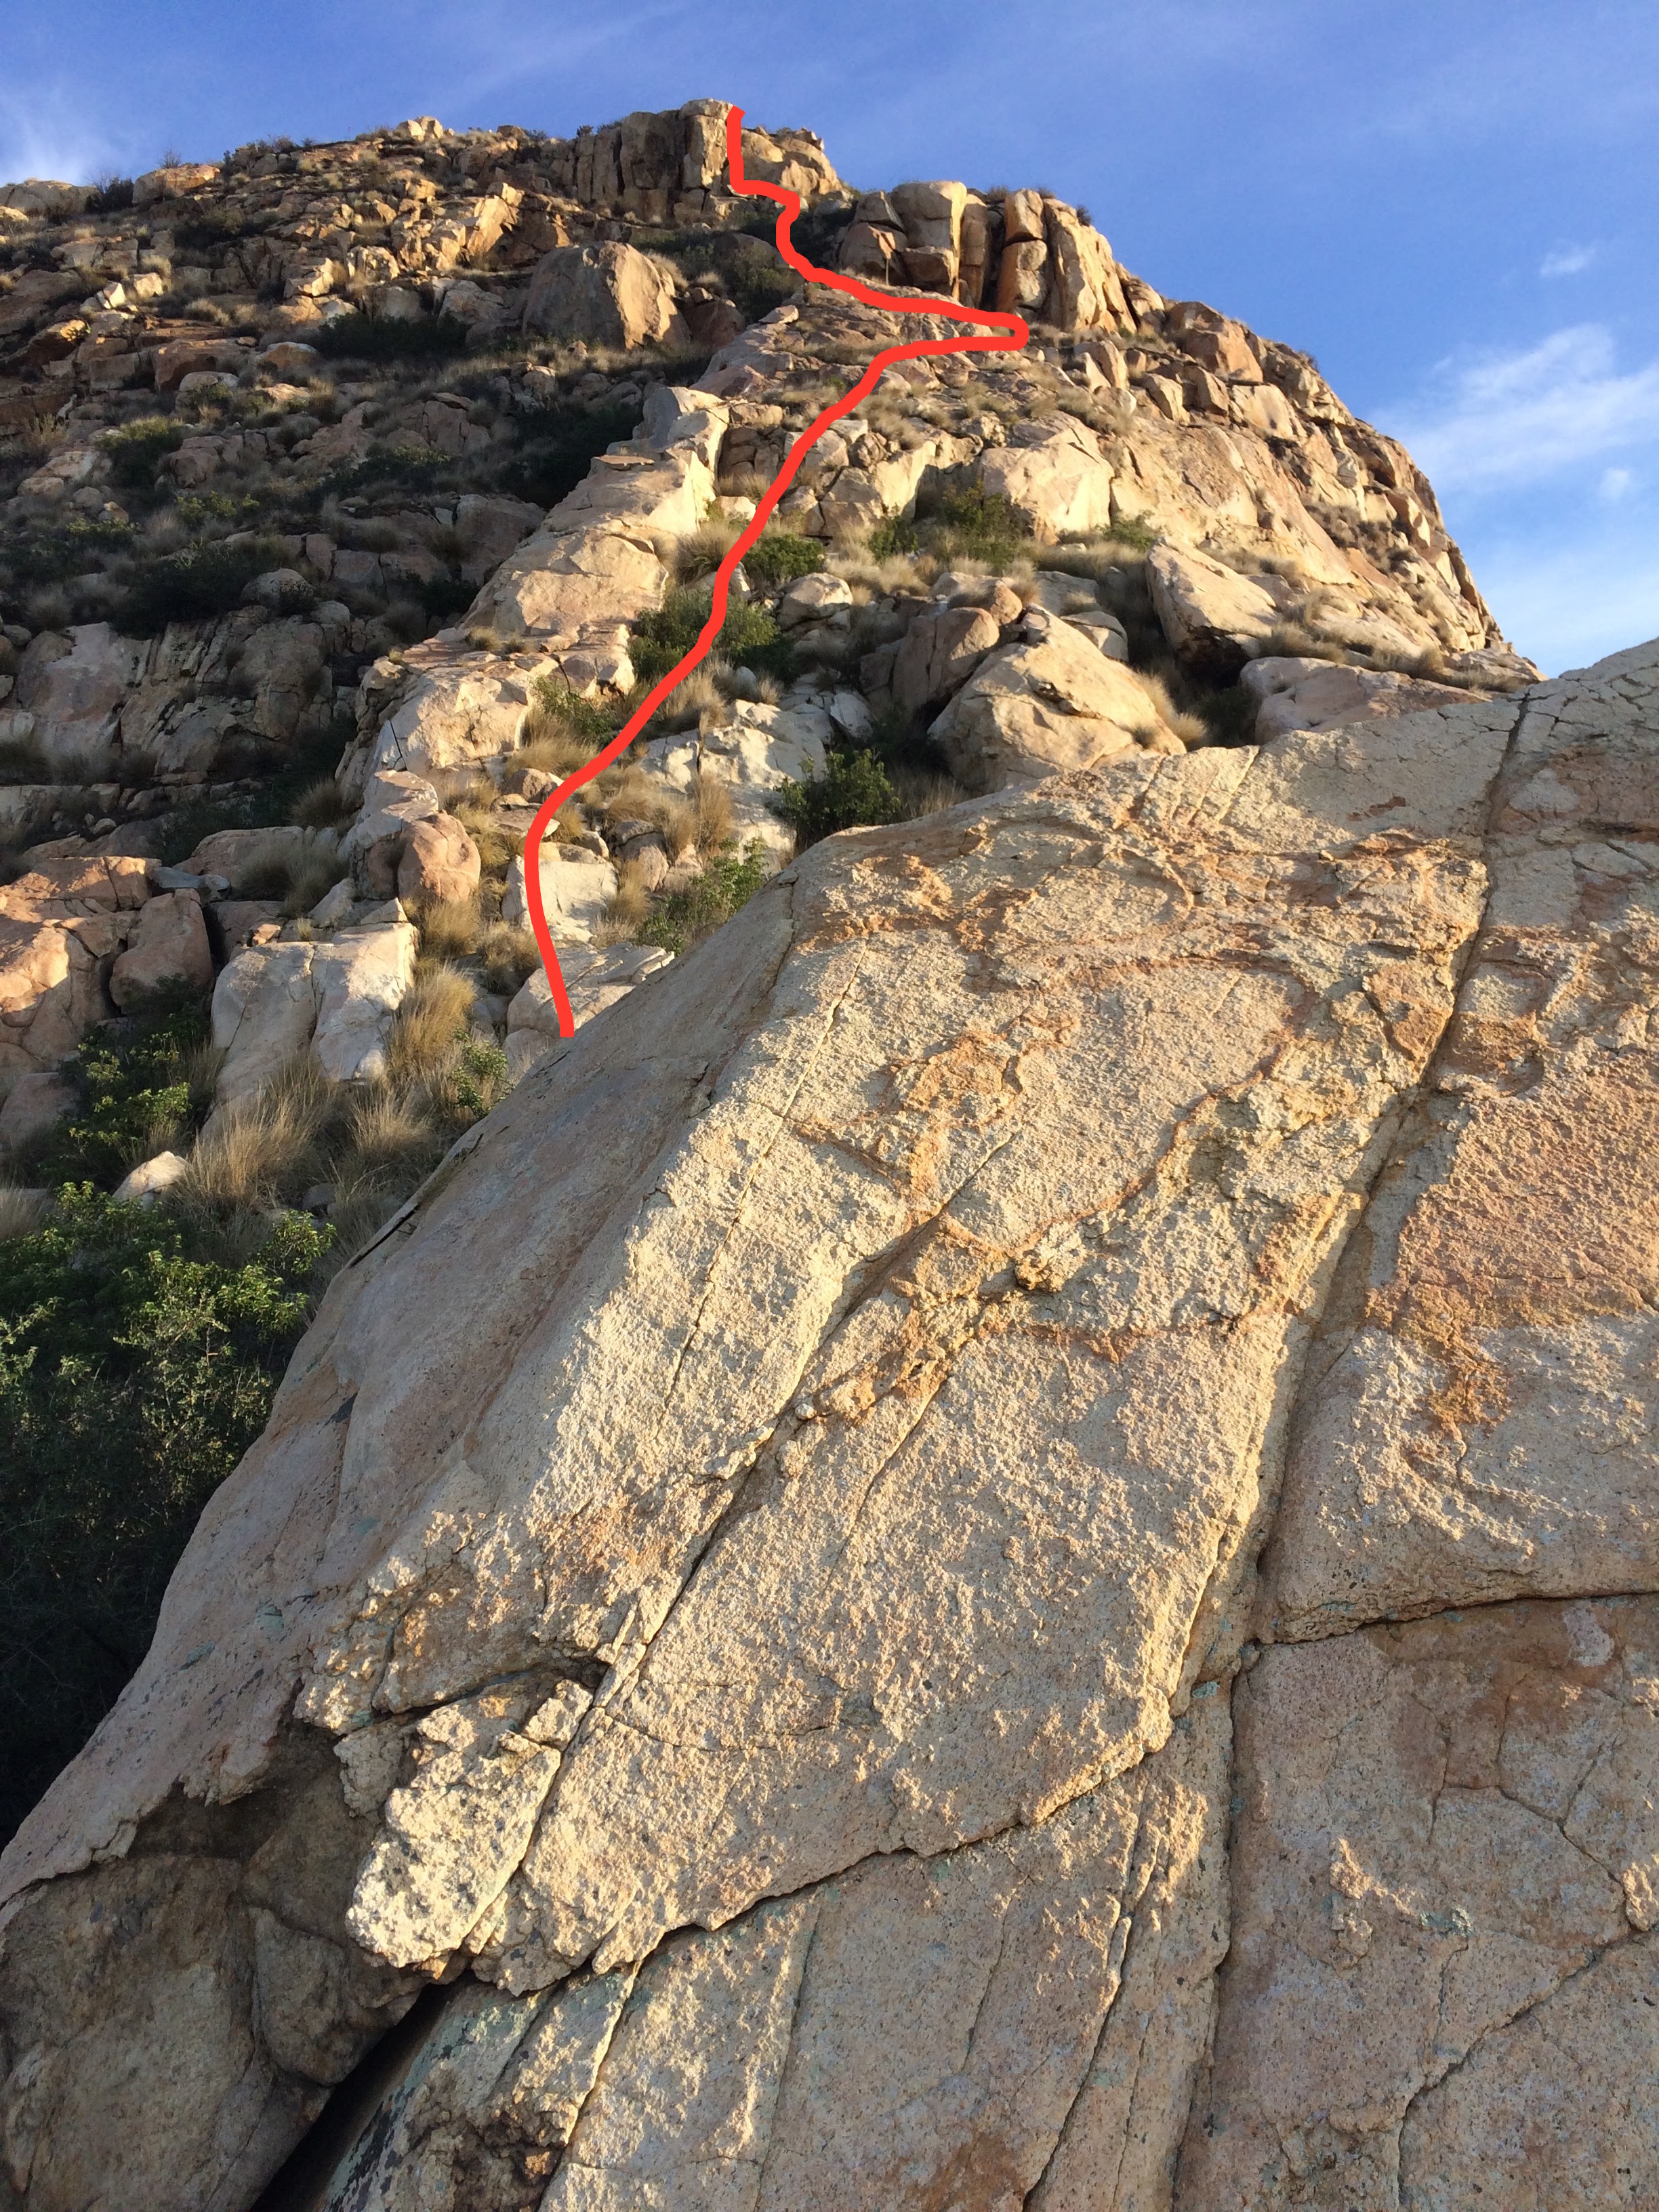
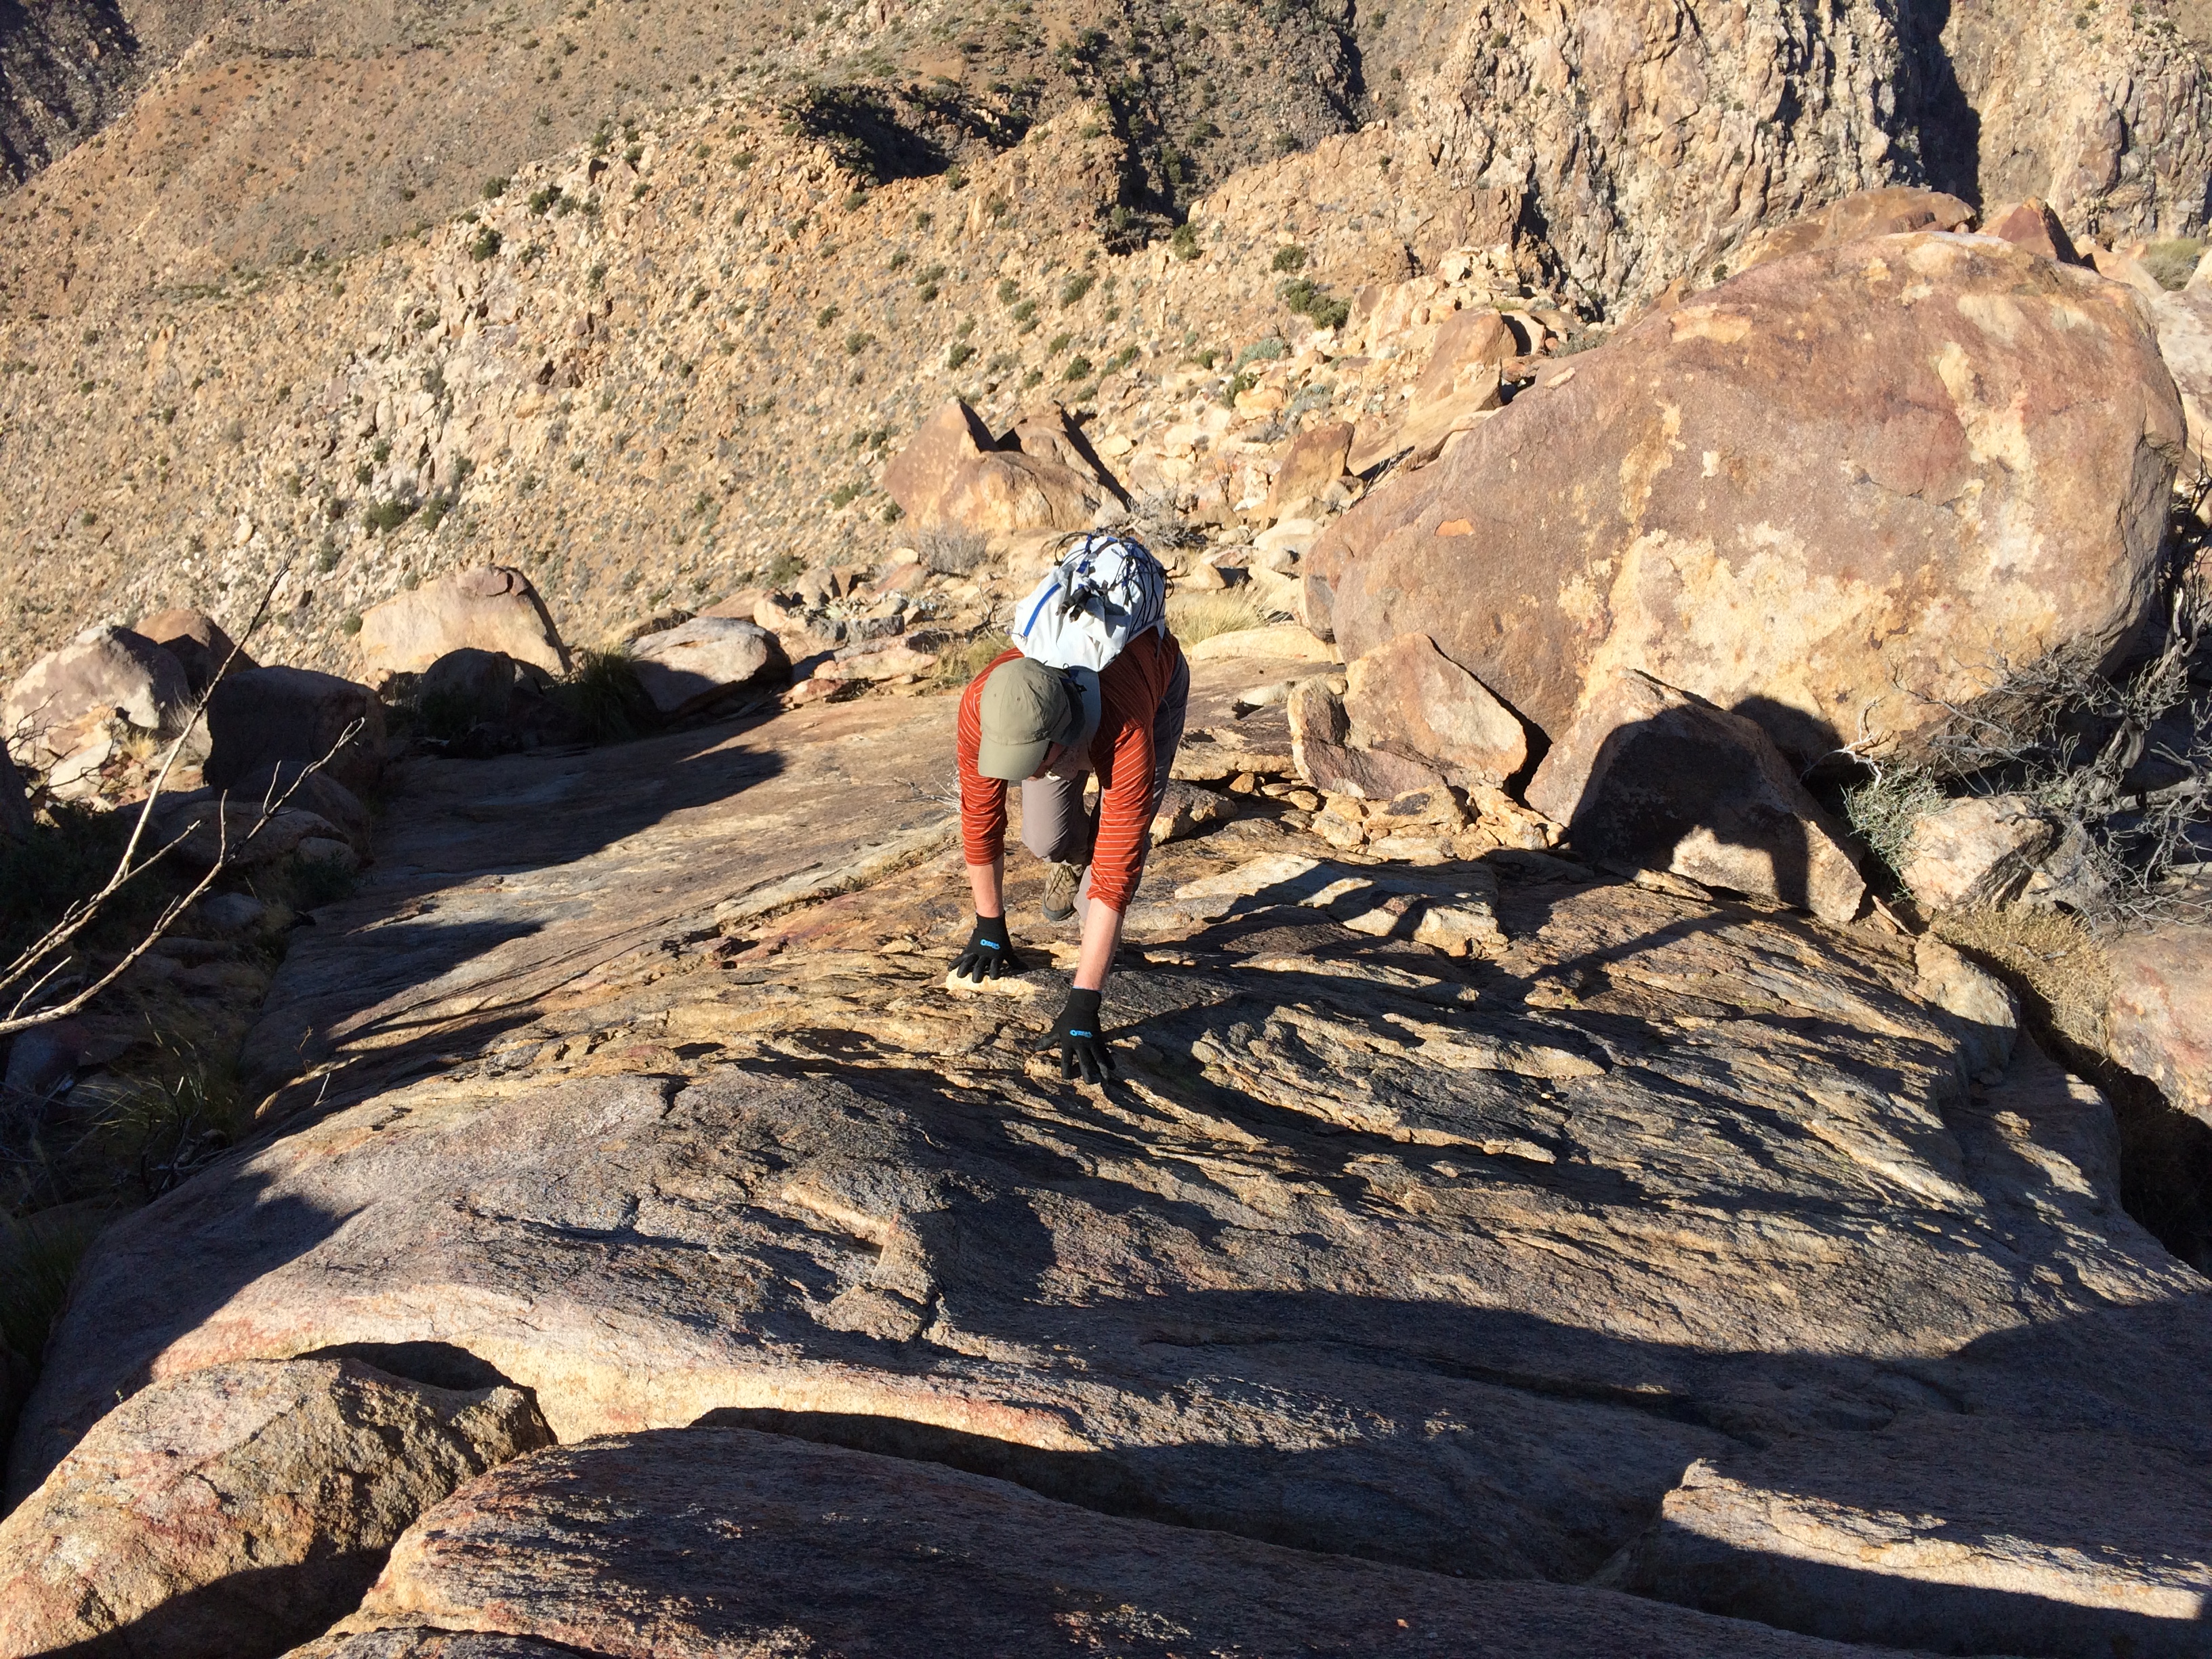
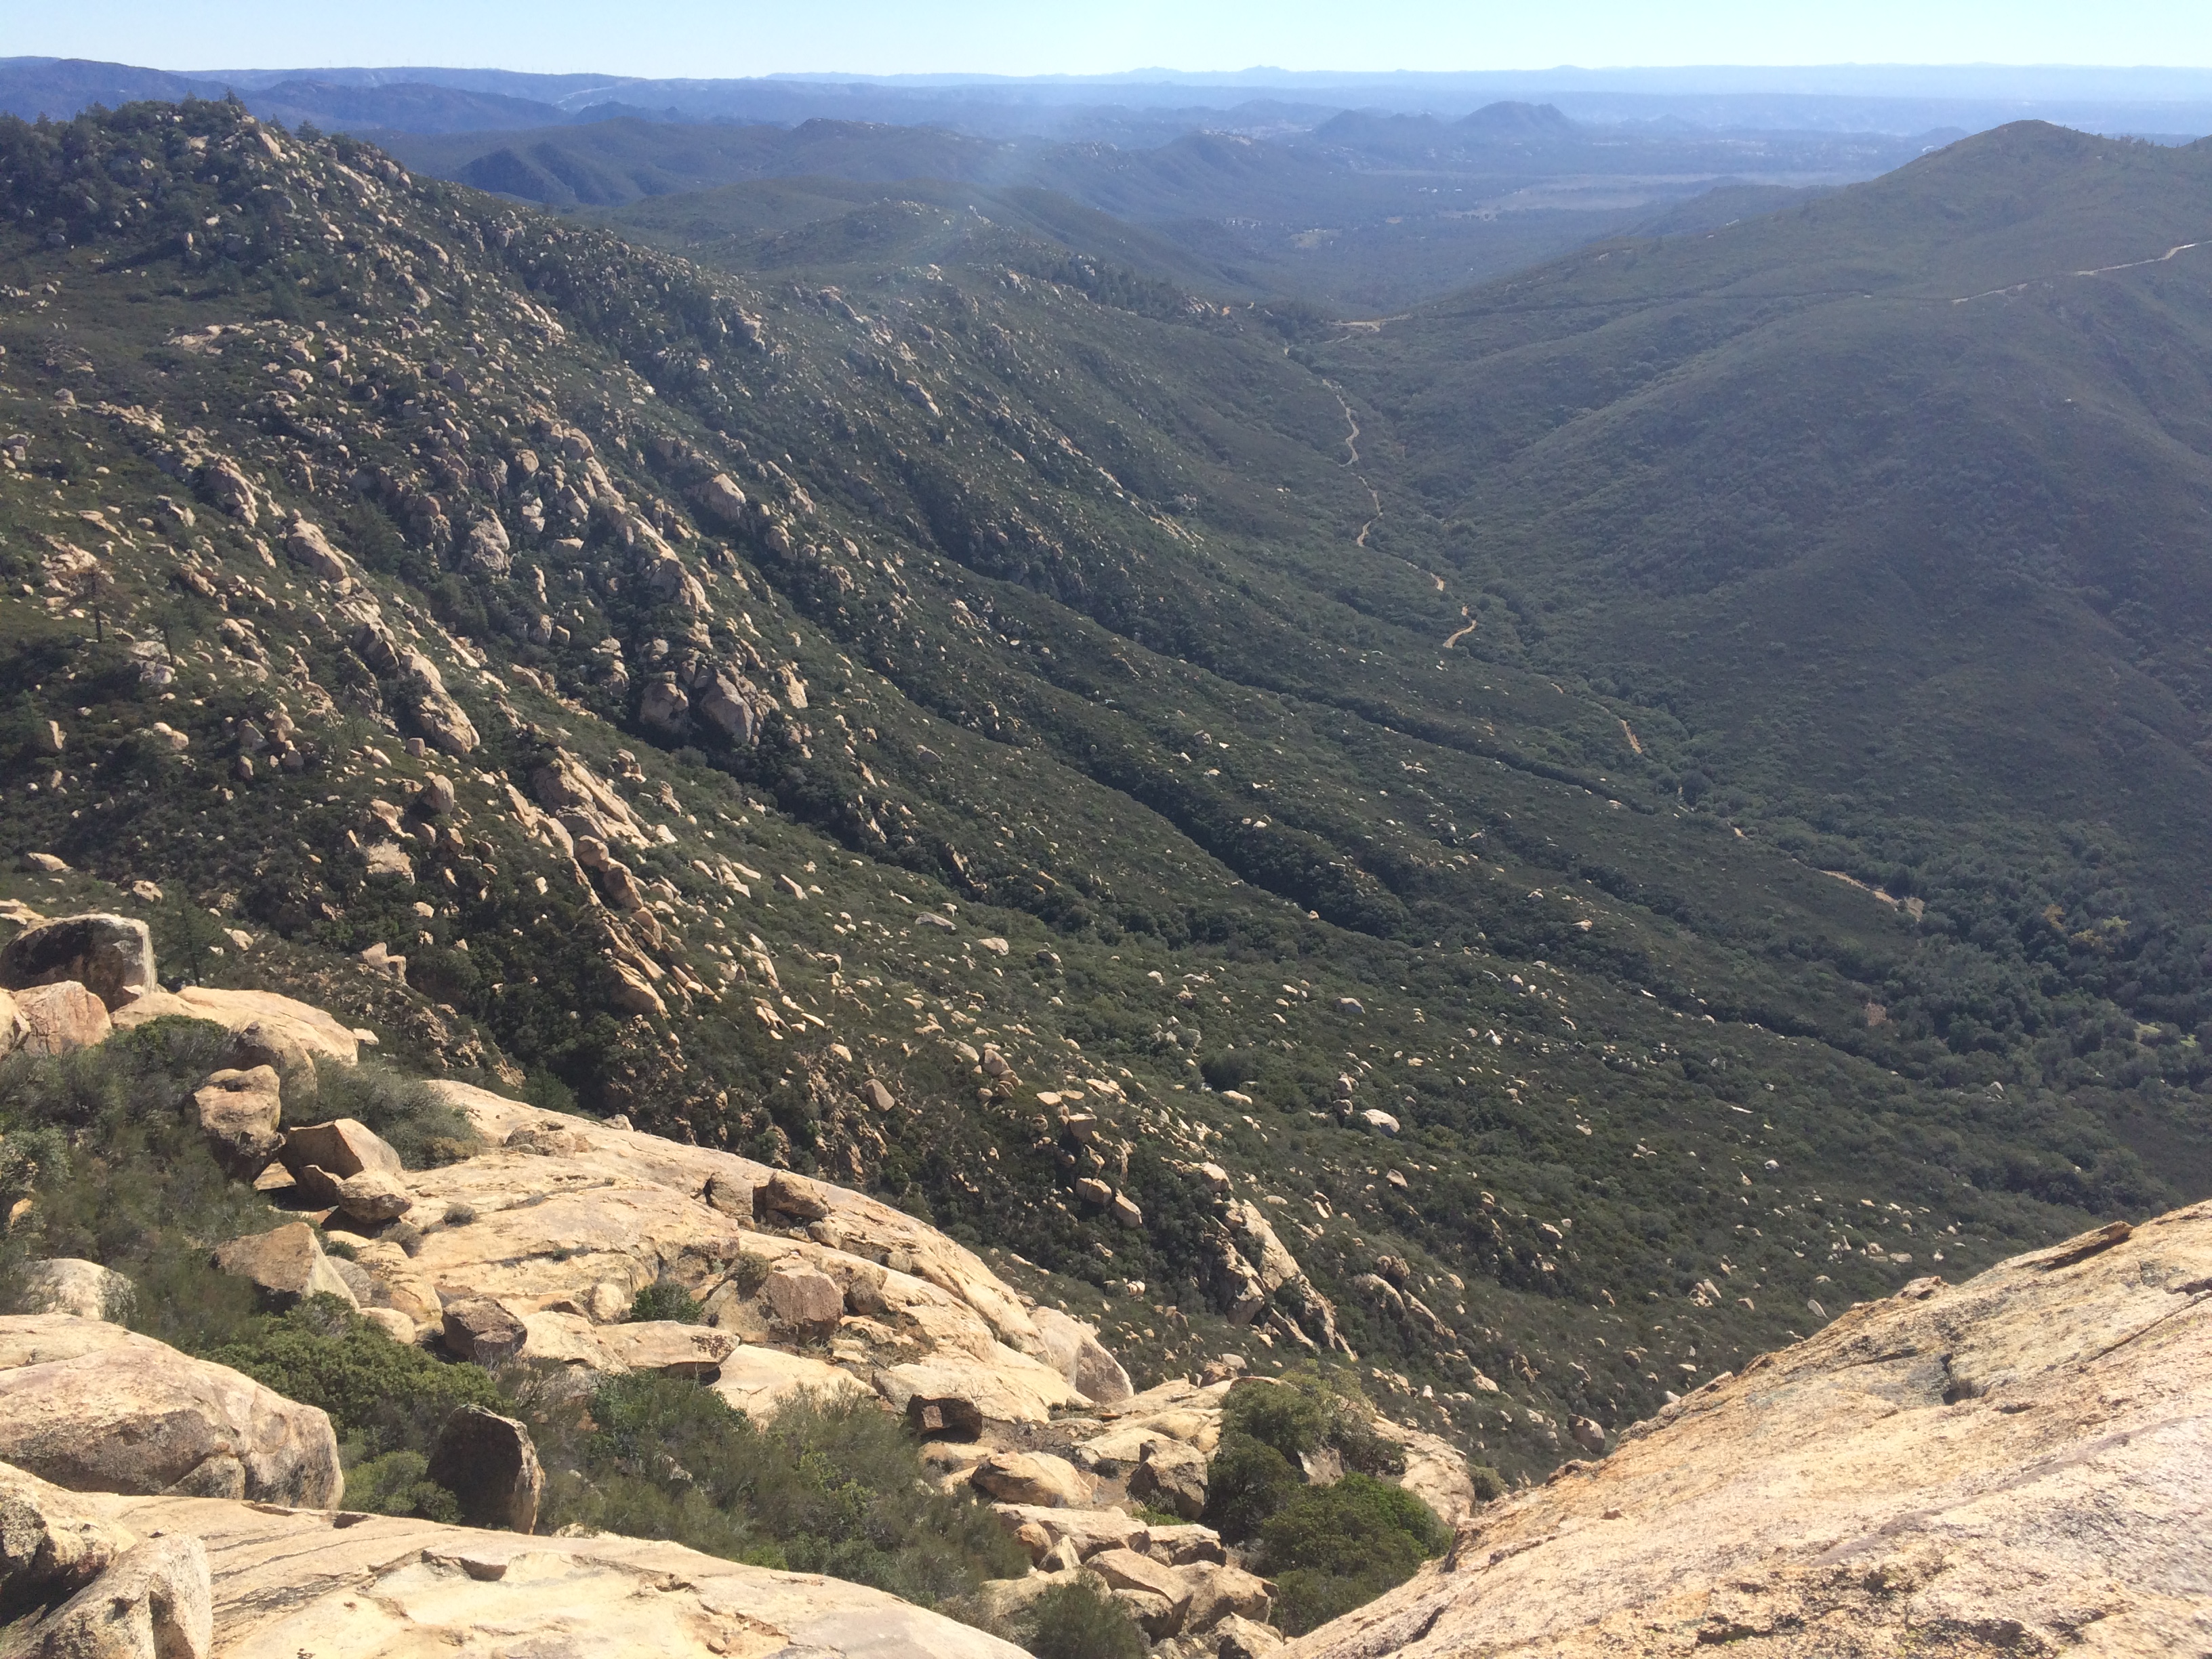
From the wash west of Thimble, follow the obvious and well-ducked route up, passing several sandy, flat, shaded campsites which would make an ideal location for a base camp for a multi-peak mission. San Ysidro now looms above the increasingly steep walls of the canyon. Continue heading north, staying on the eastern side of the slope, climbing steeply. Ducks make the route easy to follow all the way to the summit.
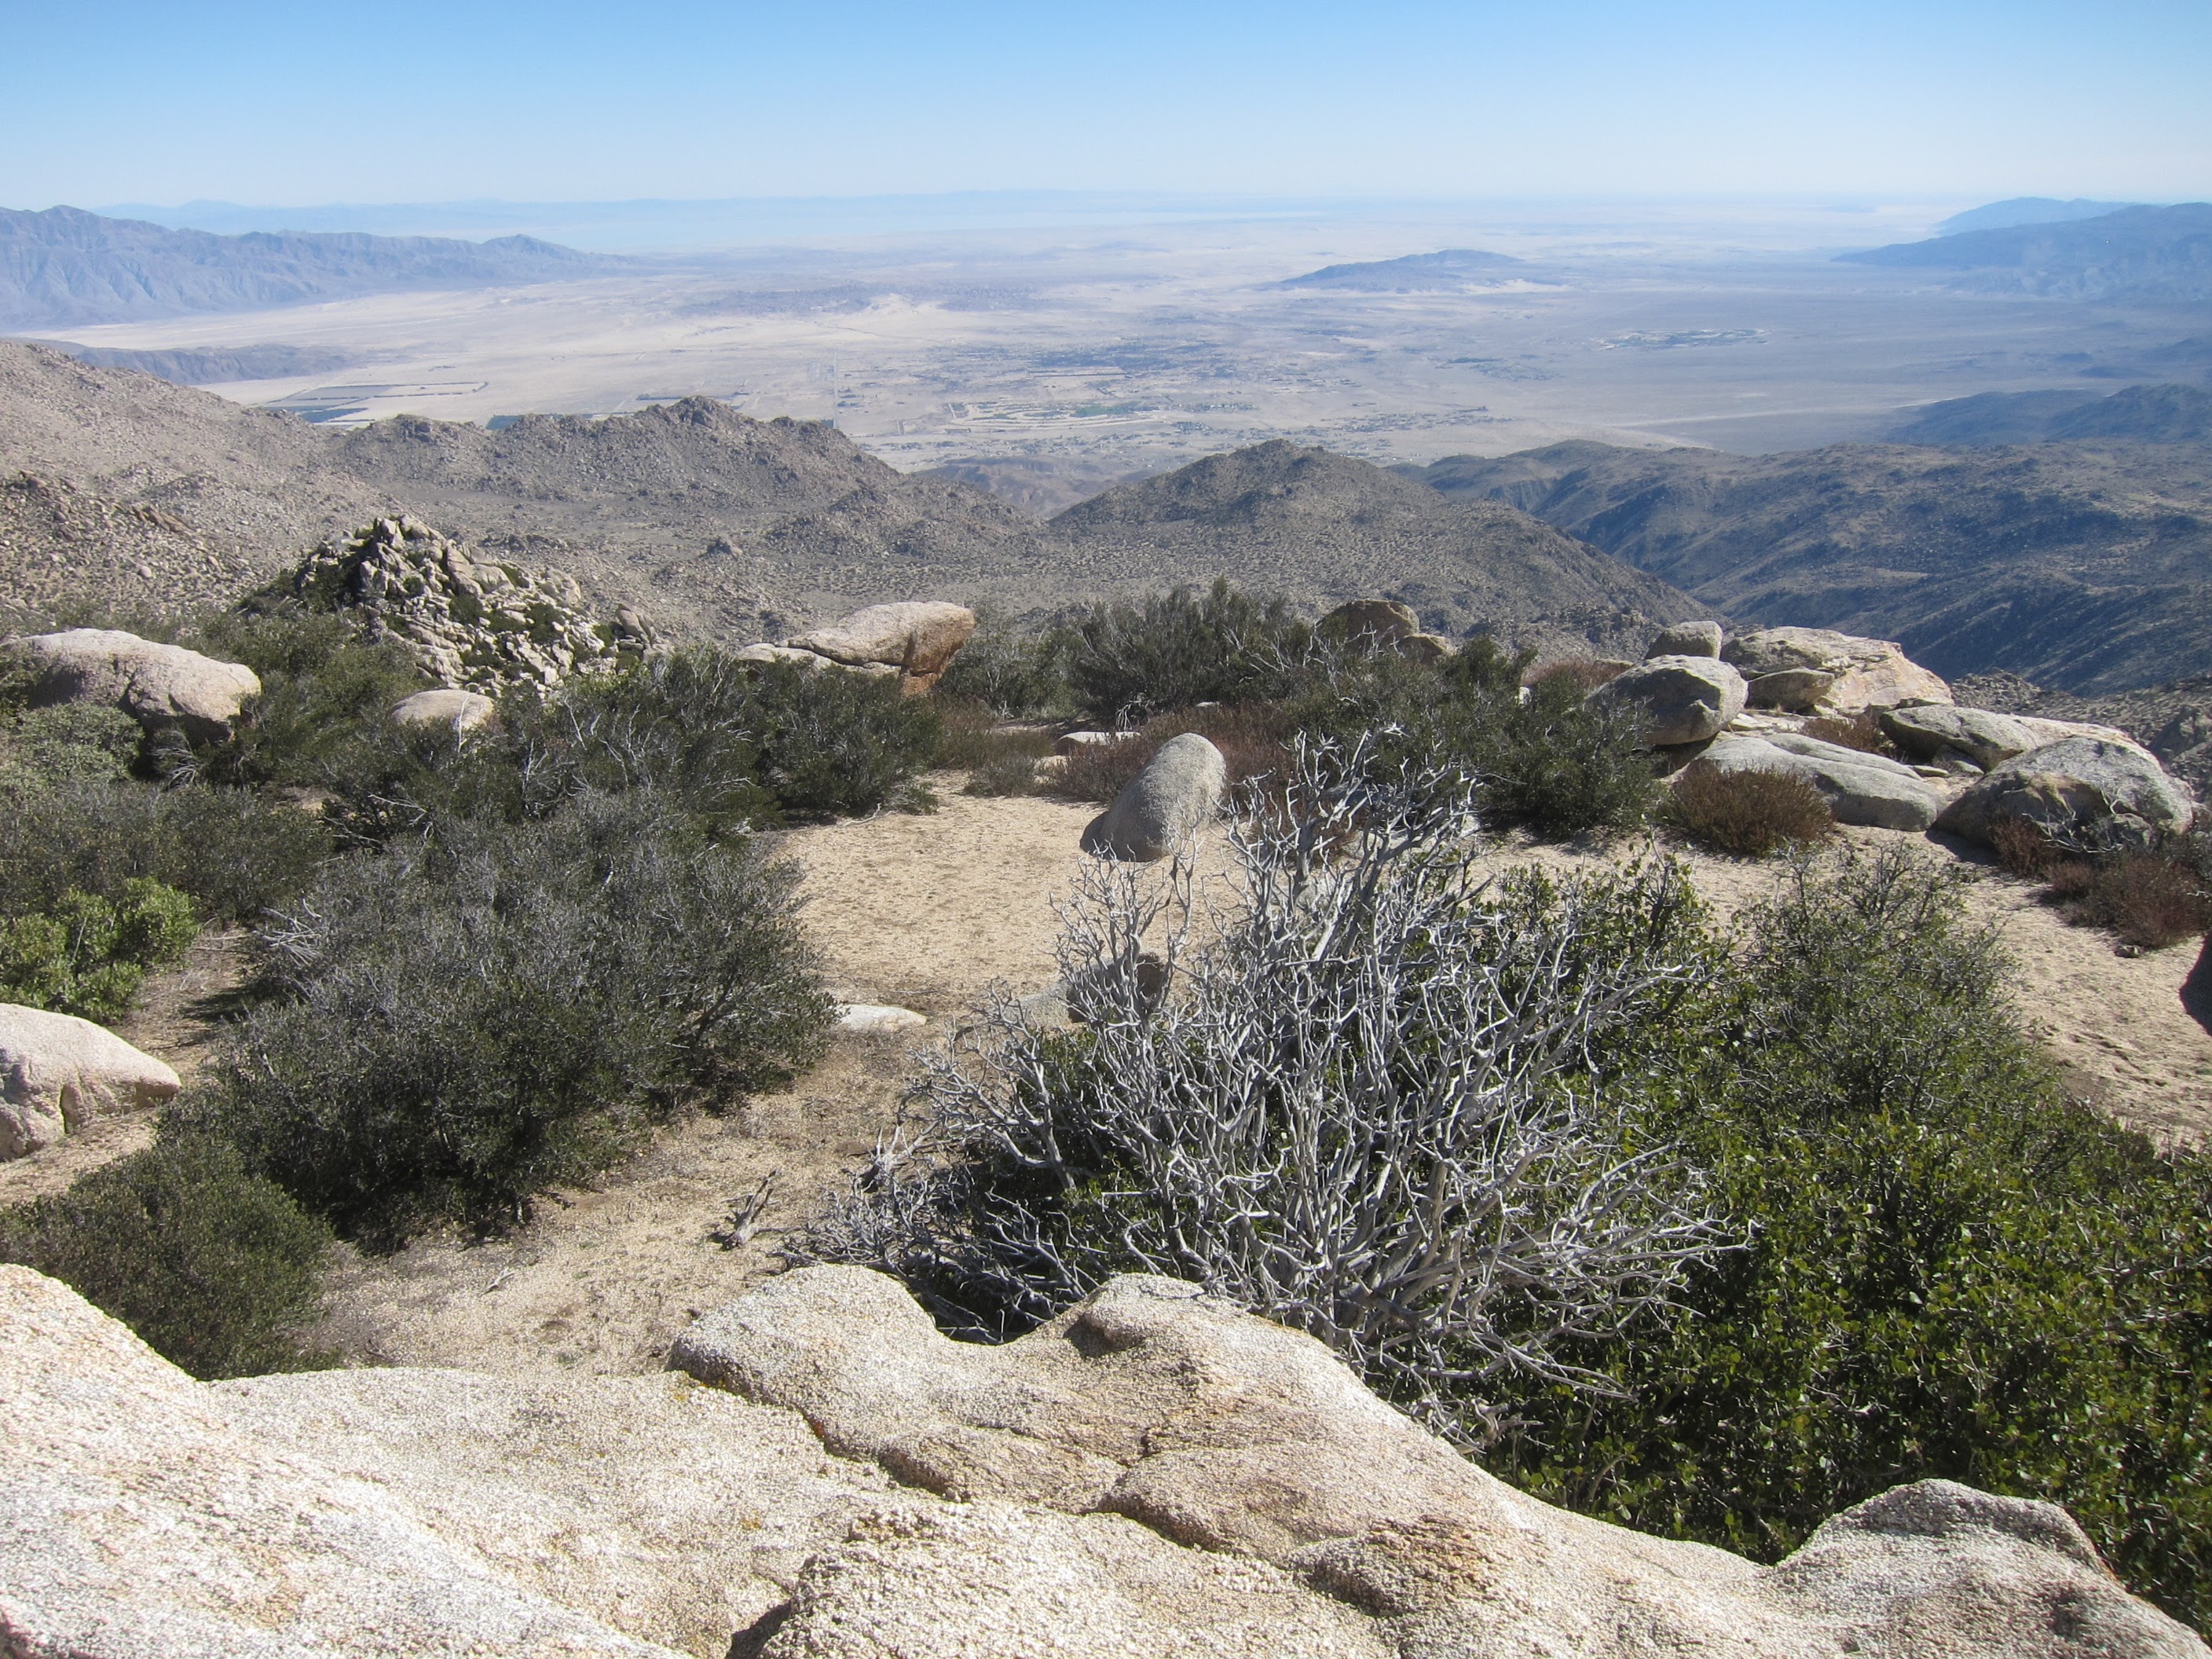
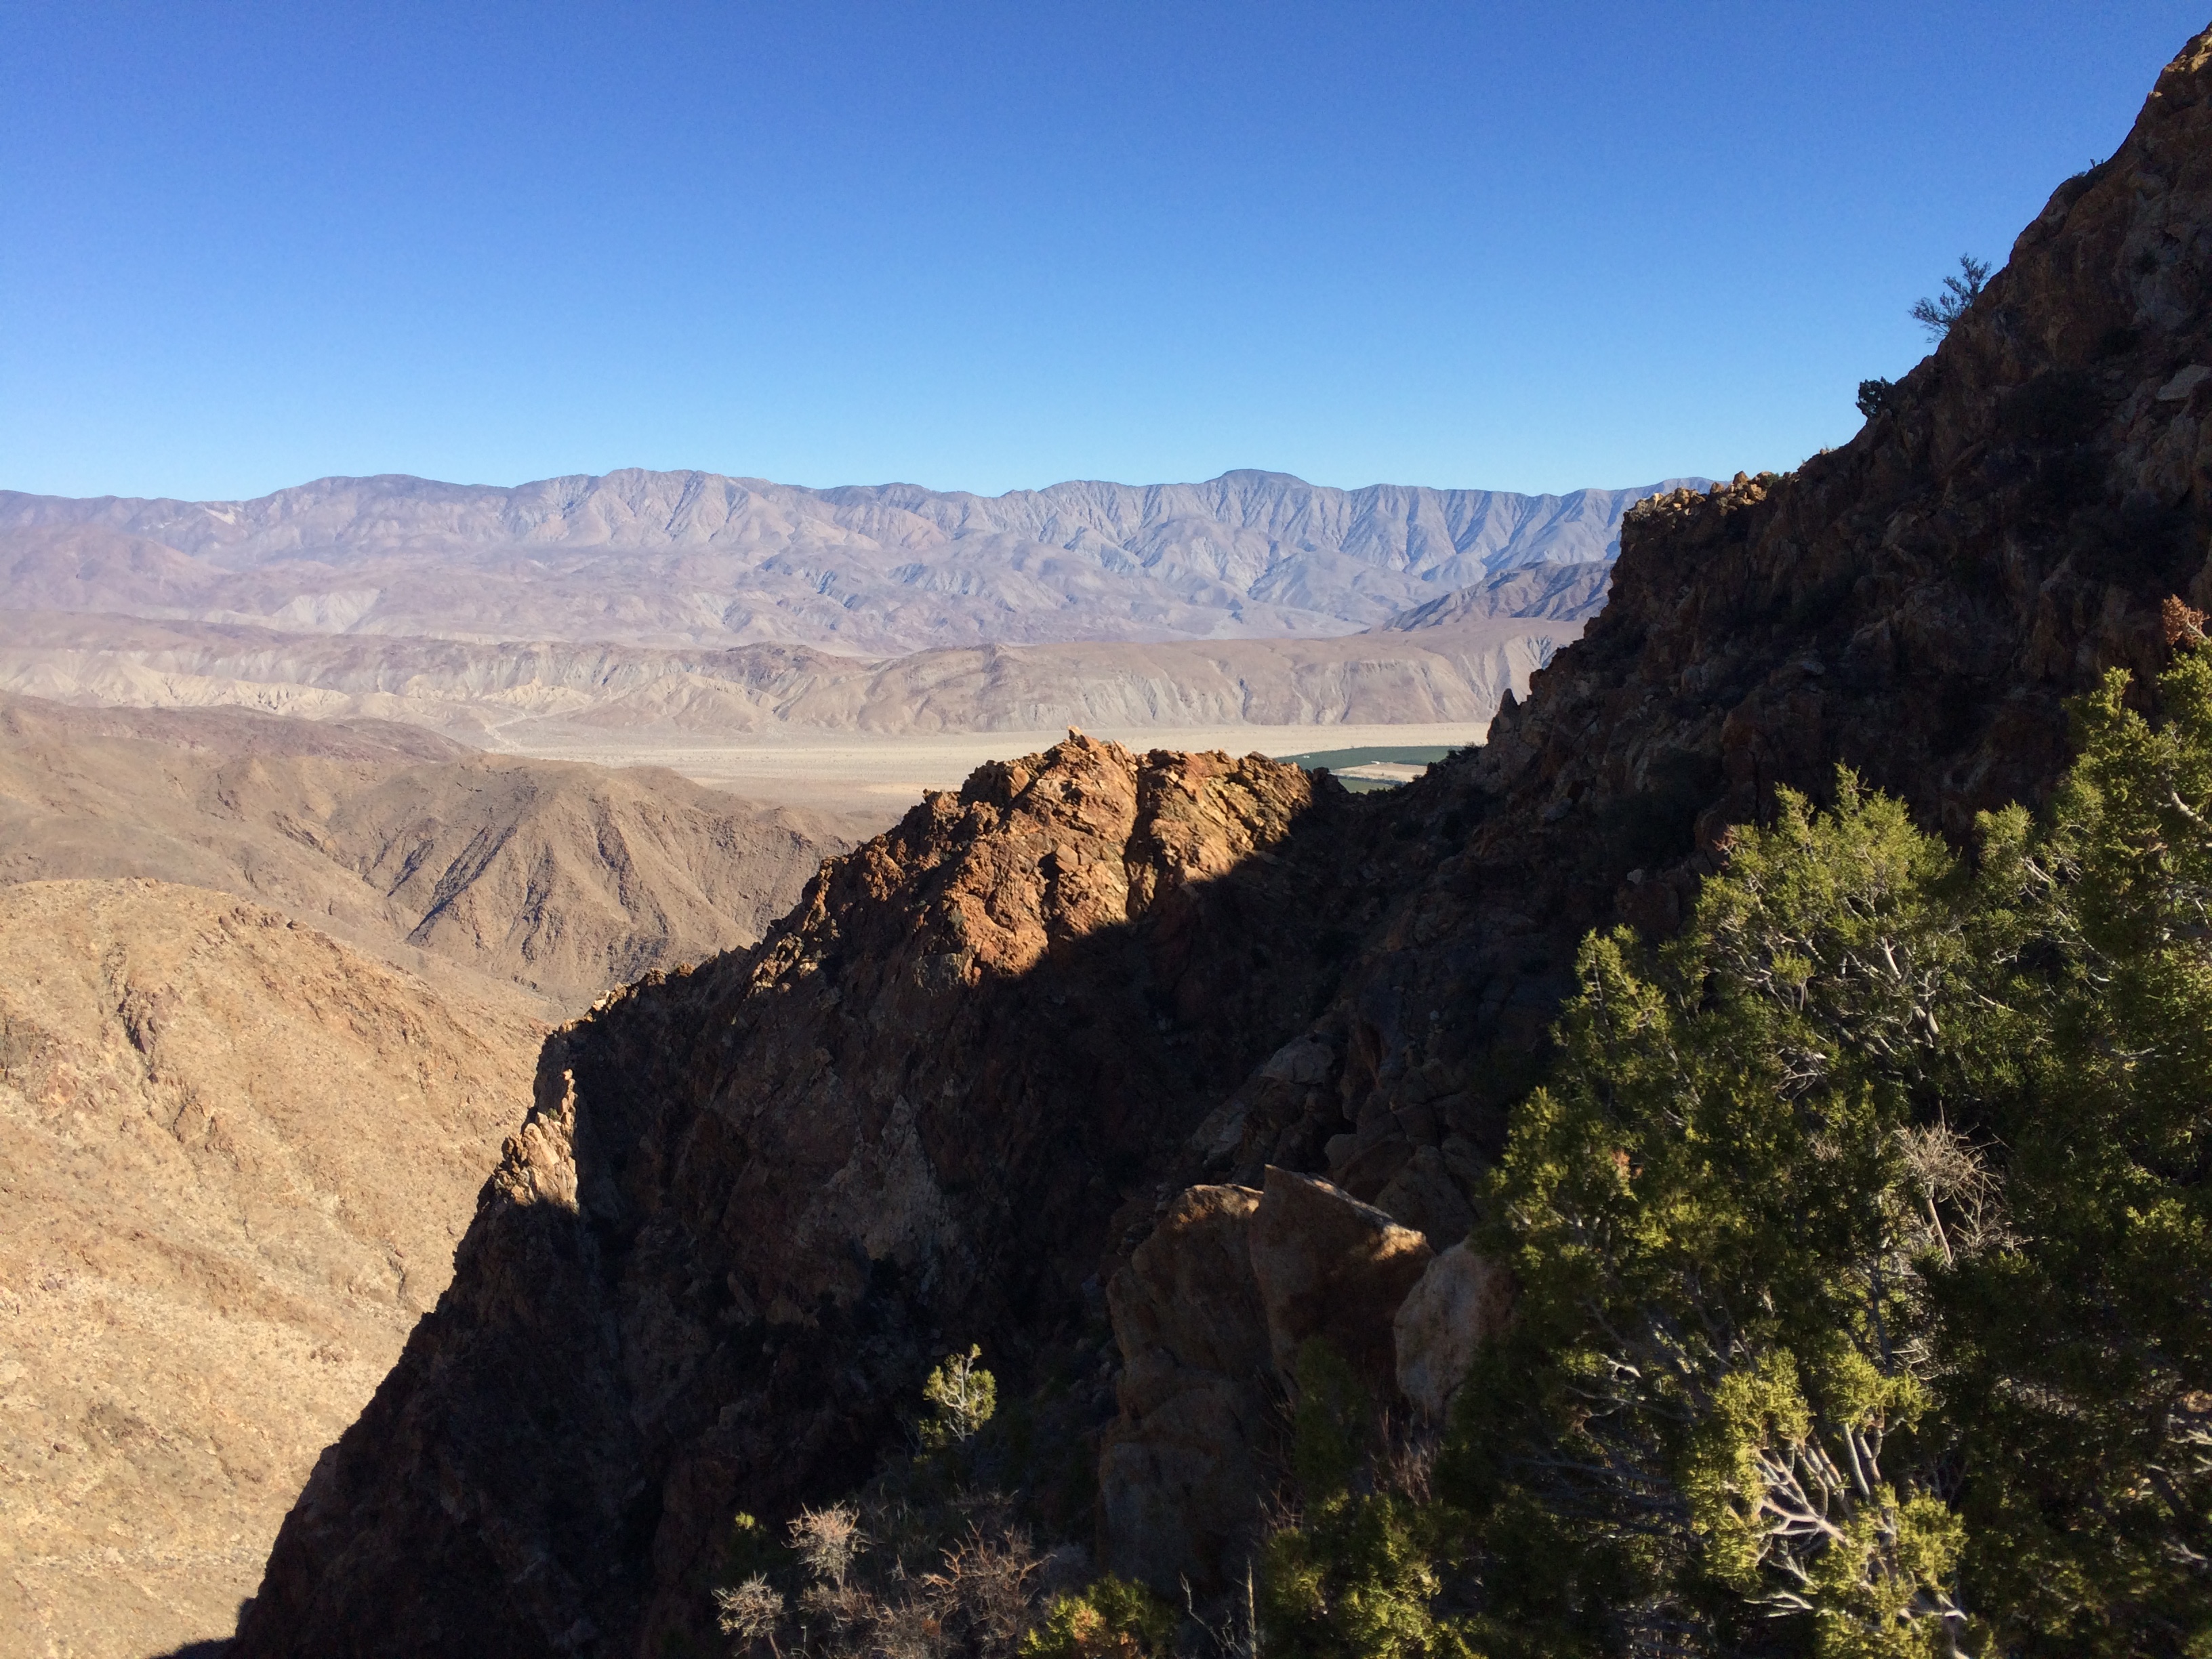
Hellhole Canyon,Borrego Palm Canyon and Borrego Springs from the summit of San Ysidro Mountain
At the top I was surprised to find Morteros used by the Cahuilla to grind pinyon nuts. Pretty amazing that had to go up there just for basic food needs. The summit area is relatively wide open and has fantastic views that include San Gorgonio, San Jacinto, Toro Peak, Palomar Mountain, Hot Springs Mountain, Volcan Mountain, Whale Peak, and the Salton Sea.
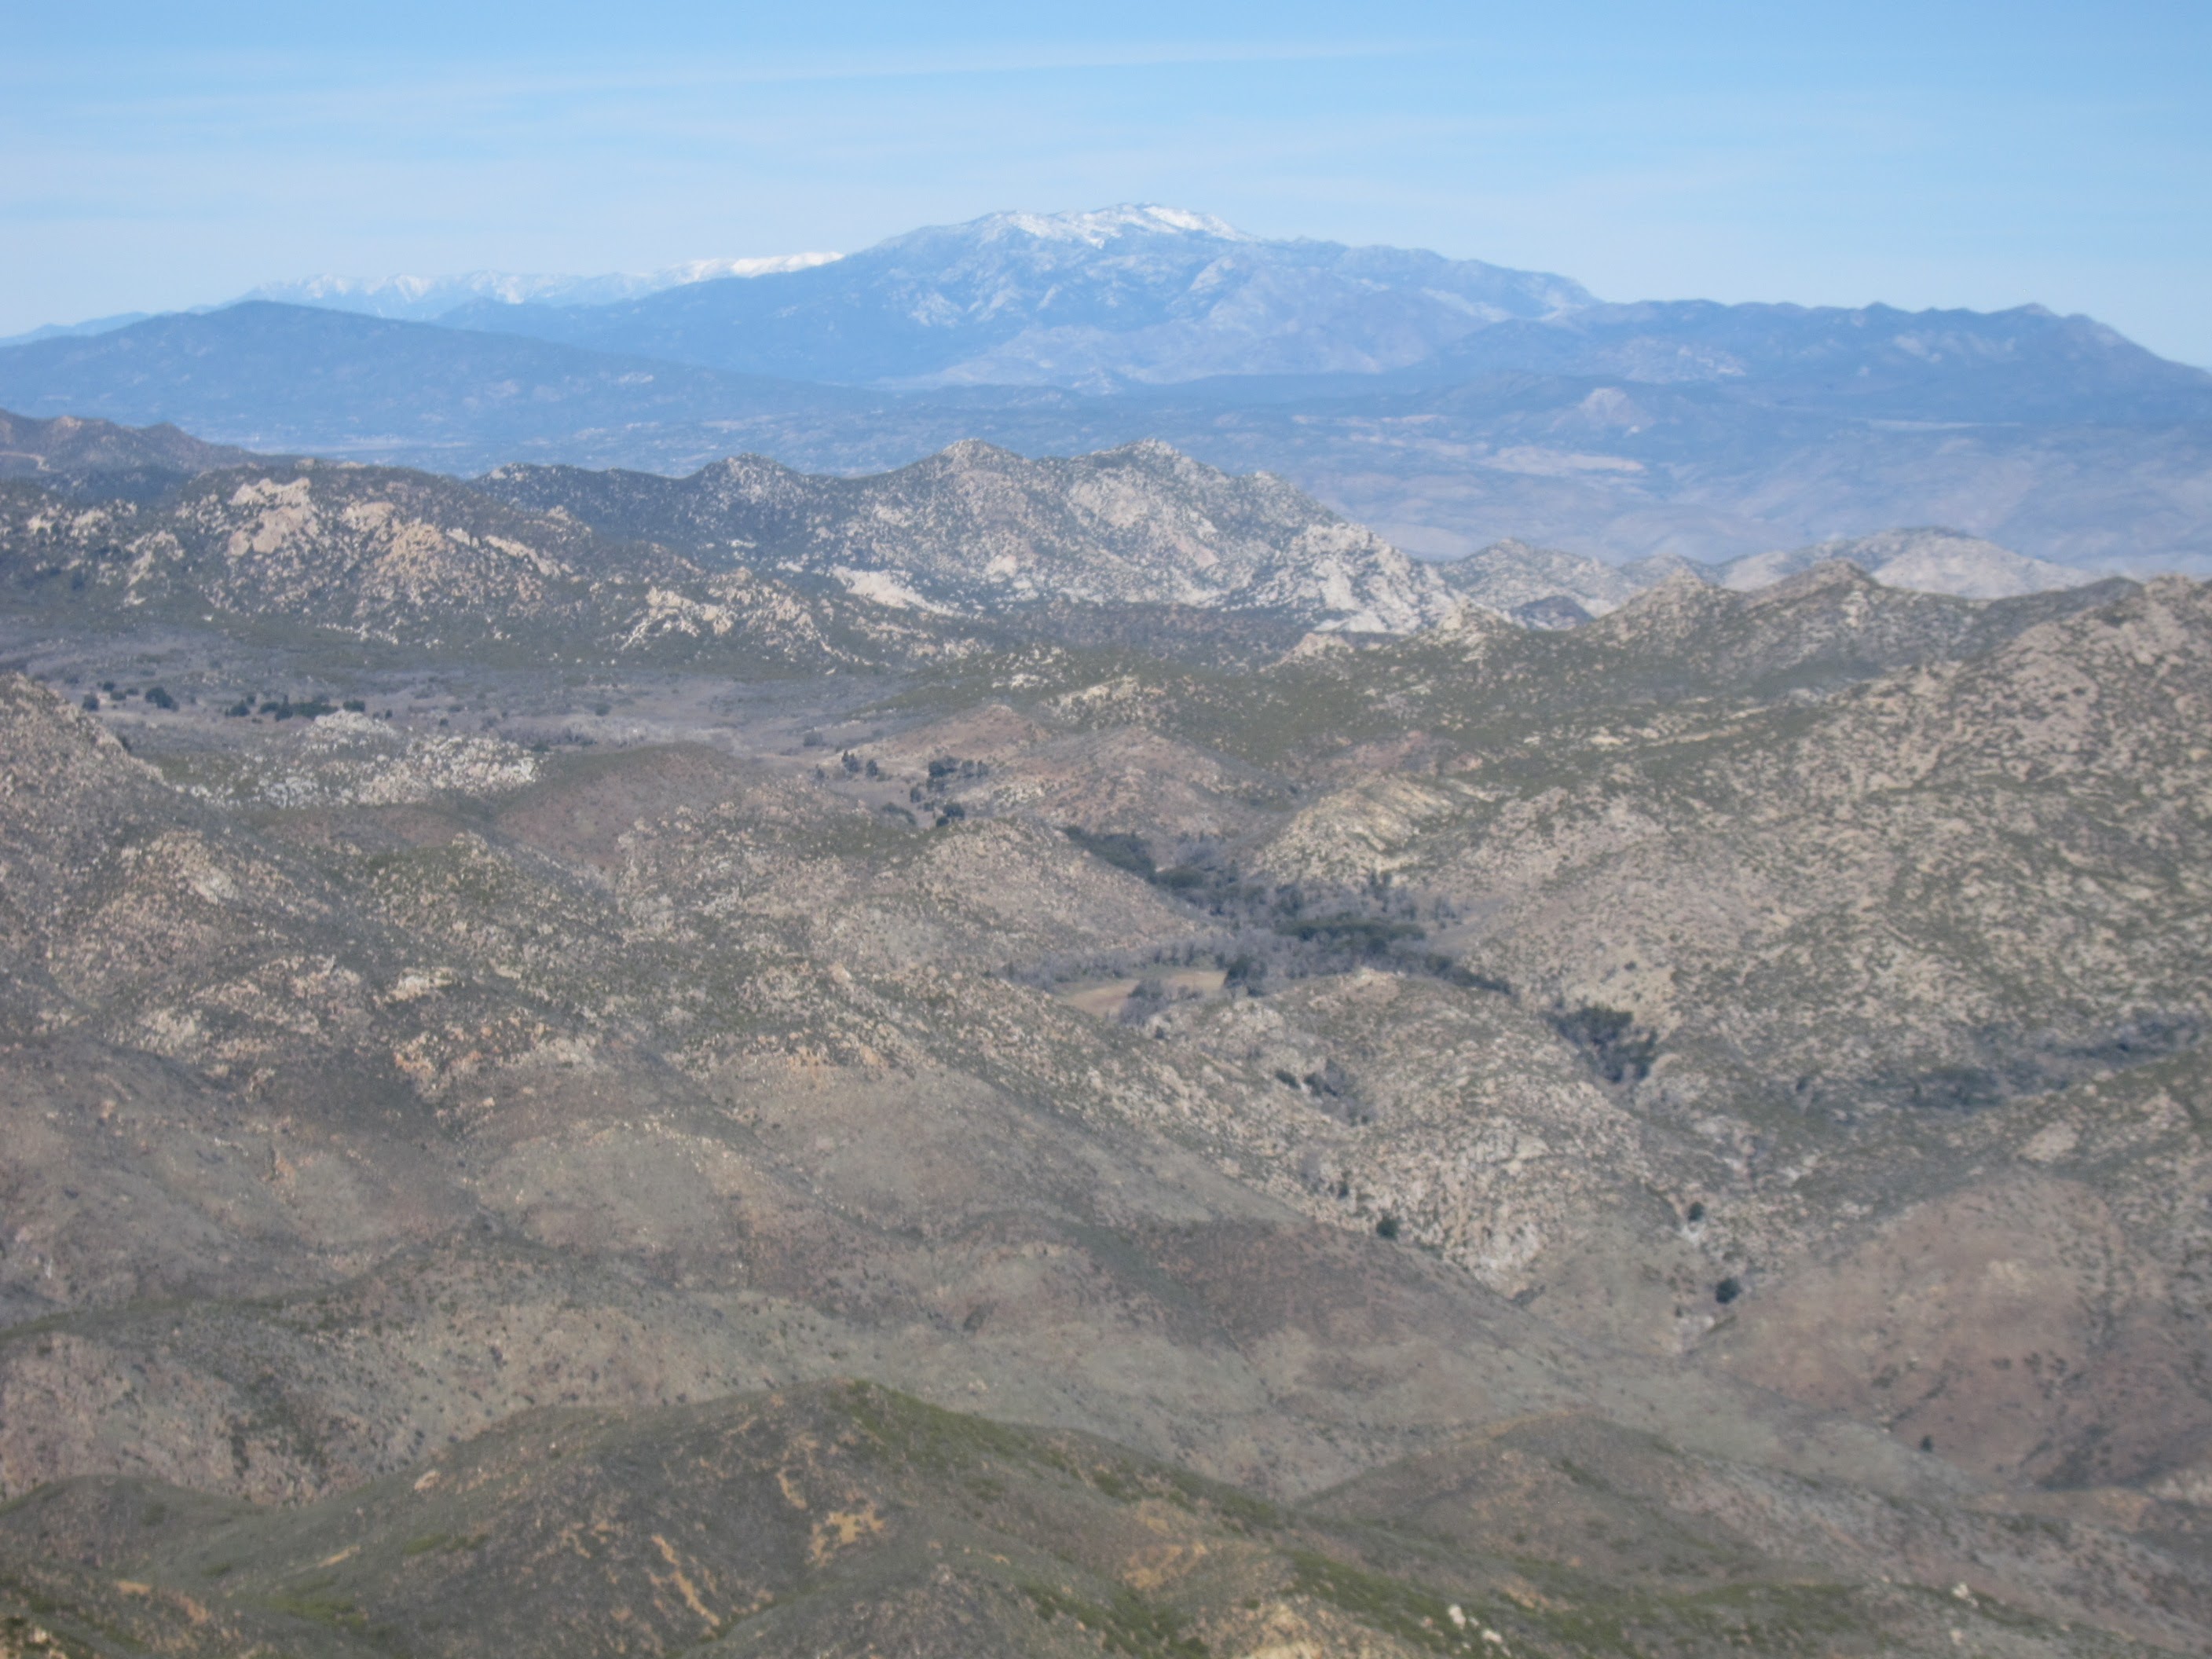
San Jacinto and San Gorgonio from San Ysidro Peak
Depending on the route chosen, bypassing Thimble can be as tough on the return as it was on the ascent. White BM is very challenging when approached on return from the north, and finding the route back up is much tougher. From there it’s a pretty easy trip, watch your route finding near Bonny, you need to head southwest from Bonny towards the closest high point or you will end up bushwacking through gullies back to Montezuma Valley road. I ended up below my car and had to walk uphill on the steep and busy road about a quarter-mile.
I completed the trip in about 6 hours, add an extra hour for the Thimble. Recommended time of year in winter on a calm, cool day. The Ranchita area is known for wind and you can routinely face high winds over 40mph. Because of the relatively high elevation, storms can create very hazardous conditions including lightning, ice and high winds. Bring plenty of water (I went through 3 liters on a very warm day), sunscreen and wind protection as this is an exposed route throughout.
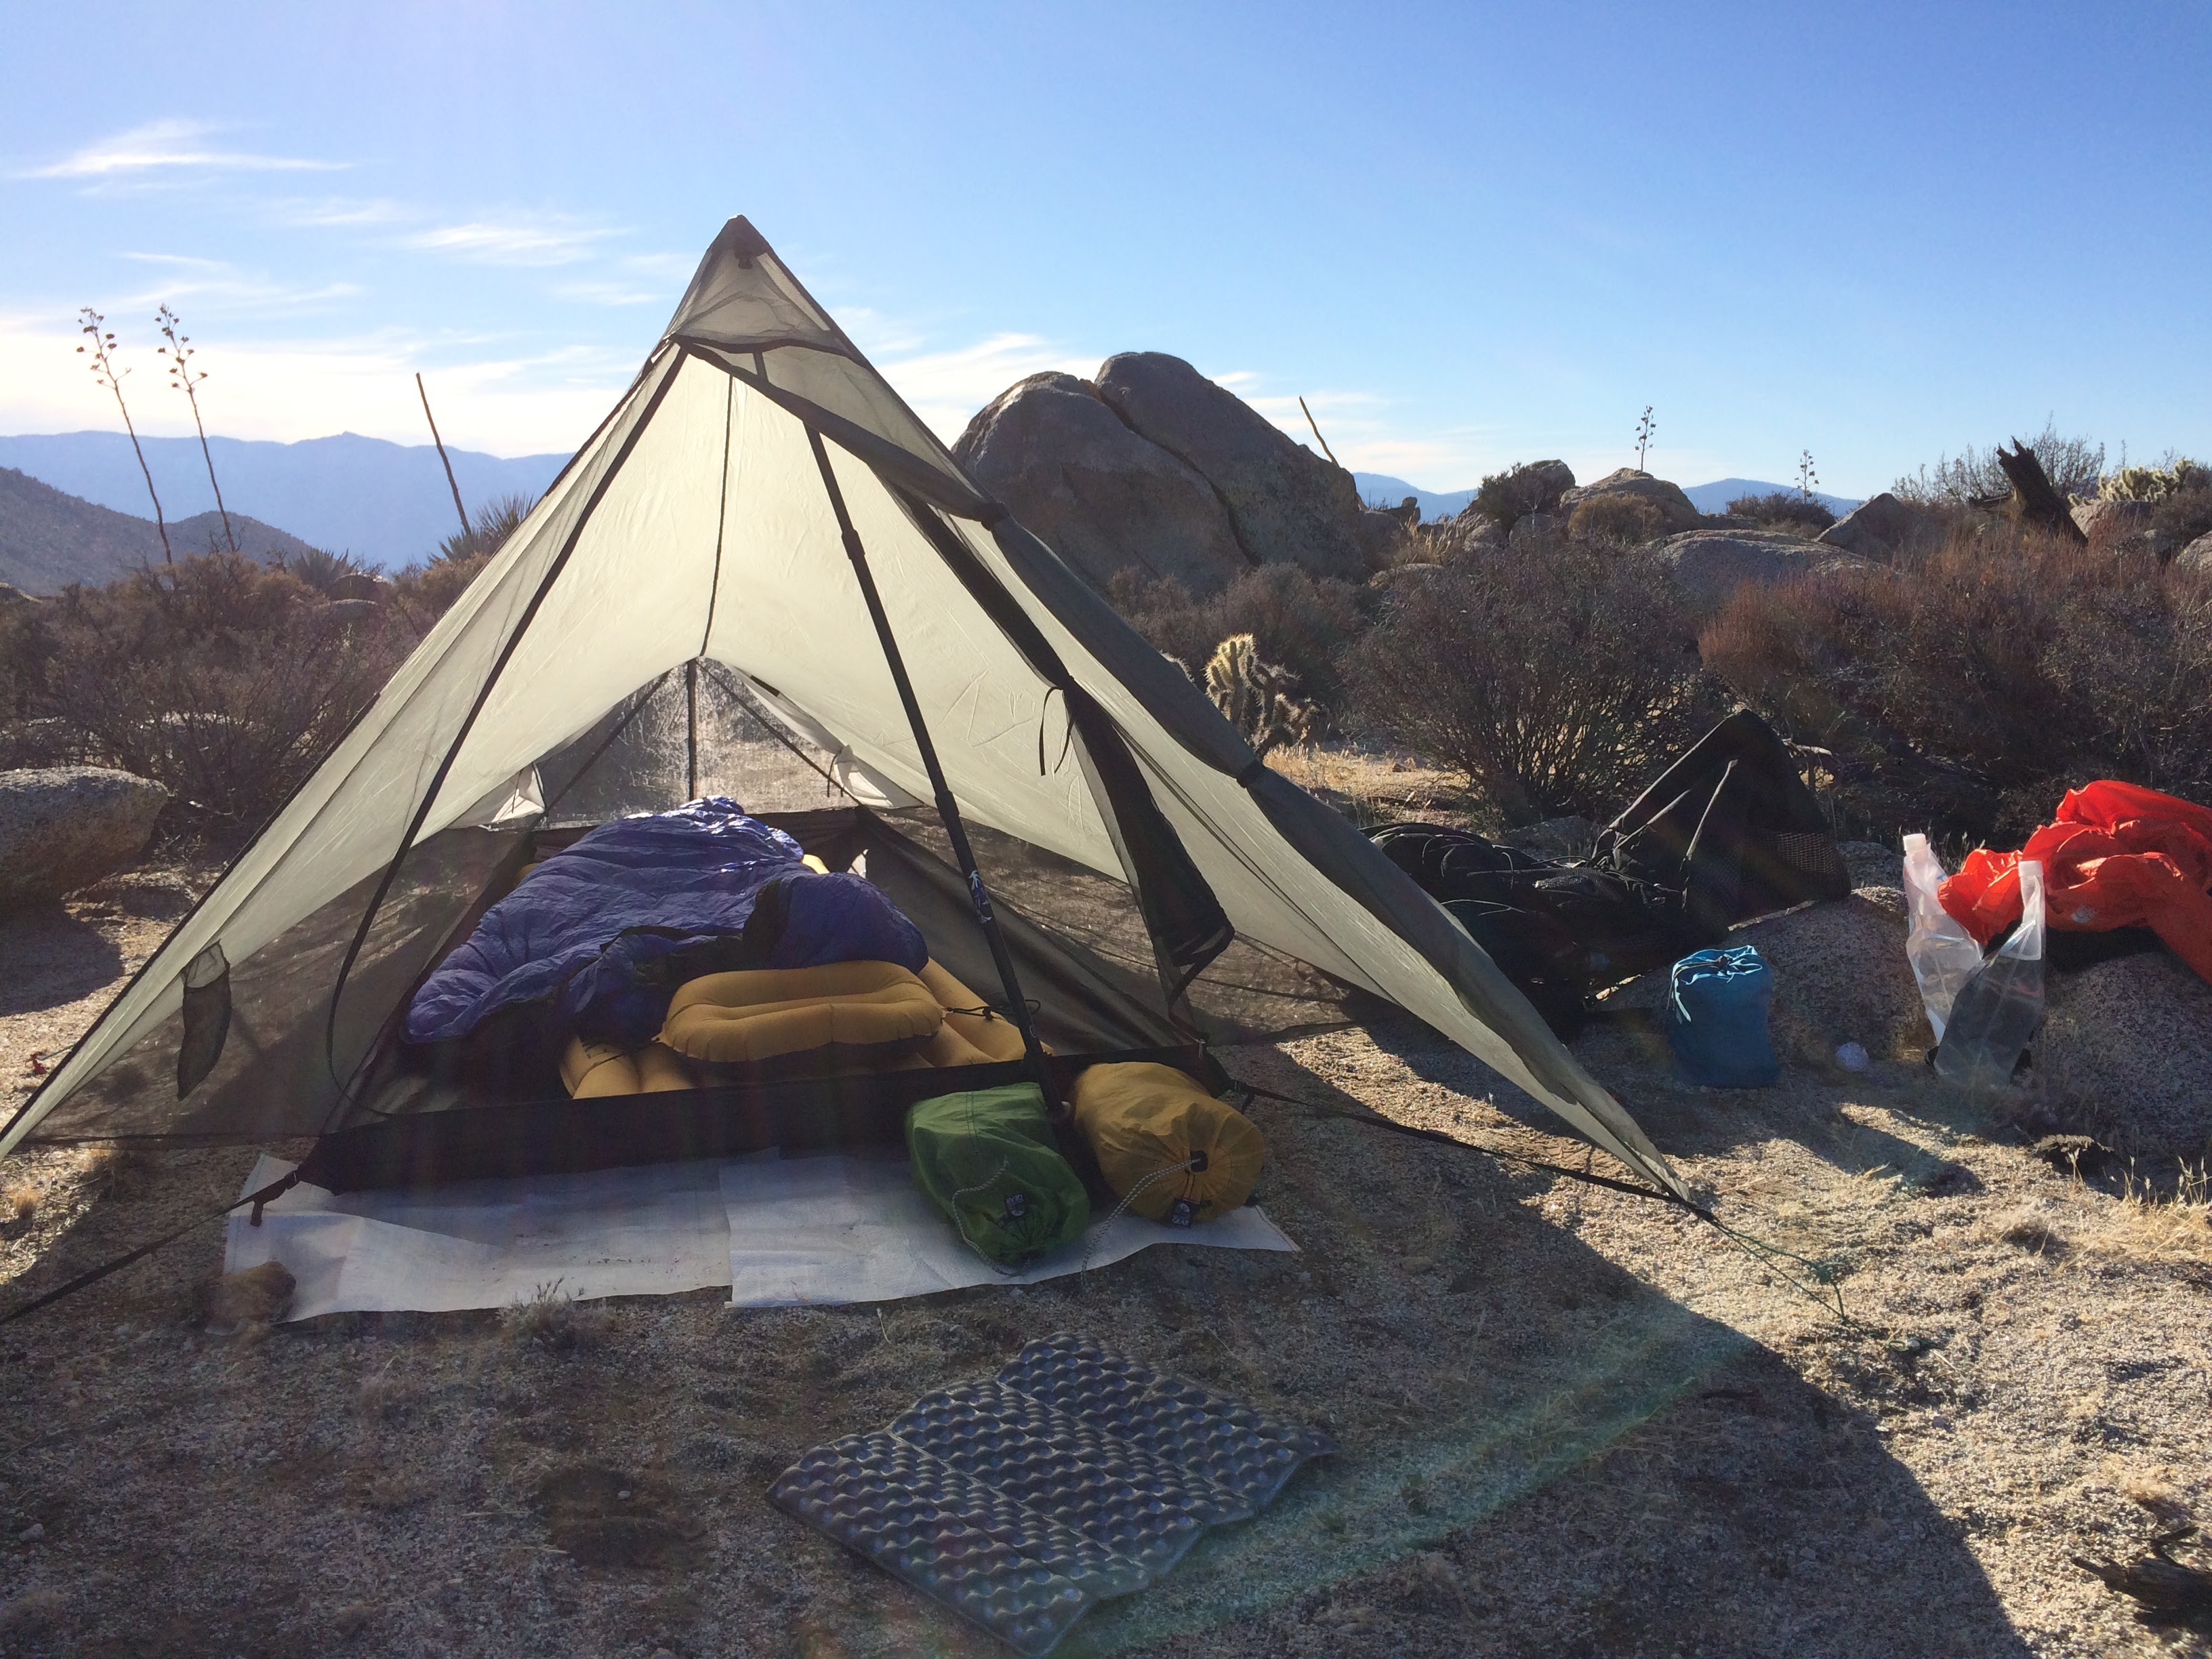
There are a number of bivouac spots on both sides of Thimble that would serve as good base camp locations to split up the long approach, although finding wind cover would be a challenge on the east side of Thimble. Climbers looking for class 4 and 5 terrain will find it in abundance especially on White BM and the north side of Thimble which has a 50-foot vertical slab.